
An image carries immense communicative power, a timeless reality when dealing with presentations rich in visuals. Yet, the mere inclusion of an image in your slides falls short; you must also skillfully format it to elevate its visual appeal and captivate your audience’s attention.
In this blog, you’ll learn how to format a picture in PowerPoint with the tools and techniques it provides to manipulate and enhance your pictures, ensuring they grab attention and convey your message effectively.
We will share tips and tricks to make your images stand out — whether it’s a compelling chart, a breathtaking photograph, or a playful infographic — you can always ace your PPTs with these.

A Step-by-Step Guide on How to Format Pictures in Powerpoint
Formatting pictures in PowerPoint for maximum impact creates visually engaging and effective presentations. The goal here is not to overload your presentation with images but to use them strategically to complement your message and engage your audience effectively.
Here are the basics of formatting a picture in PowerPoint:
Step 1: Select the right image
Choose high-quality, relevant images that support your content and message. Ensure they are not pixelated or distorted when stretched.
Step 2: Insert the picture

Select the slide you want to insert the image in by clicking on it. Then, go to the ‘Insert’ tab, select ‘Picture,’ and choose the image from your computer.
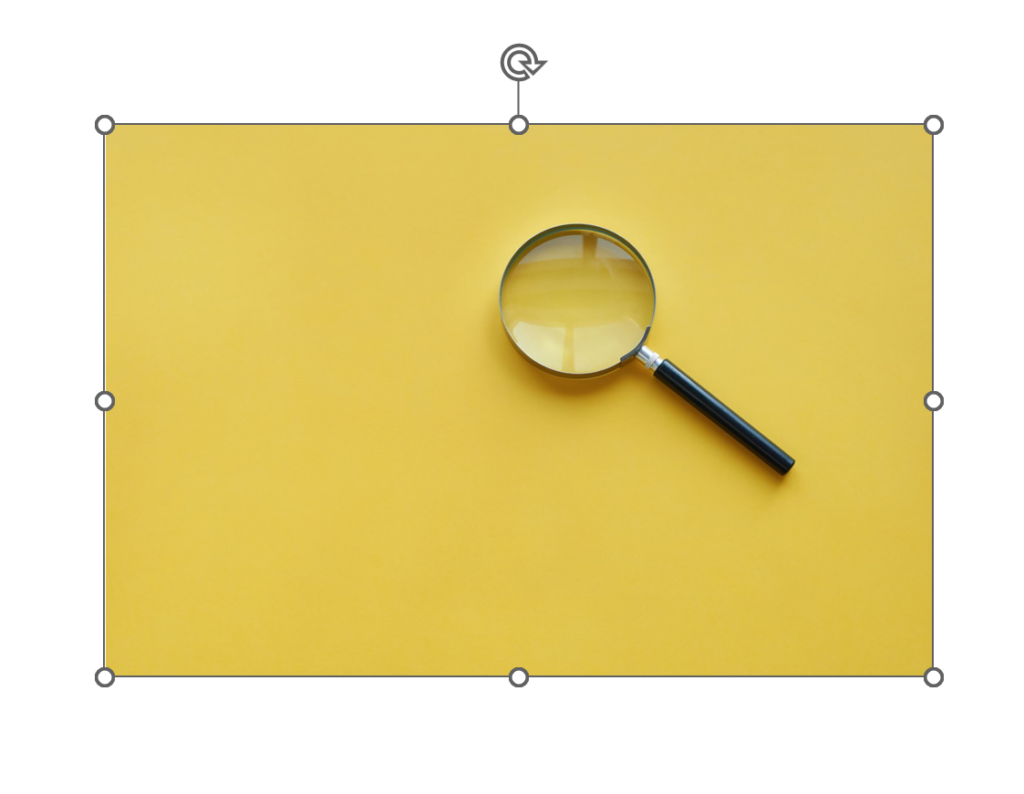
Step 3: Resize and crop
Click on the image to reveal the Format tab. You can resize and crop the image to fit your slide correctly. Use cropping to focus on the key elements.
Step 4: Adjust brightness and contrast
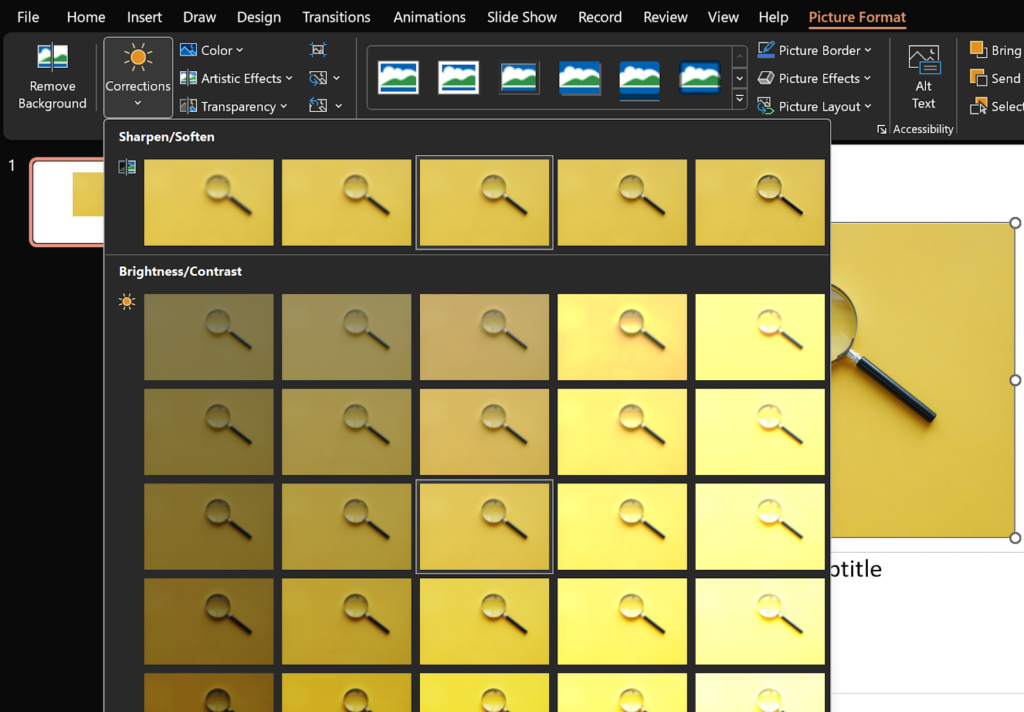
Under the Format tab, click on the ‘Corrections’ button. Tweak brightness and contrast to enhance visibility and make the image pop.
Step 5: Apply styles
Explore various Picture Styles from the Format tab to add effects such as shadows, borders, or reflections for a more polished look.
Step 6: Compress images
If your presentation file size is a concern, use PowerPoint’s image compression feature to reduce the image size while maintaining quality.
Step 7: Arrange and layer
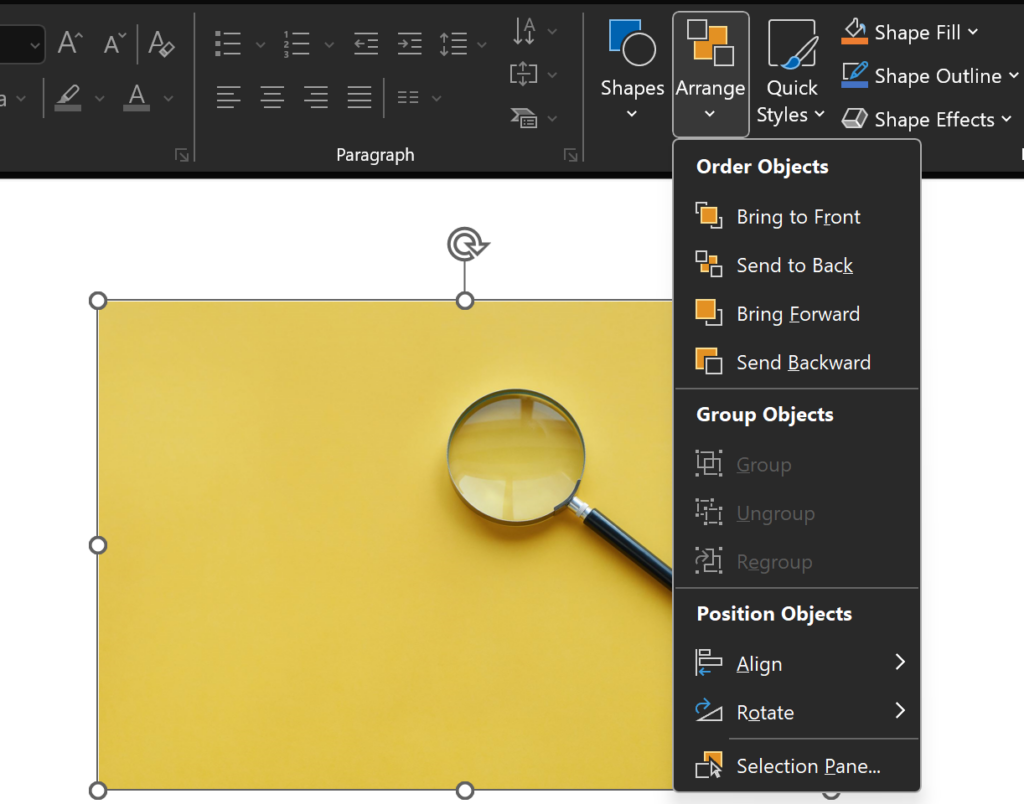
Use the ‘Arrange’ options to layer images, align them with other elements, or group them with other objects on the slide.
Step 8: Add alt text
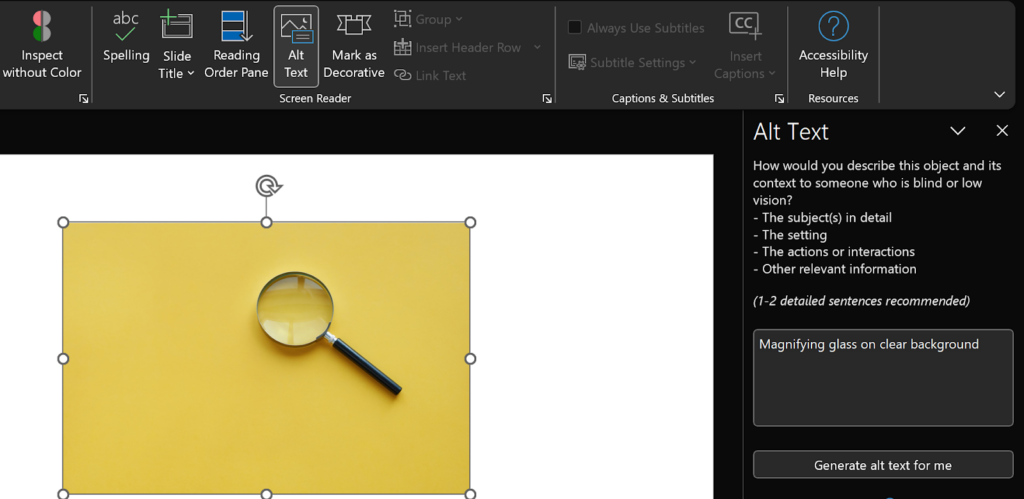
For accessibility, don’t forget to add alternative text to describe the image.
Step 9: Animate (if needed)

If animation suits your presentation, use PowerPoint’s animation tools to introduce pictures in an engaging manner.
Step 10: Preview and test
Always preview your slides to ensure the images appear as intended, especially if you share your presentation on different devices.
Why Do You Need To Format Pictures and Not Just the Text?
While text is essential for conveying information, adequately formatted pictures are equally critical for enhancing your content’s visual appeal, clarity, engagement, and impact.
Several factors make it necessary to format pictures while creating visual materials, such as presentations, documents, or graphics:

- Visual Appeal: Properly formatted images enhance engagement and memorability.
- Complementary Visuals: Formatted images reinforce your message effectively.
- Clarity: Sizing, alignment, and cropping ensure clear understanding.
- Consistency: Uniform formatting maintains a professional look.
- Emphasis and Hierarchy: Visual formatting emphasizes key points.
- Accessibility: Alt text and captions aid those with disabilities.
- Impact: Striking images engage and evoke emotions.
- Brand Identity: Proper formatting aligns with your brand style.
How To Change the Format of a Picture in PowerPoint?
Formatting a picture in PowerPoint is a simple yet valuable skill for improving your presentations. Here’s how you can do it:
Insert & Select the Picture: Follow the instructions in this blog to insert your image into the slide you’re working on. Then, select the picture by clicking on it, and small white boxes or circles called ‘handles’ appear around the image.

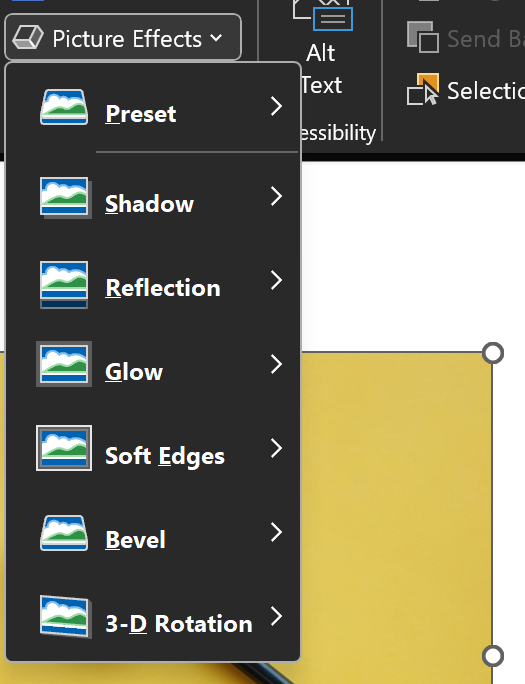
Format Tab: A ‘Format’ tab will appear in the PowerPoint ribbon at the top once your picture is selected. Click on it. You can access the ‘Picture Styles’ group to apply preset picture formats here. For further customizations, explore the ‘Picture Effects Options’ and ‘Picture Border Options’ to tailor your image to your requirements.
Create Presentations Easily in Google Slides and PowerPoint
14M+Installs

Common Image Formatting Features in PowerPoint
PowerPoint provides various image formatting features to help you enhance the visual appeal of your presentations. These image formatting features in PowerPoint allow you to manipulate and enhance images within your presentations.
Here are the twenty most common image formatting features in PowerPoint:
- Crop: You can crop images to remove unwanted portions, focus on a specific area, or change the aspect ratio.
- Resize: Adjust the size of images to fit them within your slides or to create a specific visual impact.
- Rotate and Flip: Image rotation options include clockwise, counterclockwise, and horizontal or vertical flipping.
- Brightness and Contrast: Images’ brightness and contrast can be changed to enhance visibility or reflect a certain mood.
- Color Corrections: You can adjust the color temperature, saturation, and tone of images to correct or enhance their appearance.
- Artistic Effects: Apply artistic effects like watercolor, pencil sketch, or paint strokes to images to create unique visuals.
- Shadow and Reflection: Add shadows or reflections to images to make them appear three-dimensional and add depth.
- Glow and Soft Edges: Apply a soft glow or an edge effect to images for a softer, more highlighted appearance.
- Transparency: Adjust the transparency of an image, making it semi-opaque to overlay it with other elements or achieve a specific visual effect.

- Image Borders: Add borders to images, adjusting the color, thickness, and style of the border.
- Compress Images: Reduce the file size of your presentation by compressing images without significantly affecting their quality.
- Replace Image: Easily swap one image for another while retaining the same formatting applied to the original image.
- Remove Background: Remove the background of a picture using the ‘Remove Background’ tool, preserving only the main subject.
- Picture Styles: To polish your photographs, use pre-defined picture styles like bevels, gradients, or 3D effects.
- Image Alignment: Align images precisely on your slides using alignment and distribution tools.
- Image Order: Change the layering order of images to bring some forward or send them backward relative to other objects on the slide.
- Grouping: Group multiple images together to move or format them as a single unit, preserving their relative positions.
- Image Effects: Add various artistic and visual effects to images, like reflections, glows, and soft edges, to make them visually appealing.
- Image Compression: Reduce the file size of your presentation by compressing images while maintaining their quality.
- Image Cropping Aspect Ratio: Maintain the aspect ratio when cropping images to ensure they stay proportional.
How To Format a Picture as a Background in PowerPoint?
Formatting a picture as a background in PowerPoint can give your slides a unique and visually appealing look. This is especially useful for creating themed presentations or incorporating branding elements into your slides.
Unsure how to format the background of a slide in PowerPoint with a picture? Here’s how to do it:

Insert the Picture: Refer to the instructions provided earlier.
Position and Resize: You must adjust the image’s size and position once inserted. Click on the image, drag the corners to resize it, and use the center handle to move it around until it covers the entire slide.
Send to Back: To make the picture the background, it should be placed behind other slide elements (text, shapes, etc.). Select the picture and choose ‘Send Backwards’ or ‘Send to Back.’
Adjust Brightness and Contrast: If you want to make your slide’s text and other elements more visible, you might have to alter how bright or dark your picture is. Select your picture, click the ‘Format’ tab, and choose ‘Corrections’.
Set Transparency: Changing the image’s transparency can make it look understated. Select the image, go to the ‘Format’ tab, and move the ‘Transparency’ slider to get the desired effect.
Lock the Background: Right-click on the image and choose ‘Lock Anchor’ to avoid the background image being unintentionally moved or edited.
Apply to All Slides: If you want the same background image on all your slides, right-click on the image and select ‘Apply to All Slides’ to ensure it’s consistent throughout your presentation.
Also Read – How to Insert a Picture as a Background in PowerPoint
How To Cite a Picture in APA Format in a PowerPoint?
To cite a picture in APA format within a PowerPoint presentation, include an in-text citation and a corresponding reference in the slide notes or a separate reference slide.
- In-Text Citation: Add the photographer’s or designer’s last name and the year of publication in parentheses after using the image (e.g., Smith, 2022).
- Reference Slide or Notes: Create a slide titled ‘References.’ Here, make a bulleted list of the full citations for the images used, including titles, sources, publication dates, and URLs, if applicable.
Build Stunning Slides in Seconds with AI
- No design skills required
- 3 presentations/month free
- Don't need to learn a new software

Read Related – How to Cite Pictures in PowerPoint
Conclusion
Images are not just decorative elements; they play a pivotal role in engaging your audience with impactful presentations. Proper formatting ensures they align with your content, maintain visual appeal, and contribute to the overall professionalism of your presentation.
While formatting can take you only so far and with much extra effort, AI can do all the heavy lifting within seconds. So, if you need to make a presentation with stunning images and formatting, use SlidesAI to create AI presentations that win over your audience and leave them in awe.
SlidesAI is an add-on tool for Google Slides, leveraging the prowess of AI to deliver stunning presentations. Users can simply create compelling slides by adding text prompts to this tool and getting results; it is that easy.
Check out SlidesAI now to simplify your journey!
Frequently Asked Questions About Formatting an Image in PowerPoint
What is the best format for pictures in PowerPoint?
The best picture format in PowerPoint is typically JPEG (Joint Photographic Experts Group) or PNG (Portable Network Graphics) for high-quality images, as these formats balance quality and file size.
Where is the picture format tool in PowerPoint?
The picture format tool in PowerPoint is found in the ‘Format’ tab, which appears when you select an image on your slide.
How do I get picture format suggestions in PowerPoint?
To get picture format suggestions in PowerPoint, select the image, go to the ‘Format’ tab, and click ‘Design Ideas’ on the right-hand side of the ribbon to access a variety of formatting suggestions.