
To create a hanging indent in Google Slides, select your text, go to Format → Format options → Text fitting, and set “Special” to Hanging. You can also create a hanging indent by dragging the indent markers on the ruler or by using the Ctrl + Shift + Enter (Windows) / Cmd + Shift + Return (Mac) keyboard shortcut to break lines and adjust the indentation.
Hanging indents help structure text so the first line stays aligned with the margin while the following lines are indented, making lists, references, and multi-line points easier to read. In this guide, we’ll walk you through three simple ways to create a hanging indent in Google Slides step by step.
What Is a Hanging Indent?
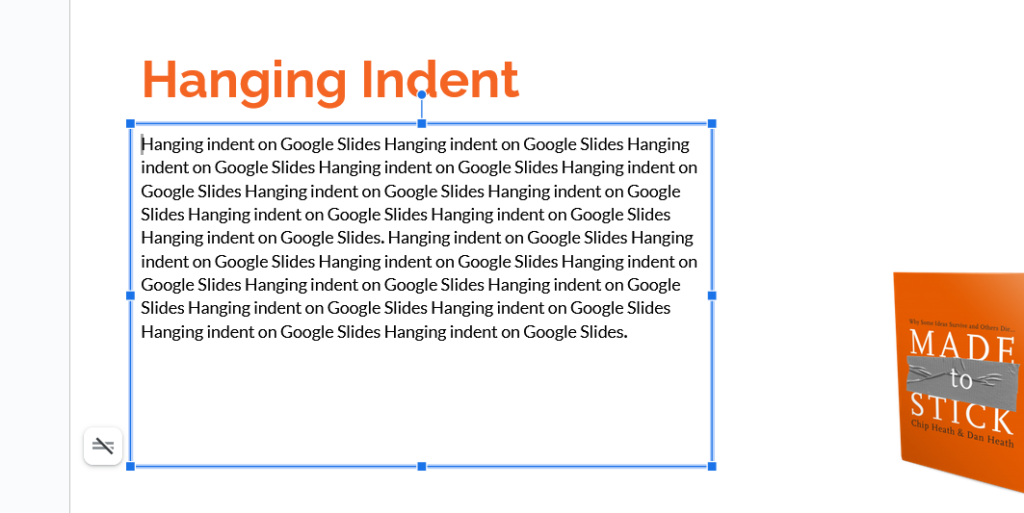
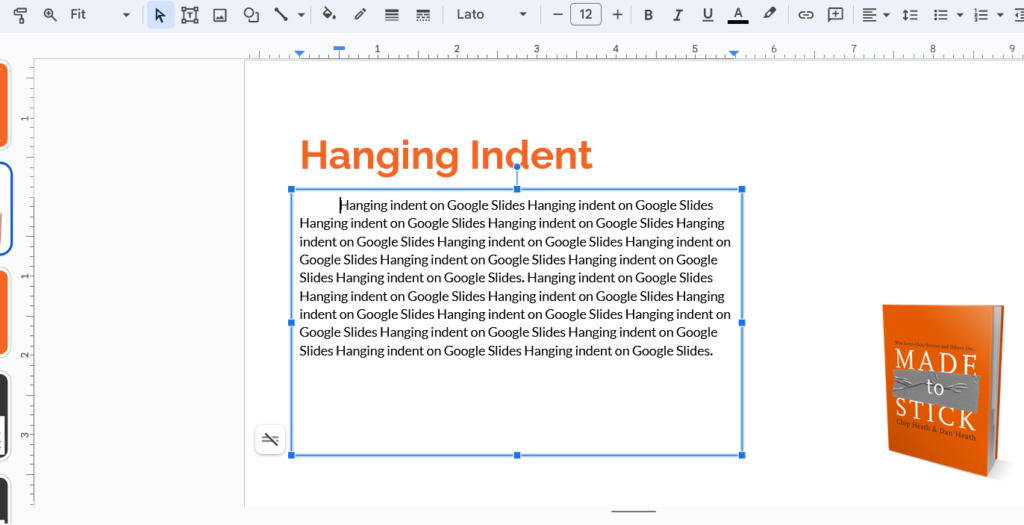
Hanging indents are a special formatting style where the first line of a paragraph remains aligned with the margin, and the following lines are indented.
This formatting style works wonders for crafting lists, bibliographies, academic citations, and references—basically, any content that needs a crisp separation between the first line of the paragraph and the rest. The hanging indent boosts readability and keeps your content neat and tidy, helping your audience swiftly spot important details.
A Step-by-Step Guide to Creating Hanging Indents in Google Slides
Knowing how to do a hanging indent on Google Slides will help make navigation easier for you as a presenter and enhance the content understanding for your audience.
Let’s explore two methods for creating indentions in Google Slides.
Method 1: Use a Ruler to do Hanging Indent
- Open Your Presentation:
Start by opening the Google Slides presentation where you want to apply the hanging indent.
- Access the Ruler:
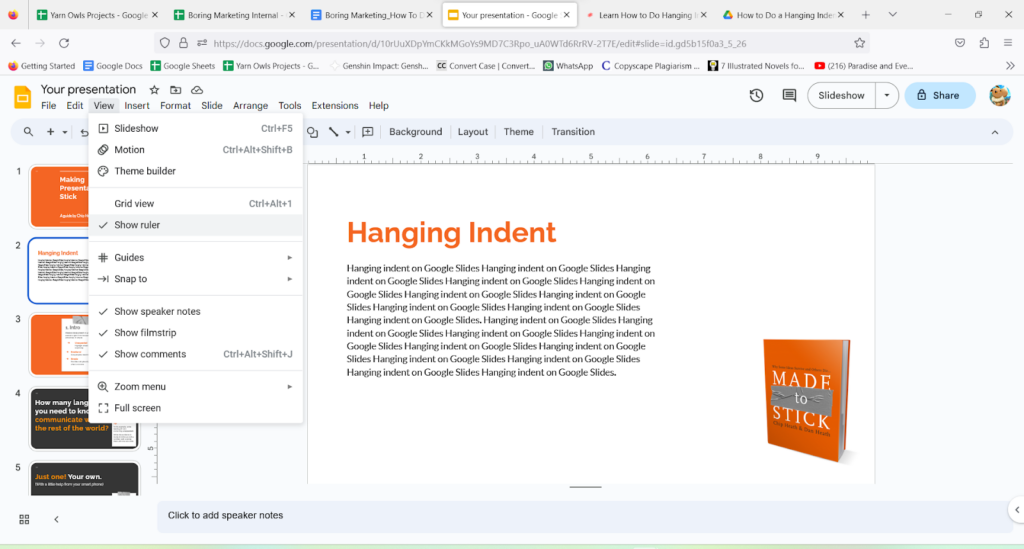
Access the ruler by checking the top of the slide editing area. If you can’t locate it, click the “View” menu and choose “Show ruler.”
- Select the Text:
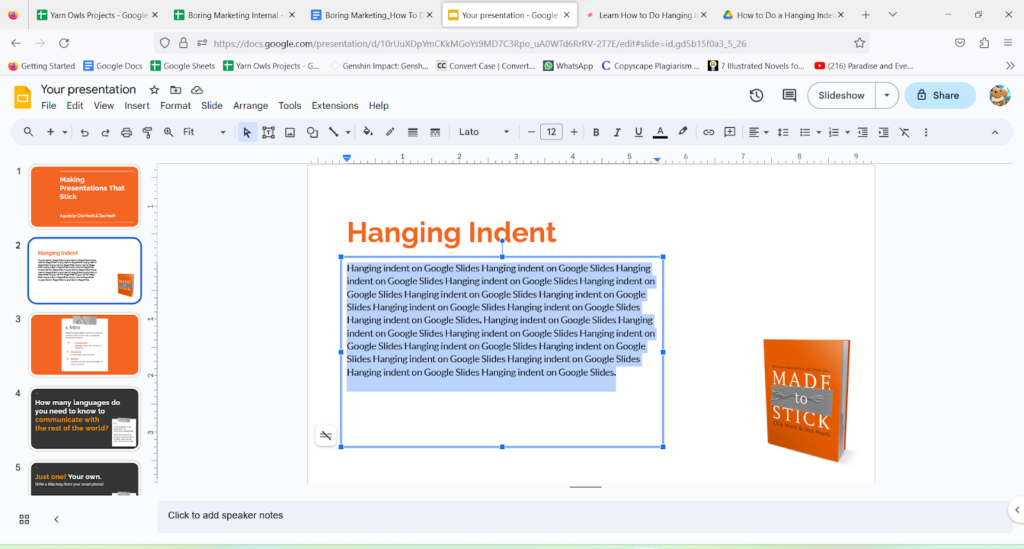
Click and drag to select the text where you want to apply the hanging indent. This could be a bullet list, paragraph, or any section you want to format.
- Add the First Line Indent:
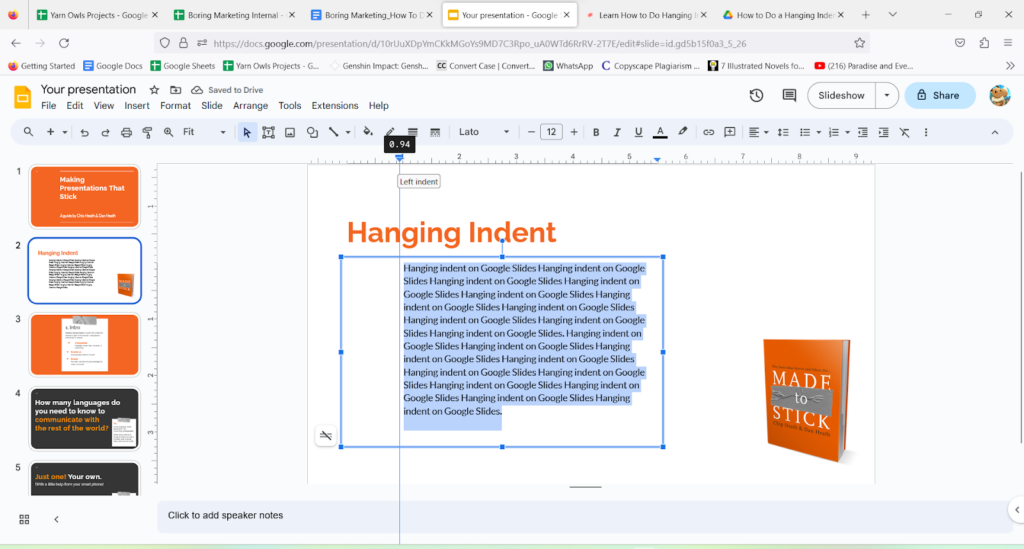
The ruler displays a blue rectangle as the left indent marker and a gray rectangle as the left margin marker. Move the left indent marker to the right by clicking and dragging, determining the distance of the first line from the left margin. This is vital to highlight the first line.
- Create the Hanging Indent:

Apply the hanging indent by dragging the gray rectangle of the left margin marker to the left, aligning it with the left margin. This action guarantees that all lines except the first are indented.
- Adjust the Hanging Indent:
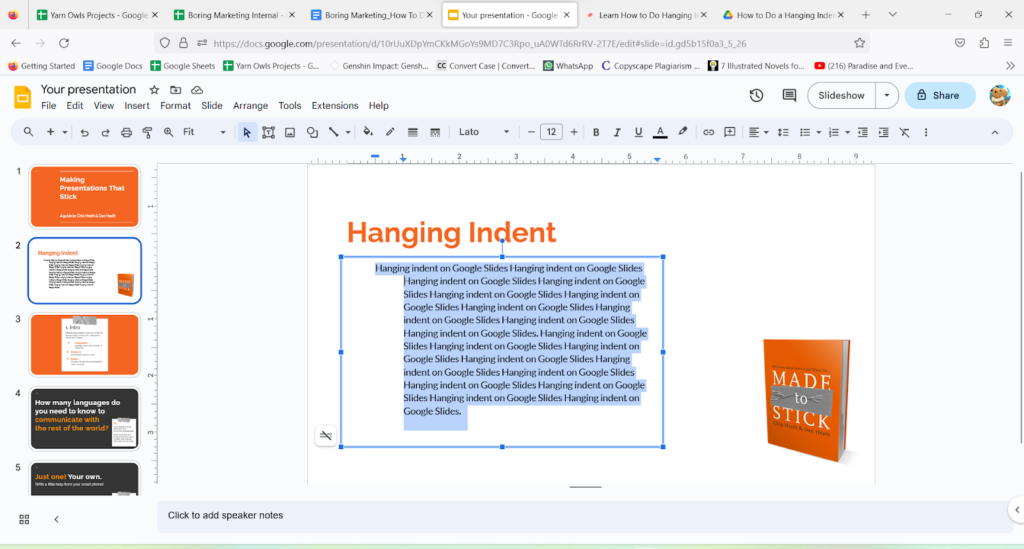
If the hanging indent isn’t at your desired depth, adjust it by dragging the left margin marker to the right as needed.
Learn More About – How to Format Text in Google Slides?
Method 2: Hanging Indent in Google Slides Using Your Keyboard
- Open Your Presentation:
As before, start by opening your Google Slides presentation.
- Adjust the Cursor:
Place the cursor at the beginning of the entire paragraph.
- Create the Hanging Indent with the Tab key:
Press the “Tab” key on your keyboard. This action will indent every line of the paragraph except the first one, creating a hanging indent. The first line will remain at the original left margin.
- Access the “Align & indent” Submenu:
Hover over “Align & indent” in the dropdown menu that appears.
Adjust the Hanging Indent:
To increase the hanging indent’s size, press the “Tab” key multiple times. Each press of the “Tab” key will add additional space to the indent.
To decrease the hanging indent’s size, use “Shift + Tab.” This will reduce the amount of space for the hanging indent.
There you go! You’re now all set to use hanging indent to make your presentations more professional!
Related Read – How To Do Hanging Indent On PowerPoint?
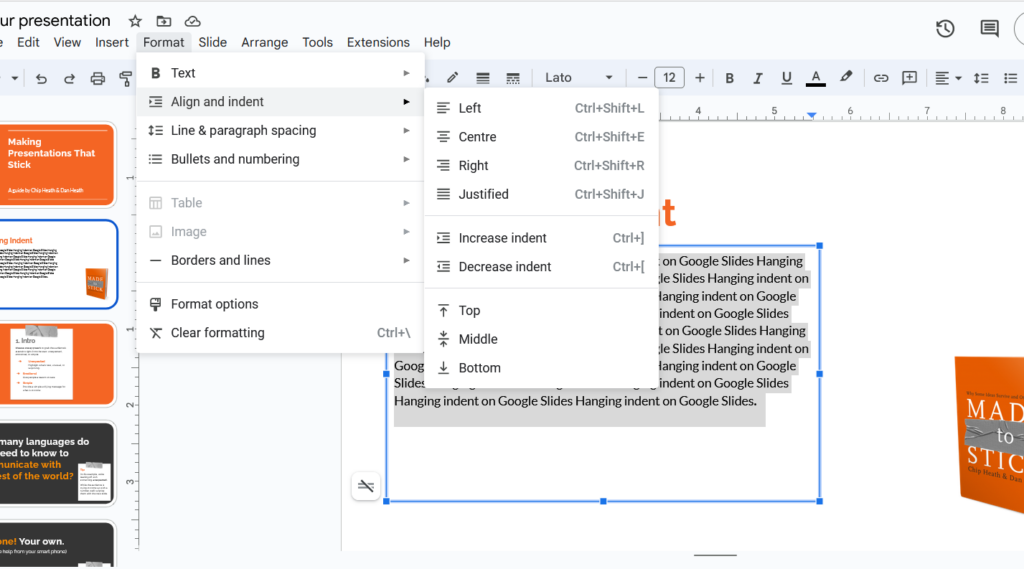
Method 3: Apply a hanging indent in Google Slides using “Format Options”
To create a stylish hanging indent in your Google Slides, use the “Format” tab. Here’s how:
Step 1: Open your Google Slides presentation and pick the layout and slide where you want the hanging indent.
Step 2: Head to the “Format” tab, click on “Format Options,” and choose “Text Fitting” from the menu.
Step 3: Pick the line where you want the indent.
Step 4: In the “Special” box, choose “Hanging” from the options.
Step 5: Adjust the spacing you want using the direction buttons in the “Text Fitting” section.

Wrapping Up
Whether you’re rocking the ruler technique or mastering the keyboard wizardry, diving into the world of hanging indents is like giving your text a makeover. It’s not just about structure – it’s about turning your content into a visual delight.
By leveraging the Indent tool in Google Slides, you can sprinkle hanging indents consistently across your presentation, transforming it into a polished masterpiece that hooks your audience and captivates them.
One similar tool that can further help you transform presentations into polished masterpieces is SlidesAI!
Powered by advanced AI technology, SlidesAI is a revolutionary add-on tool that pairs with Google Slides to transform your presentation experience. SlidesAI effortlessly converts plain text into visually impressive slides, making it suitable for various events, from sales pitches to educational lectures and conference presentations.
Build Stunning Slides in Seconds with AI
- No design skills required
- 3 presentations/month free
- Don't need to learn a new software

Also learn about – How to Wrap Text in Google Slides?
Frequently Asked Questions
1. How to do hanging indent on Google Slides on the second line of a bullet?
To apply a hanging indent on the second line of a bullet in Google Slides, highlight the text, adjust the left indent marker on the ruler for the first line, and then drag the left margin marker to create the hanging indent.
2. How do you overhang an indent in Google Docs?
Select the text and increase the left indent value within the “Indentation options” dialogue for overhanging an indent in Google Docs.
3. How to do a 0.5 hanging indent on Google Docs?
To create a 0.5 hanging indent in Google Docs, highlight the text, go to “Format” > “Align & indent” > “Indentation options,” choose “Hanging,” and set the “By” value to 0.5 inches.
4. How to do hanging indent on Google Slides on Mac?
When working on Google Slides on a Mac, select the text, adjust the left indent control marker for the first line using the ruler, and then drag the left margin marker to generate the hanging indent.
5. Is there a quick way to make a hanging indent?
Yes! You can press Shift + Enter + Tab to create a hanging indent on the next line.
6. How can I remove a hanging indent once it’s there?
There are two ways to do this:
- Drag the “Left indent” icon on the ruler back to the left margin after selecting the indented text.
- Or, go to Format > Text Fitting > Special > None to clear the hanging indent.
7. Can I apply a hanging indent to multiple lines at once?
Definitely! Just select the lines you want to indent and use the different methods mentioned earlier. It’ll apply the indent to all the selected lines together.
8. What formatting issues should I be aware of when using a hanging indent?
Here are some things to watch out for when using a hanging indent, for example, with any templates:
- Line spacing: Sometimes, the spacing between lines might change after you add the indent. You might need to adjust it manually.
- Bullets/numbering: The indent could mess up how your bullets or numbers line up. Use the “Numbering and indentation options” to fix this.
- Consistency: Make sure you use hanging indents the same way all through your presentation for a polished look.
9. My hanging indent isn’t appearing correctly. What’s wrong?
If your hanging indent doesn’t look right, here’s what you can do:• Check the ruler: Make sure you can see the ruler (go to View > Show ruler).• Look for formatting issues: See if there’s any other formatting that’s affecting the indent.• Adjust the ruler: Click and hold the “Left indent” icon, then hold Shift and move it to adjust the indent precisely.
10. The indent is affecting the formatting of other lines in my text. How can I fix it?
If the indent is messing up other lines in your text, try these fixes:• Remove custom indentation: Get rid of any special indentation settings you put on those lines.• Adjust paragraph spacing: Make sure there’s no weird overlap or gap between paragraphs.• Check line spacing: Keep the spacing between lines consistent all through your presentation.
11. I can’t seem to adjust the indent amount using the ruler. What should I do?
Having trouble adjusting the indent on the ruler? Here’s what to do:For precise adjustments, click and hold the “Left indent” icon on the ruler. Then, while holding Shift, drag it to make the changes you need. This gives you more control over the indent amount.
12. How can I use hanging indents with different bullet point styles?
Wondering how to use hanging indents with different bullet point styles? You’ve got two options:
- Change bullet formatting: Select the bullets, right-click, choose “More options,” then “Change indent.”
- Use the “Hanging indent” option: Adjust the indent amount and nesting level as required.
13. What are some creative ways to use hanging indents in my presentations?
Looking for creative ways to use hanging indents in presentations? Here are some ideas to inspire you:
- Highlight key phrases or titles by indenting them for emphasis.
- Create visually appealing call-to-actions with indented text in a larger font.
- Separate steps in a process using hanging indents for clarity.
- Present dialogue lines by indenting each character’s lines for better organization.
14. When should I use a hanging indent in my Google Slides presentations?
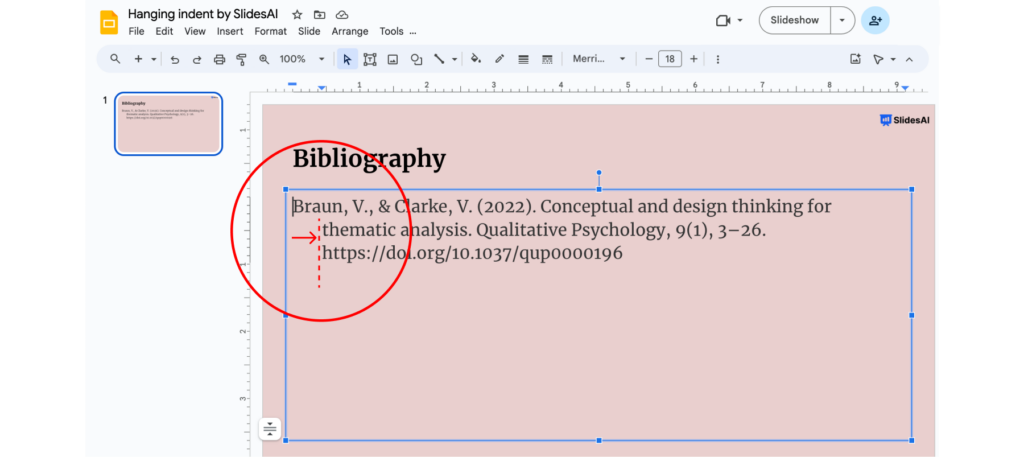
Hanging indents are super helpful when you are working with:• Bibliographies and References: They neatly separate titles from the text, making it easy to find what you need.
- Outlines and Lists: They make the main points stand out from the sub-points, keeping things organized.
- Multi-line Quotations: By giving them space, hanging indents make long quotes easier to read.
- Poetry and Song Lyrics: These indents add style and structure, making poems and lyrics look better.