You’re building a presentation and want to add checkboxes for a checklist, quiz, or task list, but it’s not immediately clear how to do it in Google Slides.
The problem is, Google Slides doesn’t have a direct “insert checkbox” button like some other tools. So most users end up searching for workarounds or struggling to create clean, structured lists.
The good news? There are a few simple ways to add checkboxes and make your slides more interactive and organized. In this guide, we’ll show you three easy methods to insert checkboxes in Google Slides step by step, so you can choose the one that works best for your presentation.
How to Make Checkboxes in Google Slides? 3 Methods
There are three methods to make checkboxes in Google Slides. They are:
- Bullets: Convert existing bullets to checkboxes.
- Special Characters: Insert a checkbox symbol manually. (This method might not be ideal for interactive checkboxes)
- Shapes: Create a square and customize it for a checkbox look.
We’ll dive deeper into each method next.
Method 1: Using Bullets
Here’s how to create a checkbox using bullets:
- Start With Your List Items: Type out the items you want to include in your checkbox list.
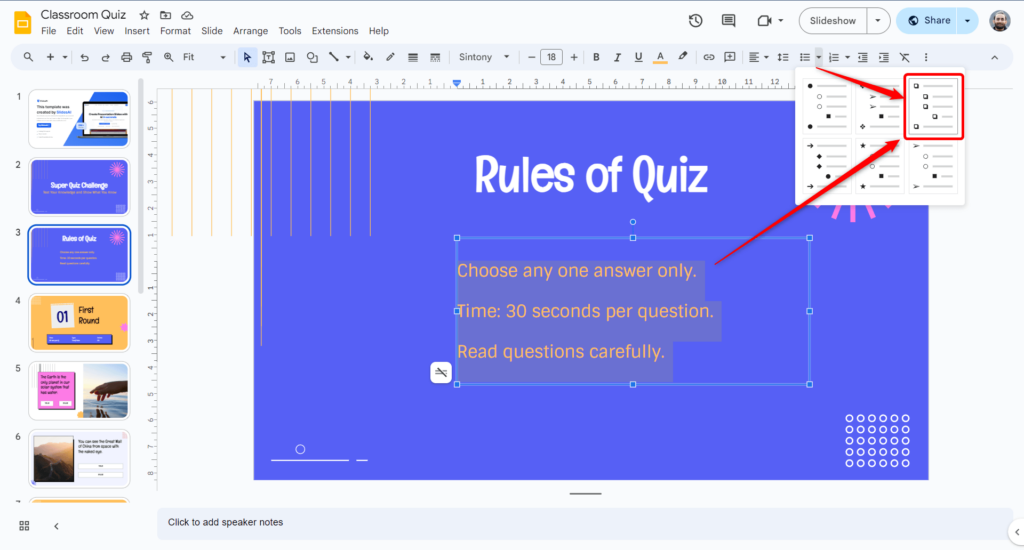
- Highlight the List: Select the entire list of items you just typed.
- Choose the Checkbox Option: Click the arrow next to the Bulleted List icon and select the “Checkbox” option.
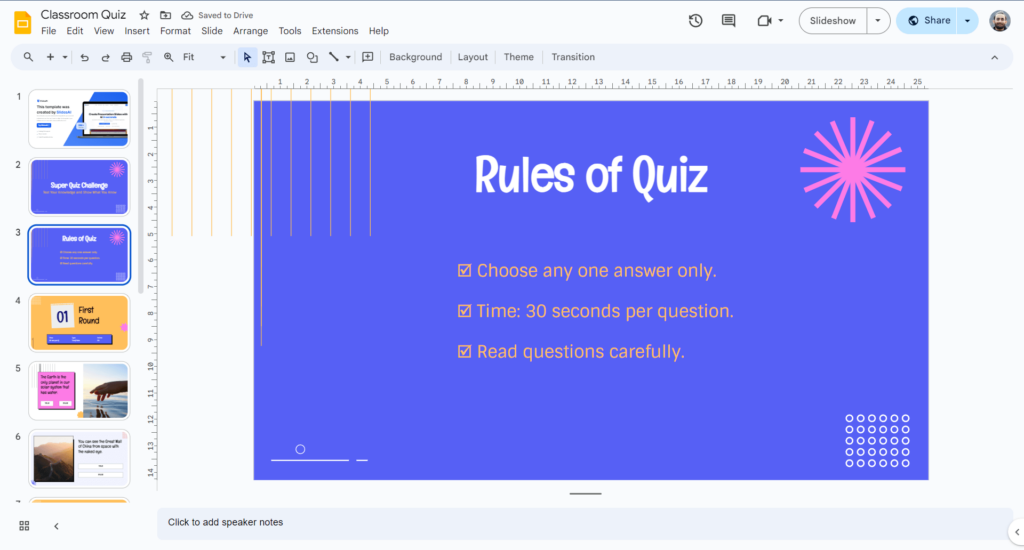
- Marking Checkboxes: To check or uncheck a box, simply double-click it. You can also right-click the checkbox and choose the checkmark icon for the same effect.
Also Read: How to Add Bullet Points in Google Slides? A Step-by-Step Guide
Method 2: Using Special Characters
Here’s how to create a checkbox using special characters:
Step 1 – Position Your Cursor: Click where you want the checkbox to appear in your document.
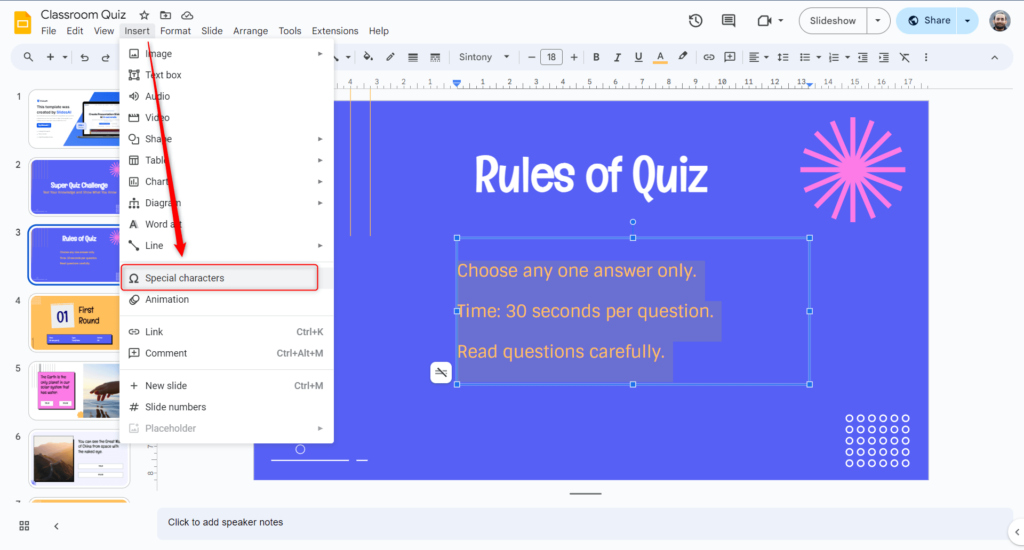
Step 2 – Open the Symbol Menu: Find the “Symbol” or “Special Characters” option within your program’s Insert menu.
Step 3 – Find the Checkbox Symbol: Utilize the search bar within the menu and type “check” to locate the checkbox character.
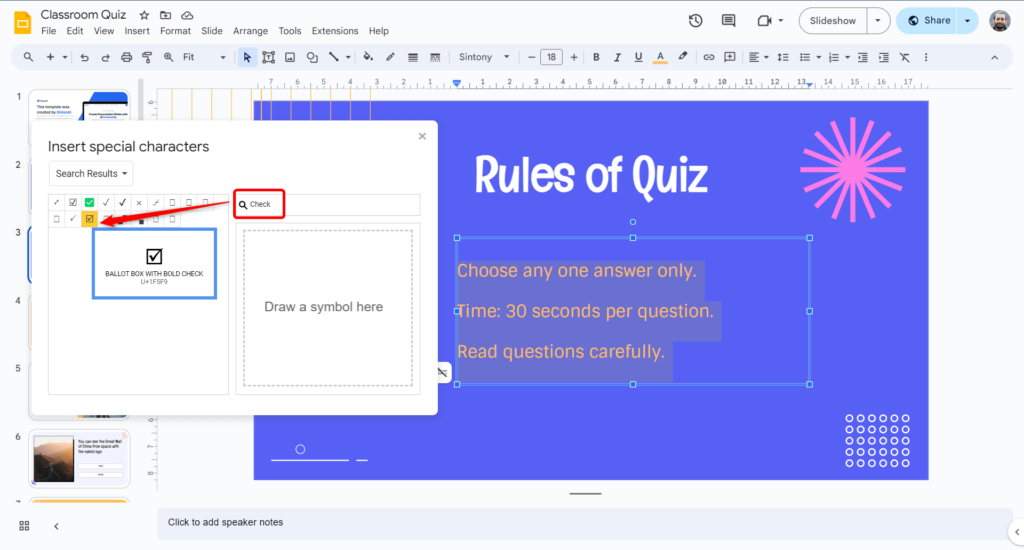
Step 4 – Insert the Checkbox: Simply click on the checkbox character, and it will be inserted at your cursor’s position.
Method 3: Inserting Shapes
Here’s how to create a checkbox using shapes:
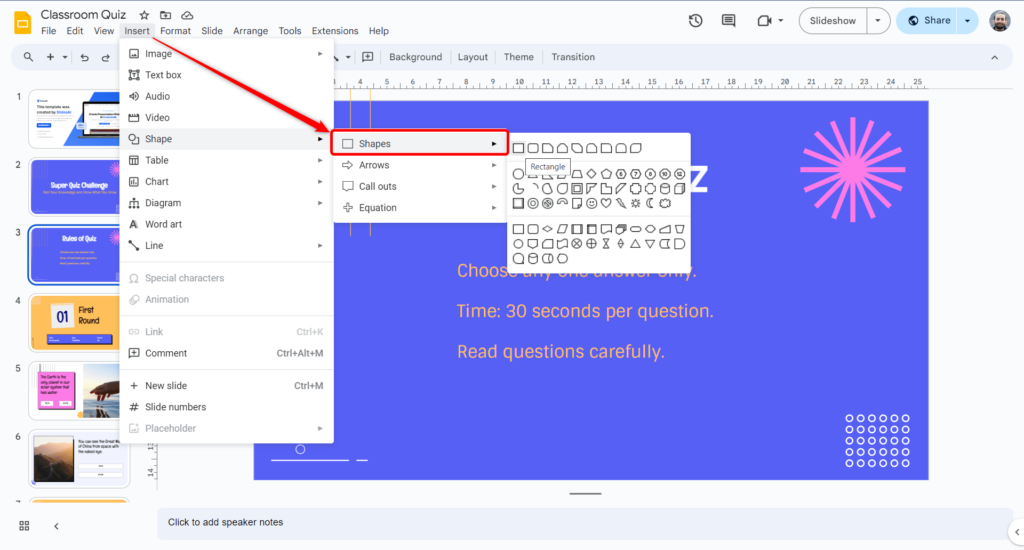
- Open the Insert menu: Click on “Insert” at the top of the Google Slides window.
- Choose a Shape: Select “Shape” from the dropdown menu.
- Pick Your Checkbox Shape: A menu of shapes will appear. Typically, a square or rectangle works best for checkboxes. Choose the one you prefer.
- Resize and Style: Click and drag the shape corners to adjust its size to your liking. You can also right-click the shape and use the formatting options to change its color and line style to match your presentation’s design.
- Add a Checkmark: Once you have your square or rectangle, you’ll need to add a checkmark symbol inside it. You can do this by inserting a text box containing a checkmark character (like ✓) and positioning it within the shape.
Also Read: Fixing Google Slides Error Rendering Shape
Limitations of Checkboxes in Google Slides
The only major limitation of Google Slides is that while it allows you to create checkboxes, they don’t function like actual checkboxes during a presentation. This means the presenter cannot click them to mark items complete. You can try some workarounds for that, like:
- Manual updates: You can manually add or remove a checkmark symbol to represent selection during your presentation.
- Pre-ticked slides: Create separate slides where each checkbox is pre-marked and linked together using hyperlinks. This allows you to visually represent selection by switching between slides.
Closing Thoughts
Checkboxes offer a valuable way to boost audience engagement in your Google Slides presentations. They can transform your slides into interactive quizzes, surveys, or checklists, keeping viewers on their toes.
While Google Slides checkboxes themselves aren’t currently clickable during presentations, the methods outlined here provide creative solutions to achieve a similar effect. So go ahead and unlock the power of checkboxes to make your presentations truly engaging!
Ready to take your Google Slides presentations to the next level? SlidesAI helps you create beautifully designed slides in seconds, with no design skills required.
Create Presentations Easily in Google Slides and PowerPoint
- No design skills required
- 3 presentations/month free
- Don't need to learn a new software

Frequently Asked Questions Related to Inserting Checkbox in Google Slides
Can I create a checklist in Google Slides?
Yes, although Google Slides doesn’t have built-in checkboxes like Google Docs, you can create a checklist using formatted bulleted lists and other methods.
How do I mark items off my checklist in Google Slides?
To “check” items on your bulleted list, make sure the bullets are squares (boxed). Then, click on a single bullet point, right-click, and choose the checkmark icon
How do I create a box around text or objects in Google Slides?
You can’t directly create a checkbox, but you can use a shape like a square as a box. Go to “Insert” > “Shapes” and choose your desired shape size and position.
Can I change the look of my checkboxes?
Absolutely! Right-click the checkbox (square) and select “Format options.” Here you can adjust the color, outline, and transparency. You can even add symbols for a personal touch.
How do I make my checklist interactive in Google Slides?
To create a dynamic experience, link your checkboxes to other slides. Select the checkbox, go to “Insert” > “Link,” and choose the slide you want to jump to when the checkbox is clicked.
Why Use Checkboxes in Google Slides?
Checkboxes transform static presentations into dynamic tools. They’re ideal for:
- Interactive Quizzes & Polls: Gauge audience understanding or gather opinions in real-time.
- Task Management & Checklists: Visually represent progress and allow participants to mark tasks as complete.
- Decision-Making Processes: Present options and allow the audience to indicate their preferences.
- Engagement & Participation: Simply adding interactive elements boosts audience attention and involvement.