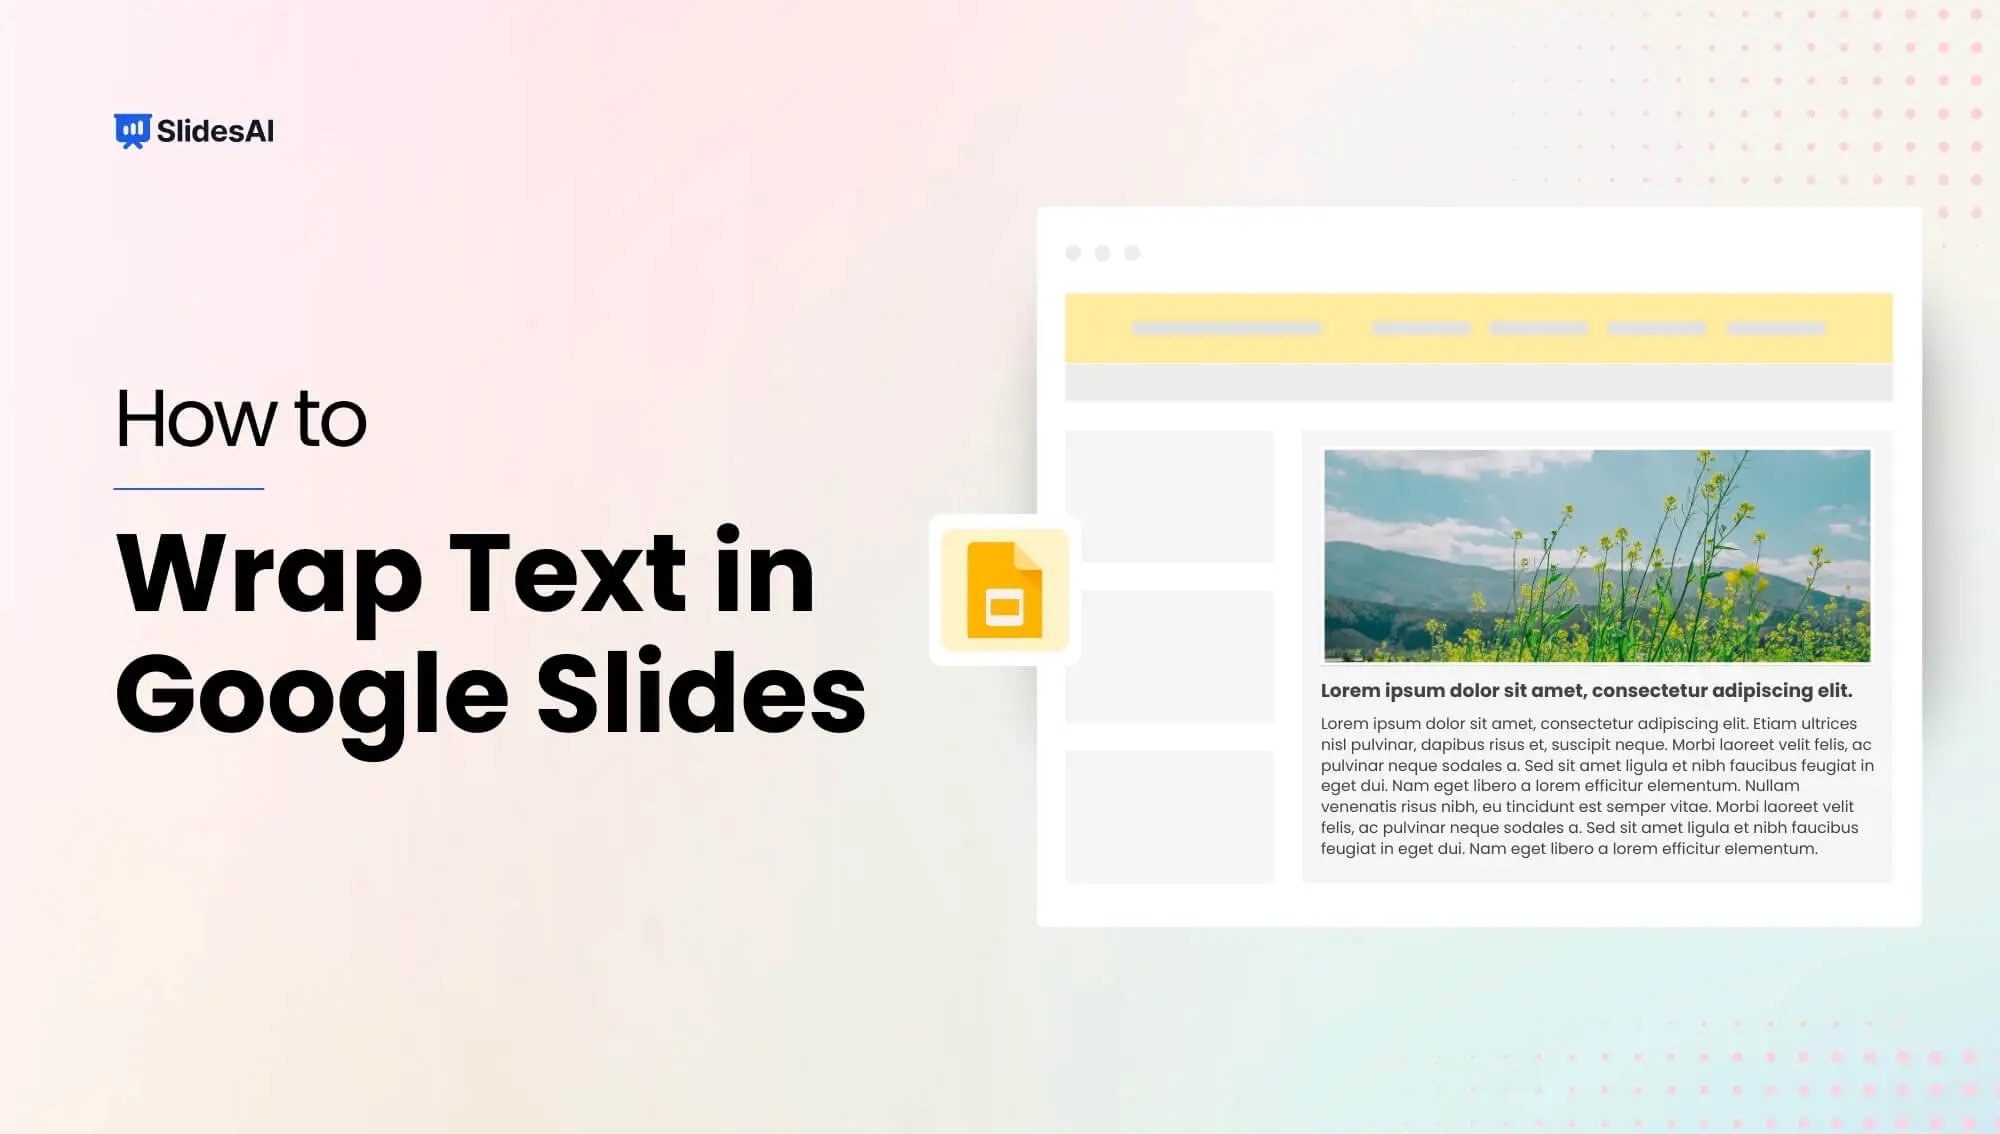
To wrap text around an image in Google Slides, create a layout with an image and multiple text boxes placed around it. Since Google Slides does not have an automatic “wrap text” feature, you need to manually position text boxes beside or below the image and resize them to fit neatly. Using justified alignment can improve the overall appearance and make the text look more naturally wrapped.
This guide will show you the easiest ways to do it step by step.
How to Wrap Text in Google Slides? 3 Methods
Adding text wrapping around images can enhance the polished look of your presentation with minimal hassle. While Google Slides doesn’t offer a dedicated wrap text option like Google Docs, you can still achieve a similar effect by combining text boxes and adjusting image placement. Here’s how to achieve text wrapping around an image in Google Slides.
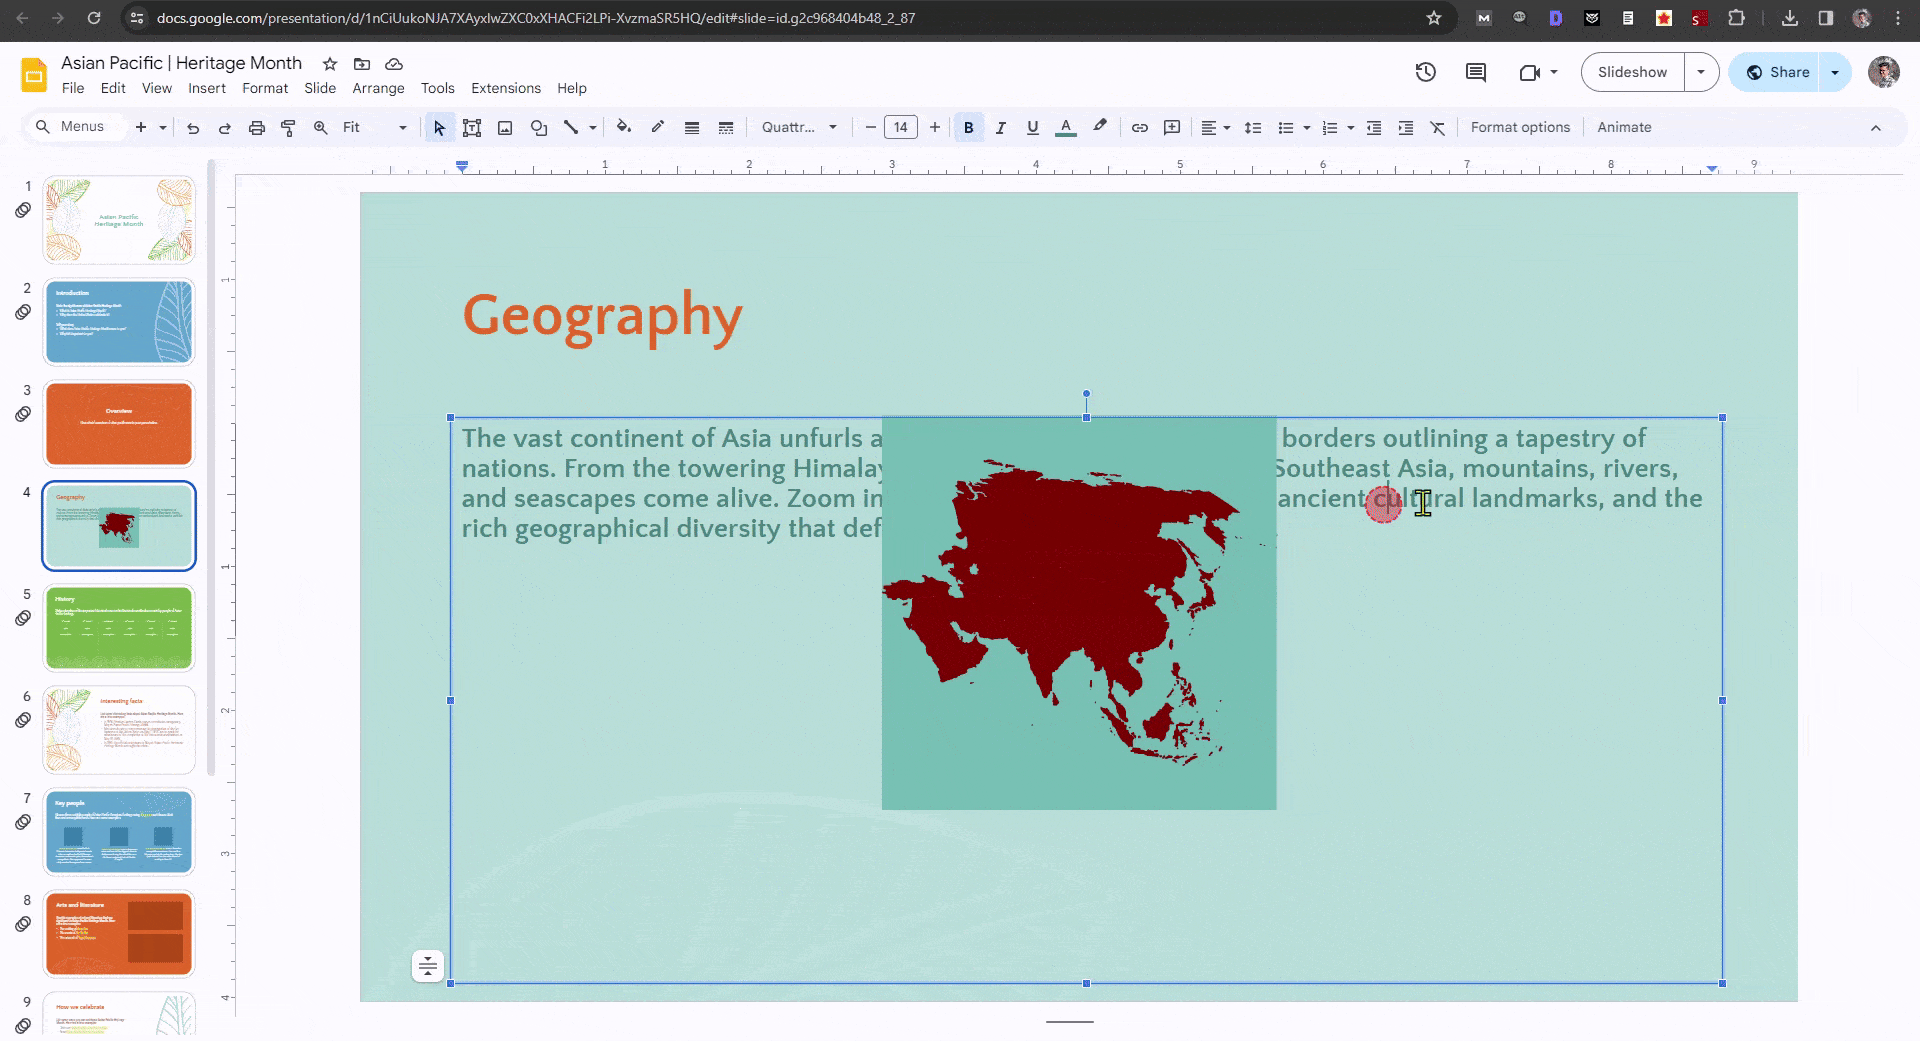
Method 1: Insert the image first, then create a text box around it
Step 1: Open your Google Slides presentation.
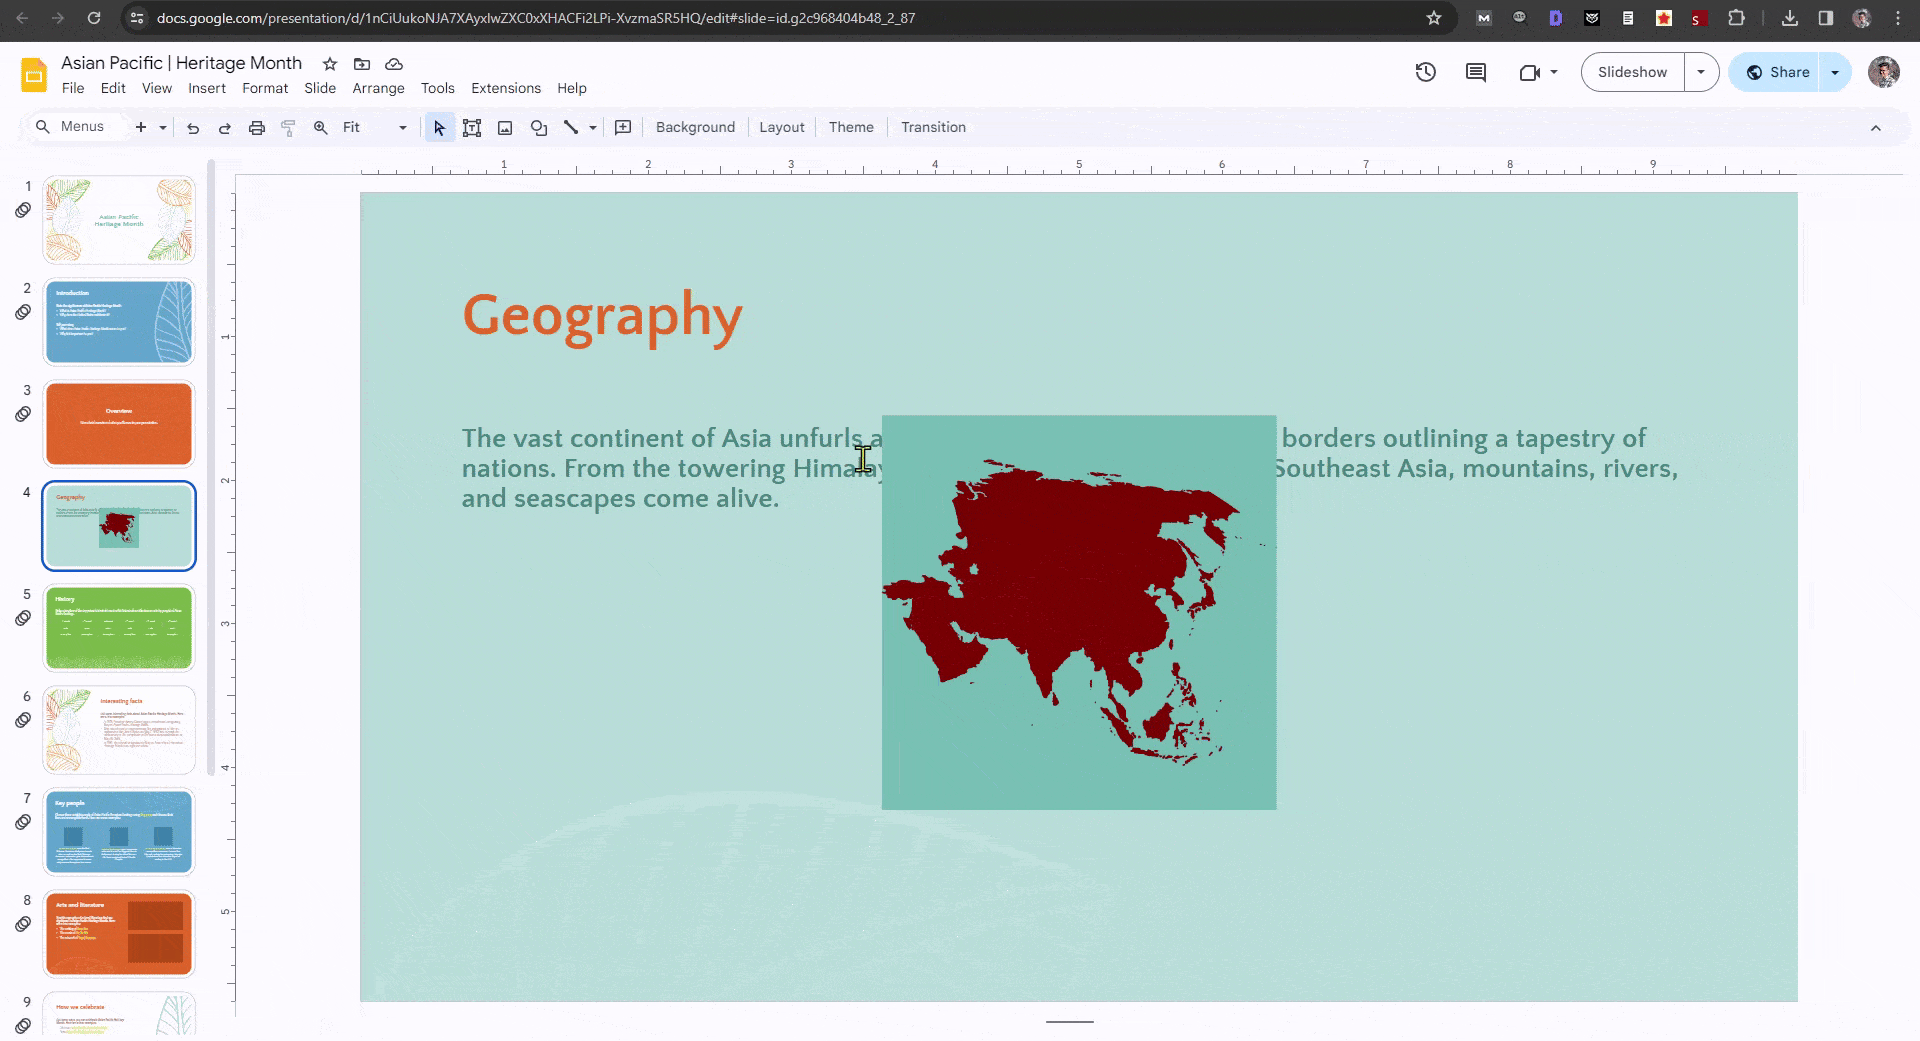
Step 2: Click Insert → Image and choose your image from your computer, Drive, or web.
Step 3: Drag and drop or resize the image to the desired position.
Step 4: Next, go to Insert → Text box and draw a text box in the area around the image (for example, left of the image).
Step 5: Type (or paste) your text into the box.
Step 6: Adjust the width of the text box and its position so that the text flows beside the image neatly (not overlapping).
Step 7: If necessary, create a second text box below or to the right of the image to continue the paragraph. This gives the illusion of text wrapping around the image.
Method 2: Manual Spacing for Clear Text
Step 1: Insert your image and place it where you want.
Step 2: Insert a text box and type your text.
Step 3: Use Enter (line breaks) within the text to force it to avoid areas that would overlap the image. For example, press Enter where the text meets the image boundary to push the remainder of the text to a new line or box.
Step 4: If that doesn’t give enough control, cut part of the text (Ctrl+X) and paste it into a separate text box placed below or to the side of the image so that your paragraph appears to flow around the image.
Don’t let text get hidden behind the image! Use “Enter” to make line breaks and control where the text wraps. This method gives you more control over where your text appears.
Method 3: Multiple Text Boxes for Flexibility
Step 1: Insert the image and position it.
Step 2: Insert several (two or more) narrow text boxes—one on each side or below the image.
Step 3: Distribute the text across those boxes so it visually “wraps” around the image. For example, you might have text on the left of the image, then image in the centre, then continuing text on the right or under.
Step 4: Align the boxes properly, use guides or the ruler if needed, so the layout looks balanced.
For text that can’t be wrapped around the image, cut it and paste it into a new text box placed somewhere else around the image. This method lets you create more complex layouts with text around images.
Bonus Tip: Zoom in on your slide for a closer look when aligning text boxes with images. Use the arrow keys to make small adjustments and get everything lined up perfectly.
Create Presentations Easily in Google Slides and PowerPoint
14M+Installs

4 Tips to Refine Text Wrapping in Google Slides
While Google Slides automatically wraps text around objects, you can refine the effect for a more polished look:
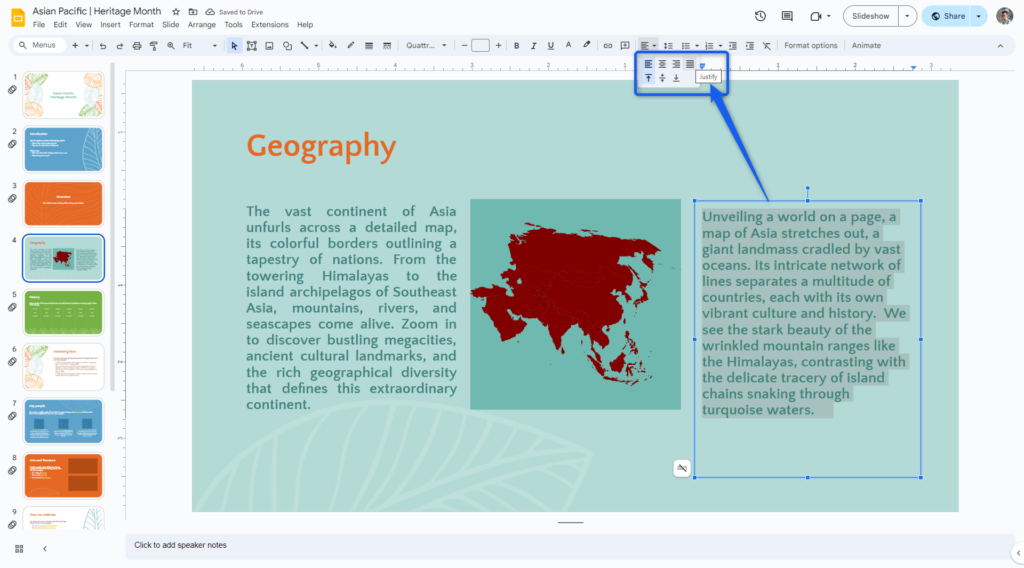
1. Justify Text:
- Select the text box with wrapped text.
- Go to the “Format” menu.
- Under “Align & indent,” choose “Justified.” This aligns the text evenly on both sides, eliminating the ragged right edge and creating a cleaner appearance.
2. Adjust Text Box Size:
- Experiment with resizing the text box. A smaller box might lead to fewer line breaks and a more compact text flow around the object.
- Conversely, a larger box might offer more space for text to flow naturally, potentially reducing awkward line breaks.
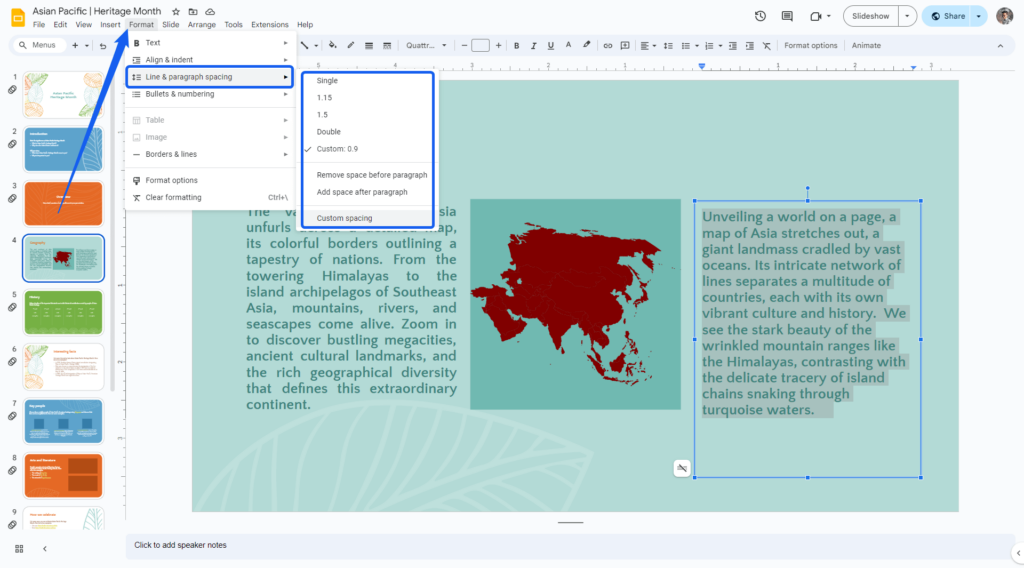
3. Play with Line Spacing:
- Go to “Format” > “Line spacing.”
- Experiment with different line spacing options. Increasing spacing can create more breathing room between lines, improving readability. Conversely, reducing it can condense the text and potentially enhance the wrapping effect.
4. Utilize Text Formatting:
- Adjusting font size, line height, and indentation can subtly influence the text-wrapping effect.
- For example, a smaller font size might allow for more characters per line, potentially impacting the wrapping pattern.
Benefits of Wrapping Text in Google Slides
1. Improved Visual Presentation:
Combining text and images creates a more engaging layout compared to using them separately, enhancing the overall visual appeal.
2. Better Readability:
Wrapping text around images makes better use of space, preventing text from being blocked by images and making it easier to read.
3. Professional Appearance:
Using this technique gives your presentations a polished look, making them appear more professional and impactful.
Also learn about – How To Do Hanging Indent On Google Slides?
“Create beautifully organized Google Slides presentations with ready-to-use templates.”
Frequently Asked Questions
What is text wrapping?
In presentations, text wrapping controls how text behaves around images and other elements. It simply means how the text is divided into lines, paragraphs, and so on, for better reading. Common text wrapping techniques involve adjusting the font size, line spacing, margins, and indentations. Using these methods helps your presentation slides look professional and organized. Text wrapping also helps break down big blocks of text, making them easier to read. It can even add visual interest and draw attention to specific parts of your slide.
Why Can’t I Wrap Text in Google Slides?
Google Slides doesn’t have a built-in “wrap text” like Docs. But you can still achieve similar effects by adjusting text boxes and using the Drawing tool.
How do I curve text in Google Slides?
Use the “Curve” tool in Drawing, then type or paste the text inside the curved shape.
Can I wrap text around multiple images?
Yes, select each image and adjust the text box accordingly.
How do I put an image behind the text?
Move the image on top of the text, then press “Ctrl + Down” to move it back.