
If you want to create columns in Google Slides, there are easy methods. You can either insert a table to create multiple columns or use a pre-built slide layout with two columns.
To add columns quickly, go to Insert → Table and choose the number of columns you need. Alternatively, you can select Layout → Title and Two Columns to split your slide into two sections automatically.
Columns help organize information, compare ideas, and make your slides easier to read. This article helps you learn this easily and become a master at it.
How to Add Columns in Google Slides?
You can add columns to a slide using two different methods. The examples below explain how to make columns in Google Slides.
Method 1: How to Add Table Columns in Google Slides
If you’re looking to add more than two columns or want a different type of column layout, follow these steps:
Step 1: Open Google Slides and Insert a Table:
From the Insert menu, select “Table” and then choose the number of columns and rows you need. For example, if you want three columns, select a table with three columns and multiple rows.
Step 2: Customize Your Table:
Once your table is inserted, you can adjust the size of the columns and rows to suit your presentation. Click and drag the table borders to resize it, and right-click within cells to add content or additional rows and columns.

Step 3: Add and Format Content:
Populate your table with the desired content, such as text or images. You can format the content within each cell, change fonts, add colors, and more to match your presentation’s style.

Step 4: Fine-Tune Table Design:
If you need further customization, you can access table formatting options to adjust borders, cell padding, and alignment for a polished look.

Method 2: How to Make Text Columns in Google Slides?
For text-heavy slides, organizing your content into columns can make your information more digestible:
Step 1: Start With a Blank Slide:
Open a new blank document in Google Slides.
Step 2: Use the Layout Menu:
Click on the “Layout” option in the toolbar and select either “One column text” or “Title and two columns” depending on your needs.

Step 3: Adjust the Text Box:
Draw your text box across the slide, then access the Format options to adjust the column settings within your text box, fine-tuning your design as needed.
Step 4: Add Text Content:
Begin typing or pasting your text into the columns. You can use bullet points, numbering, or other formatting options to enhance readability.

Step 5: Visual Enhancements:
Complement your text columns with images, charts, or icons to illustrate key points or add visual interest to your slides.
Also Read: How to Make a Table on Google Slides?
How to Add More Columns in Google Slides?
Google Slides doesn’t have a ready-made option to add more than two columns, but you can still make it happen with a little workaround. Let’s see how to do it step by step:
Step 1: Change your slide layout to “Title and two columns”.
Step 2: Adjust the size of the columns using the borders until they look right.
Step 3: Move the columns around by dragging them to make space for a new one.
Step 4: Copy one of the existing columns by selecting it and pressing “CTRL + D” (for Windows) or “Command + D” (for Mac).

Step 5: Put the duplicated column where you want it to make the slide look good.
By following these steps, you can add one more column to your Google Slides presentation. This helps organize your content better and makes your presentation more visually appealing. Just make sure to think about how big and where each column should be for the best look and understanding.
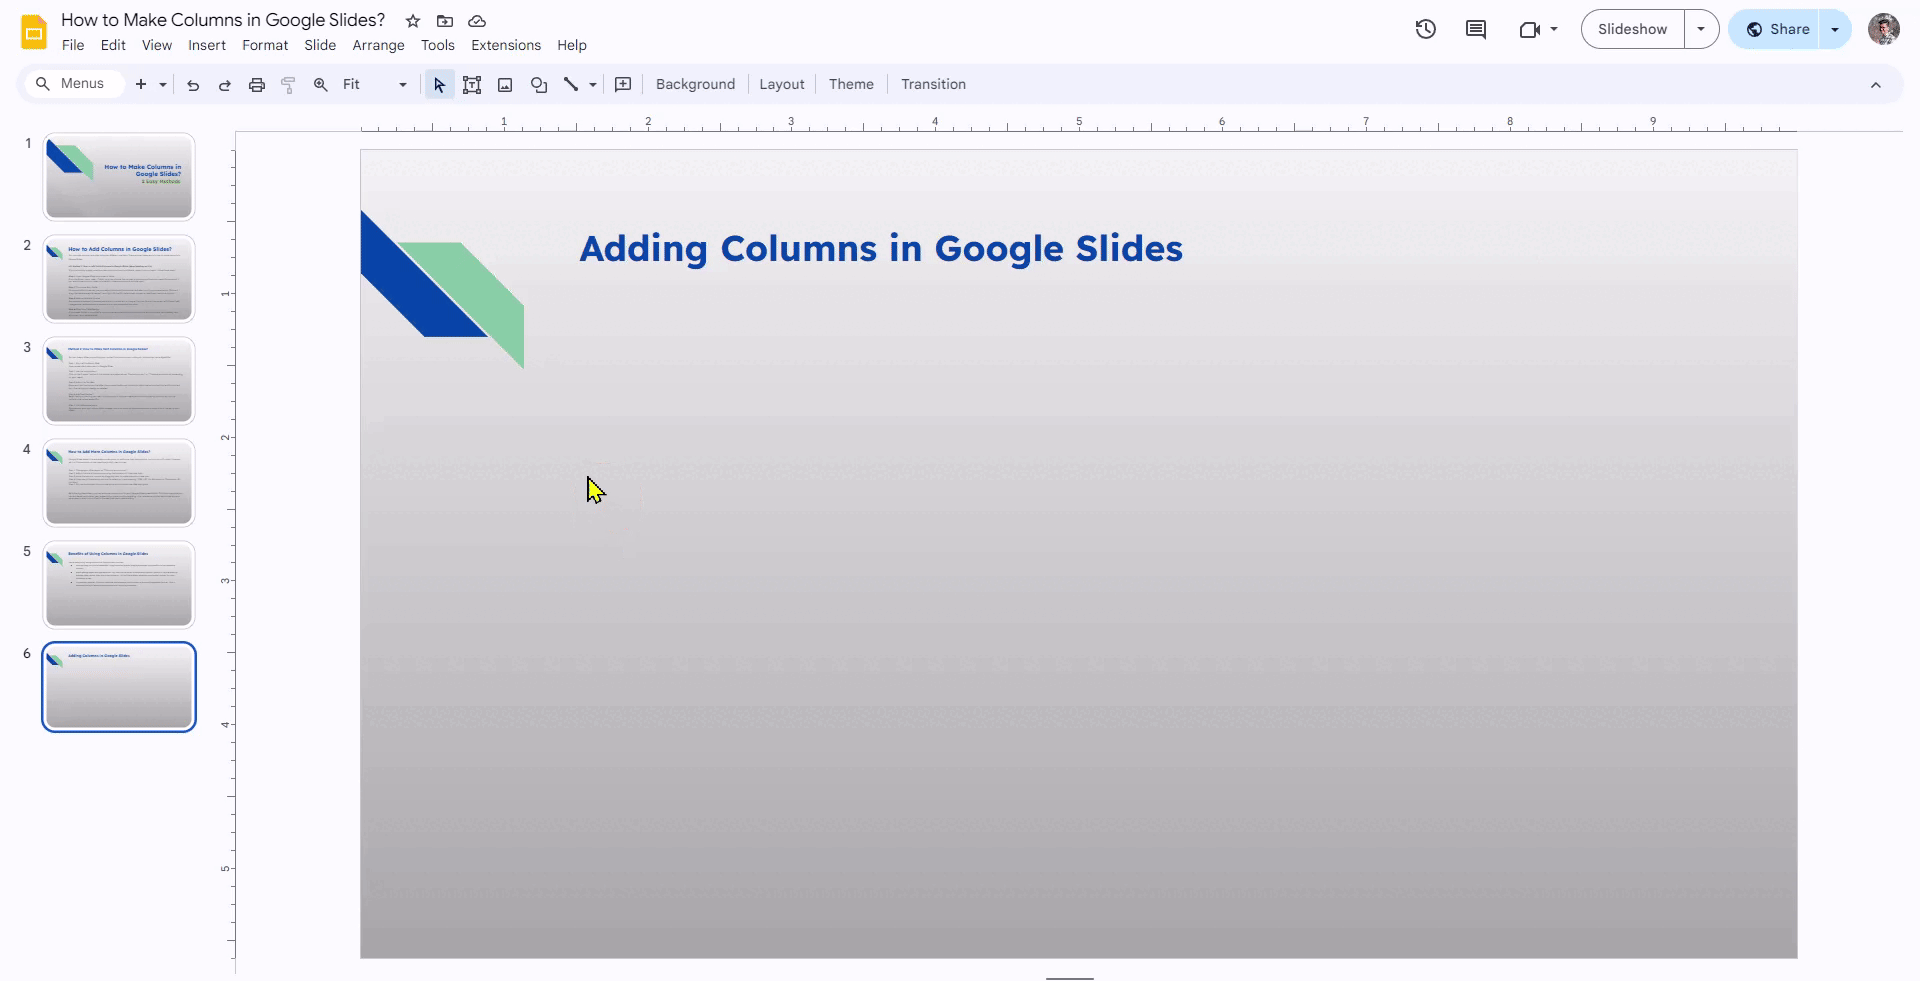
How to insert columns in Google Slides using SlidesAI quickly?
Step 1: Open the Google Slides Presentation and install SlidesAI Add-on. Log in or set up your Slides AI account.
Step 2: After setting up the account, from the home tab, go to Add-ins and select SlidesAI
Step 3: Select Generate new presentation.
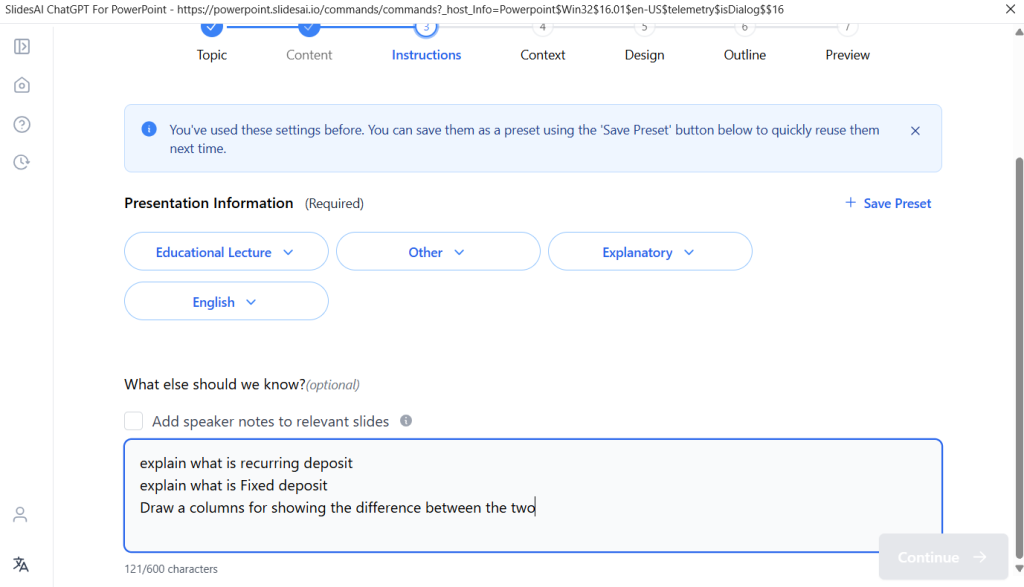
Step 4: Enter the topic of your presentation. For example, here I have entered “Difference between Recurring Deposit and Fixed Deposit”
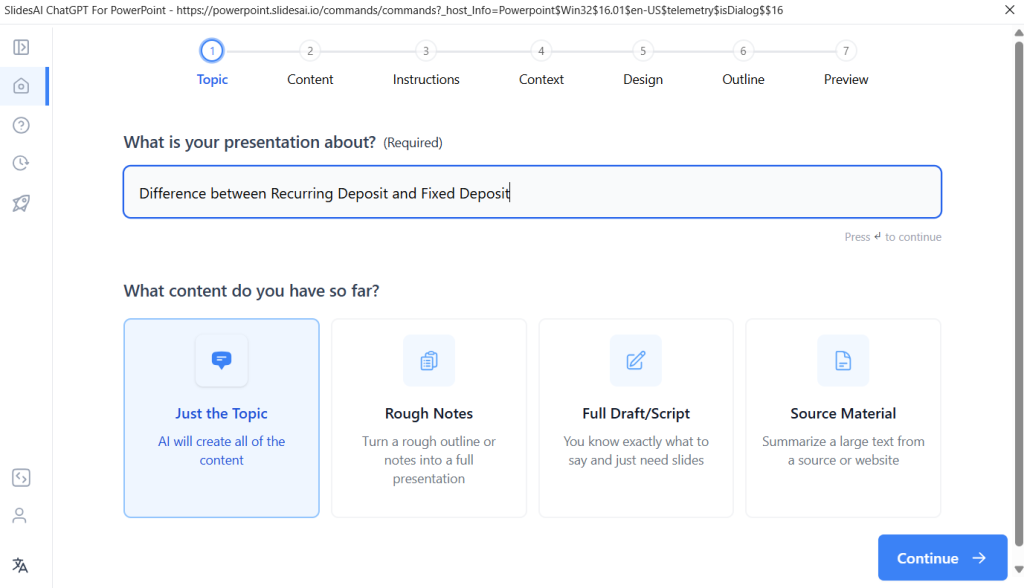
Step 5: Select the Presentation type, Audience, Tone and language.
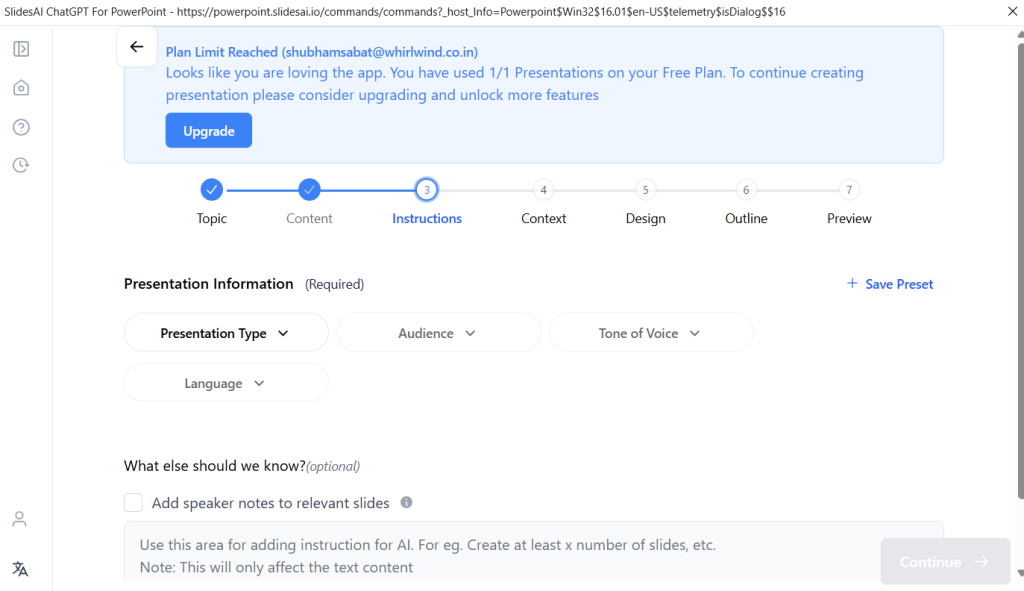
Step 6: Under the section “What else should we know?” add proper instruction about what do you want to include in your presentation
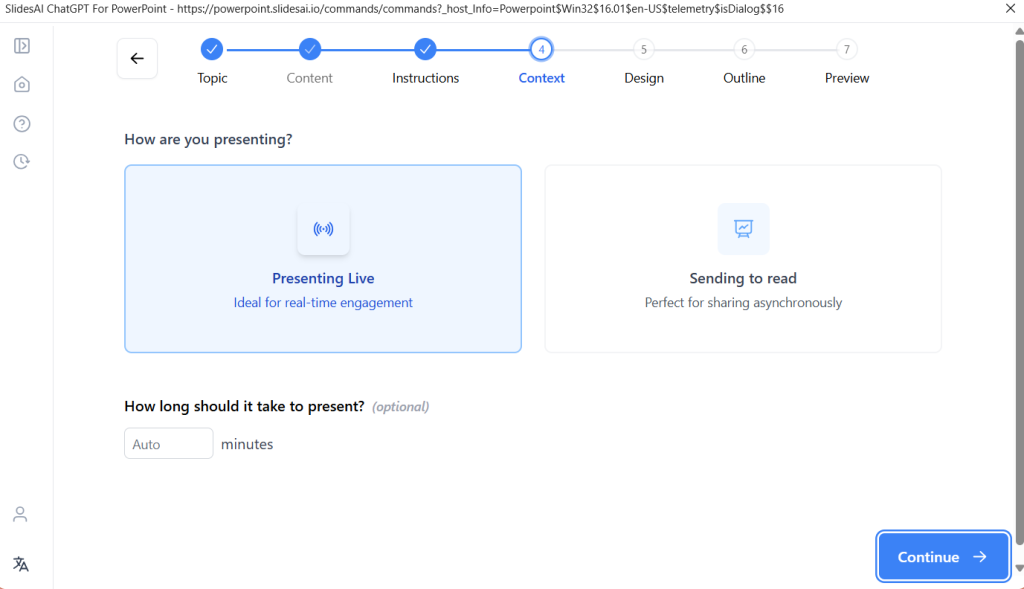
Step 7: Choose how you want to present your presentation.
Step 8: Select the presentation template of your choice from the template options. Insert your logo, choose if you want to insert AI images.

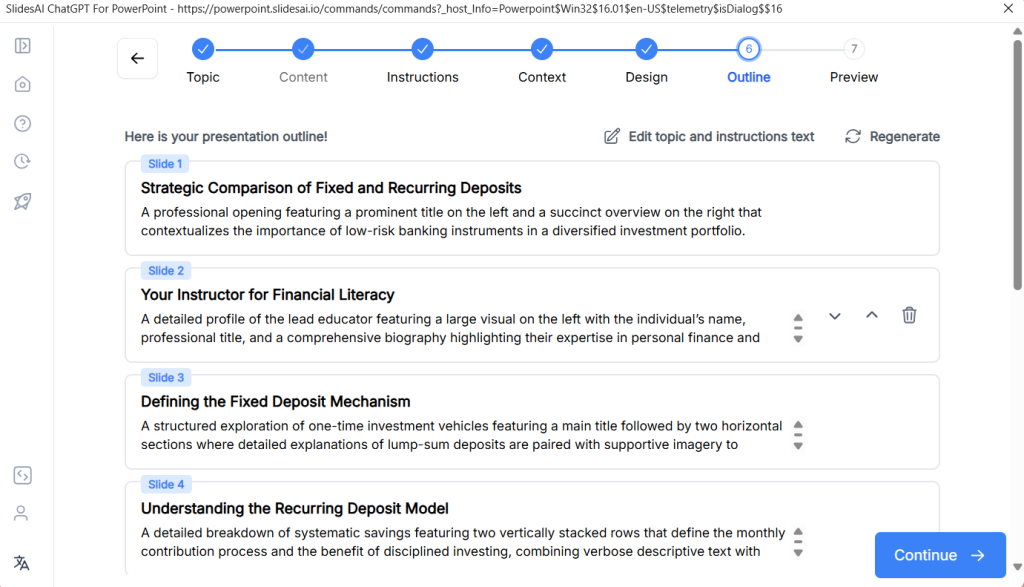
Step 9: SlidesAI will generate an outline for your presentation. Review the outline. Make edits if necessary.
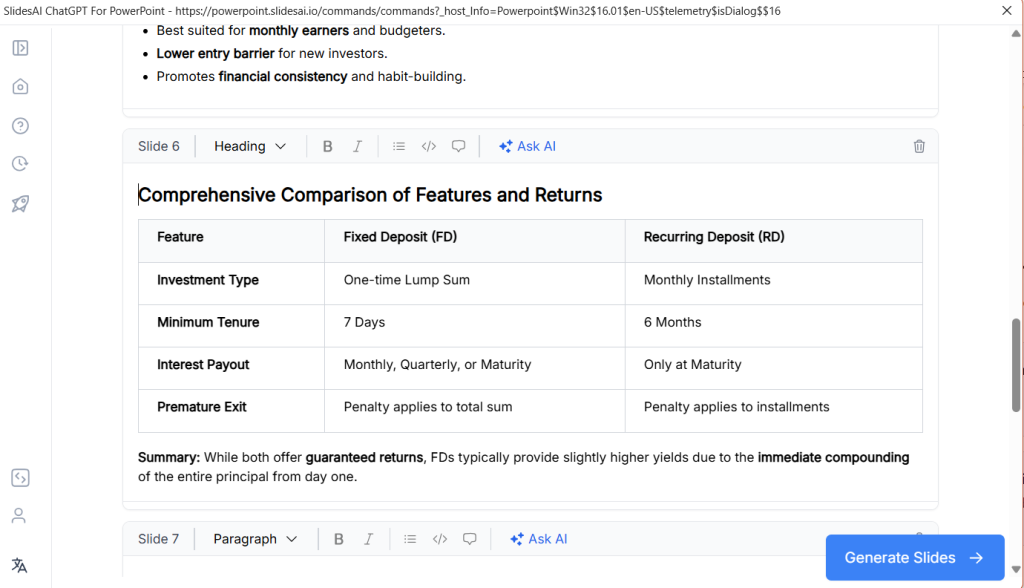
Step 10: Once the outline is final, SlidesAI will now generate the content for your presentation. Review the content before proceeding further and then click on “Generate Slides”
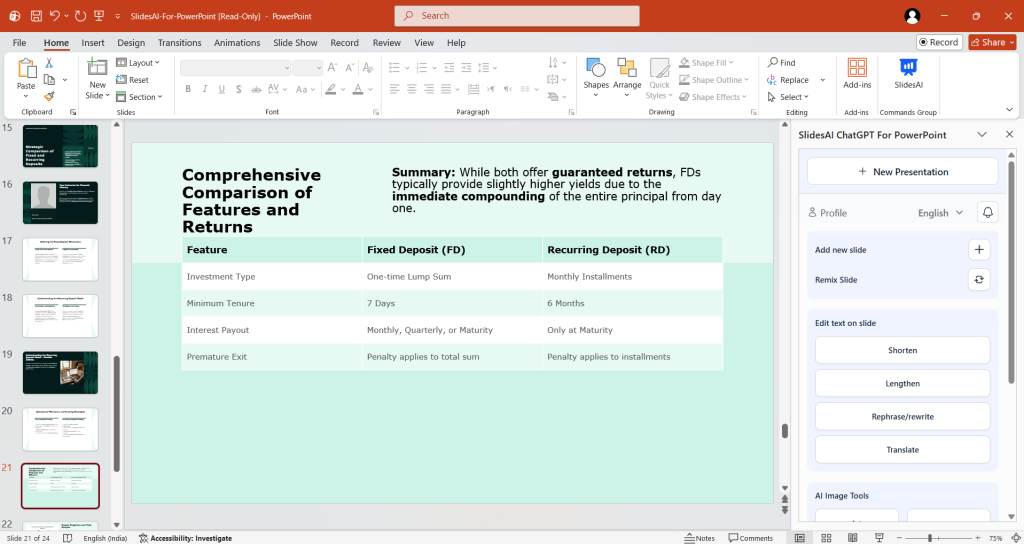
Step 11: SlidesAI will create a whole presentation. Review the slide with the columns to make sure they are perfect.
Advantages of Using Columns in Google Slides
Here are some reasons why using columns in Google Slides is helpful:
1. Improved Readability: Columns make long lists easier to read by breaking them into smaller, manageable sections.
2. Emphasizing Key Points: You can use wider columns to highlight important information, making it stand out for your audience.
3. Efficient Content Organization: Columns assist in arranging your content in a clear and digestible format, particularly useful when presenting data or lists of information.
Closing Thoughts
Incorporating columns into your Google Slides presentations is a simple yet powerful way to enhance clarity and engagement. Whether you opt for tables or text columns, mastering these techniques will elevate your presentation skills and captivate your audience. Experiment with different layouts and find what works best for your content. With these tools at your disposal, you’re well-equipped to create impactful presentations that leave a lasting impression.
Build Stunning Slides in Seconds with AI
- No design skills required
- 3 presentations/month free
- Don't need to learn a new software

Frequently Asked Questions
1. What are the benefits of using columns in Google Slides?
Columns make your presentation look nice and organized. They help you arrange your stuff neatly and make your presentation look more professional, which keeps your audience interested.
2. Is it possible to change the number of columns once they’ve been created?
Yes, you can! In Google Slides, you can change the number of columns and how much space is between them whenever you want. Just go to the ‘Format Options’ sidebar and adjust the column settings to how you like.
3. Does adding columns impact the formatting of text within each column?
Nope, you can still change how the text looks in each column. You can pick different fonts, make the text bigger or smaller, and choose different colors. This way, your presentation looks consistent but still interesting.
4. Can I use columns on individual slides or across the entire presentation?
Sure thing! You can use columns on just one slide or all slides in your presentation. This lets you customize the layout for each slide depending on what you’re talking about or how you want it to look.
5. How can I align bullet points side by side in Google Slides?
To add bullet points side by side in Google Slides, you can use a Table. Here’s how:
- Step 1: Open your document where you want the bullet points.
- Step 2: Go to the Insert Tab and choose Table. Pick a 2×1 Table for two bullet points next to each other.
- Step 3: Put your text on each side of the Table.
- Step 4: Select one side’s text, go to the Format Tab, and pick Bullets and Numbering to add bullet points.
- Step 5: Choose your preferred design.
- Step 6: Repeat for the other side’s text.Step 7: Click on the Table and select border color. Choose transparent.
By following these steps, you can easily create two columns of bullet points side by side in your Google Slides presentation.
6. What’s the process for cropping text in Google Slides?
- Step 1: Choose the text, object, or slide you want to cut.
- Step 2: Go to the menu bar and click “Edit.”
- Step 3: Choose “Cut” from the options. Alternatively, you can press Ctrl + X on your keyboard to cut the selected text, object, or slide. That’s it! Following these steps, you can easily cut text in Google Slides.