Working with a large PowerPoint presentation can quickly become overwhelming, especially when it covers multiple topics or needs to be shared with different audiences. Splitting your presentation into smaller, focused files makes it easier to manage, share, and present. Whether you are preparing separate decks for different teams, reducing file size for email, or organizing content by topic, knowing how to split a PowerPoint presentation is a skill that saves time and keeps your workflow clean.
In this guide, you will learn five methods to split a PowerPoint presentation, including manual techniques built into PowerPoint and faster online tools. You will also find steps to save individual slides and split content within a single slide.
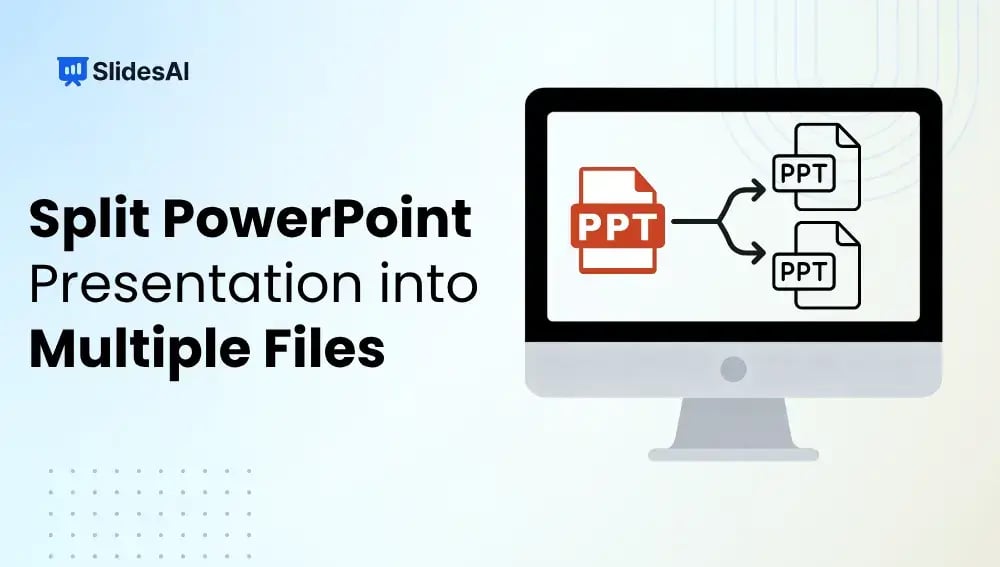
What Does Splitting a PowerPoint Presentation Mean?
Splitting a PowerPoint presentation means dividing one large presentation into two or more smaller files. Instead of keeping all slides in one deck, you separate selected slides into individual presentations based on your needs.
This process is especially useful when working with lengthy presentations that contain multiple topics or audiences.
Common reasons to split a PowerPoint presentation include:
- Better Team Collaboration: Different team members can work on separate presentation files more efficiently.
- Smaller File Size: Splitting large presentations makes them easier to share, upload, and present.
- Separate Different Topics: You can divide one large deck into topic-specific presentations.
- Create Audience-Specific Versions: Different slide sets can be shared with different audiences quickly.
- Simpler Presentation Management: Smaller presentations are easier to edit, review, and organize.
How to Split a PowerPoint Presentation?
There are multiple ways to separate slides into different presentations. Depending on your needs, you can split slides manually inside PowerPoint or use online tools for a faster process.
Method 1: Manual Copy and Paste (Best for Two Parts)

This is one of the easiest ways to manually split a PowerPoint presentation into two or more files.
Step 1: Open the Original Presentation
Launch Microsoft PowerPoint and open the presentation you want to divide.
Step 2: Select the Slides You Want to Separate
In the left-side slide panel:
- Hold Ctrl to select multiple individual slides.
- Hold Shift to select a continuous range of slides.
Choose all the slides you want in the new presentation.
Step 3: Copy and Paste the Slides
Right-click the selected slides and click Copy. Then open a new blank PowerPoint presentation, right-click in the slide panel, and select Paste. Your selected slides will now appear in the new file.
Step 4: Save the New Presentation
Click File > Save As and save the presentation with a new file name.
This method works well when you want complete control over the splitting process.
Method 2: Duplicate the File and Remove Unwanted Slides

If you want to preserve the slide format and structure, this method works faster.
Step 1: Duplicate the Original Presentation
Create a copy of the original PowerPoint file before editing it to ensure your main presentation remains unchanged.
Step 2: Delete Slides You Do Not Need
Open the duplicated presentation. Select the slides you want to remove, right-click, and choose Delete Slide. Keep only the slides you want in the split version.
Step 3: Save the Updated File
Save the edited presentation under a new name. You can repeat this process multiple times to create several smaller presentations.
This method is useful when you want to split your presentation while maintaining its original formatting.
Method 3: Use the Reuse Slides Feature (Best for Large Files)

PowerPoint’s built-in Reuse Slides feature lets you selectively import slides from another presentation without opening the original file.
Step 1: Open a New Blank Presentation
Launch PowerPoint and open a new blank file.
Step 2: Open the Reuse Slides Panel
Go to the Home tab, click New Slide, and select Reuse Slides from the dropdown menu.
Step 3: Browse for the Original File
Click Browse and select your original presentation. A panel will appear on the right showing all slides in that file.
Step 4: Import the Slides You Need
Click on each slide you want to add to the new presentation. If you want to keep the original formatting, check the Keep source formatting option at the bottom of the panel.
Step 5: Save the New File
Click File > Save As and give the new presentation a name.
This method is especially useful for large files when you only need a specific subset of slides.

If your presentation is already organized into sections, you can split it section by section for a fast and clean approach.
Step 1: Add Sections to Your Presentation (If Not Already Done)
Right-click between slides in the slide panel and choose Add Section. Name each section according to its topic.
Step 2: Select All Slides in a Section
Right-click the section header and choose Select All Slides in Section.
Step 3: Copy and Paste into a New File
Copy the selected slides and paste them into a new blank PowerPoint file.
Step 4: Save Each Section as a Separate File
Save each new file with an appropriate name reflecting the section topic.
This method keeps your presentations logically organized and is ideal for large decks with multiple distinct topics.
Method 5: Split Online with SlidesAI (Fastest Method)

If you want a faster method without manually copying slides, online tools can automate the process.
Step 1: Open the SlidesAI Split Tool
Visit the SlidesAI Free Split PowerPoint Tool.
Step 2: Upload Your Presentation
Upload the PowerPoint file you want to divide. The tool supports standard PowerPoint formats such as .ppt and .pptx.
Step 3: Choose the Split Points
You can click between slides to create split points manually, enter slide numbers directly, or split the presentation into multiple files simultaneously.
Step 4: Split the Presentation
Click Split into parts and the tool will automatically generate separate PowerPoint files.
Step 5: Download the Split Files
Download all the newly created presentations to your device.
Need to update or redesign your slides after splitting them? Try our AI PowerPoint Generator to create polished presentations in minutes.
How to Save PowerPoint Slides Individually?
Sometimes you may want every slide saved separately instead of splitting the presentation into sections. This is useful for sharing individual slides, posting content online, or reusing slides in documents or social media.

Step 1: Open Your Presentation
Launch PowerPoint and open your presentation file.
Step 2: Open the Save As or Export Menu
Click File > Save As or File > Export.
Step 3: Choose the File Location
Select where you want the exported files saved.
Step 4: Select an Image Format
Under the Save As Type dropdown menu, choose either JPEG File Interchange Format (.jpg) or PNG Portable Network Graphics (.png).
Step 5: Export All Slides
Click Save. When PowerPoint asks whether you want to export one slide or all slides, select All Slides. PowerPoint will automatically create separate image files for every slide.
How to Split a Single Slide into Two?
Sometimes you may need to split the content of one slide into two separate slides rather than splitting the whole deck.
Option 1: Use AutoFit Options
If a slide is text-heavy, click the AutoFit Options icon (lower-left corner of the text box) and choose Split Text Between Two Slides. PowerPoint will automatically divide the content.
Option 2: Duplicate and Edit
Right-click the slide, choose Duplicate Slide, then manually remove the content you do not need from each copy.
Option 3: Use a Two-Column Table
Insert a 2-column table to organize content into two distinct visual halves on the same slide. This is useful when you want visual separation without creating a new slide.
Conclusion
If you frequently work with lengthy presentations, splitting them into smaller sections can improve workflow, reduce file size, and make sharing much easier. Whether you use the manual copy-paste method, the Reuse Slides feature, section-based splitting, or an online tool like SlidesAI, each approach has its own strengths depending on your needs.
FAQs About Splitting PowerPoint Presentations
1. Can I split a PowerPoint presentation into multiple files automatically?
Microsoft PowerPoint does not include a built-in automatic splitting feature. However, online tools like SlidesAI, Aspose, and SlideUpLift, as well as third-party add-ins, can speed up the process significantly.
2. Will splitting a presentation affect animations or transitions?
No, animations and transitions are usually preserved when slides are copied into a new presentation. However, you should still review the final file to ensure everything works correctly.
3. How can I split a large PowerPoint file for email sharing?
You can create smaller presentations by copying selected slides into separate files and saving them separately. This reduces the file size and makes sharing easier through email or cloud platforms.
4. Can I split PowerPoint presentations on mobile devices?
Yes, it is possible using PowerPoint mobile apps or Google Slides. However, the process is easier and more efficient on desktop devices.
5. Is there a way to save PowerPoint slides individually?
Yes, you can export slides as individual JPEG or PNG image files directly from PowerPoint using the File > Export menu.
6. What is the best method for splitting a structured presentation?
If your deck is already divided into sections, the section-based splitting method is the most efficient. It keeps the content logically grouped and reduces the chance of misplacing slides.
7. Does splitting a presentation remove the original file?
No. Splitting creates new files from copies of your slides. The original presentation remains unchanged as long as you save the split files under different names.