
The ruler in PowerPoint is an essential tool for aligning objects, drawing straight lines, and positioning elements precisely on your slides. While most users know how to display the ruler, few realize you can rotate it to measure angles for diagonal text, flowcharts, or unique slide layouts. In this guide, we’ll show you how to rotate the ruler in PowerPoint step by step, troubleshoot common issues, and use it effectively on both touch and desktop devices to create polished, professional presentations.
What Is the Ruler in PowerPoint?
The ruler in PowerPoint is a visual guide that appears along the top and left edges of your slide workspace. It helps you measure, align, and position objects accurately, so your slides look neat, balanced, and professional. Think of it as your design assistant for keeping everything in the right place.
Why Rotate the Ruler in PowerPoint?
Rotating the ruler lets you work at precise angles, which comes in handy when you want to:
- Align diagonal text or shapes for a polished look
- Design flowcharts and diagrams with angled connections
- Create angled timelines that stand out
- Position elements in tilted layouts with accuracy
Using the ruler this way makes your slides look clean, organized, and professional-even when working with non-standard angles.
Methods to Rotate the Ruler in PowerPoint
Learning how to rotate ruler in PowerPoint is simple, whether you’re using a touch device, keyboard shortcuts, or a mouse. Here are three easy ways to do it:
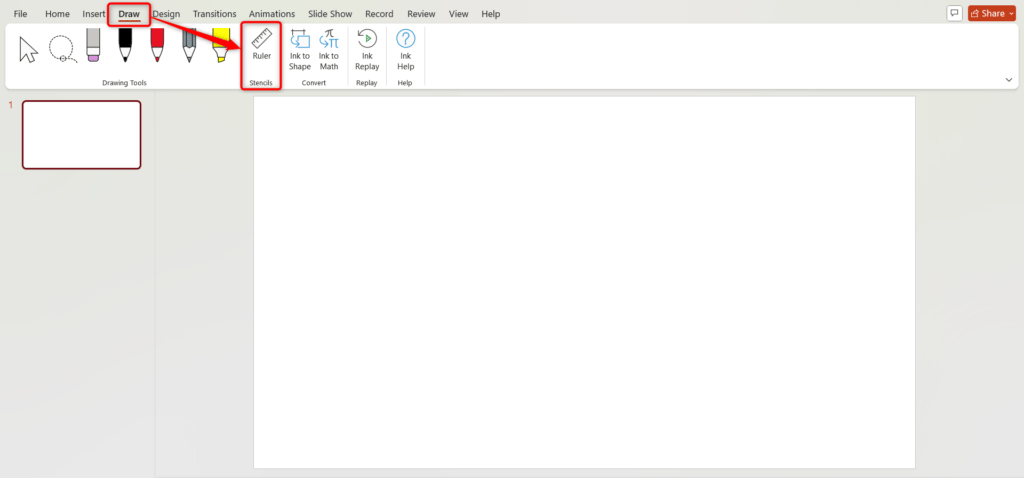
Method 1: How to Rotate the Ruler in PowerPoint Using the Draw Tab (for Touch/Pen Users)
- Open the Draw Tab: Click the Draw tab in the PowerPoint ribbon.
- Select the Ruler: Click the Ruler button to make it visible on your slide.
- Adjust the Ruler: Place two fingers on the ruler on your touch screen.
- Rotate: Pinch and rotate your fingers to turn the ruler to the desired angle.
- Move: Drag the ruler with one finger to position it anywhere on the slide.
Method 2: How to Rotate the Ruler in PowerPoint using ALT Key + Mouse Scroll (Keyboard + Mouse)
- Open the Draw Tab: Go to the Draw tab and click the Ruler button.
- Select the Ruler: Click on the ruler with your mouse to select it.
- Use the ALT Key: Press and hold the ALT key on your keyboard.
- Scroll to Rotate: While holding ALT, use your mouse scroll wheel to rotate the ruler. Scrolling up rotates clockwise; scrolling down rotates counterclockwise.
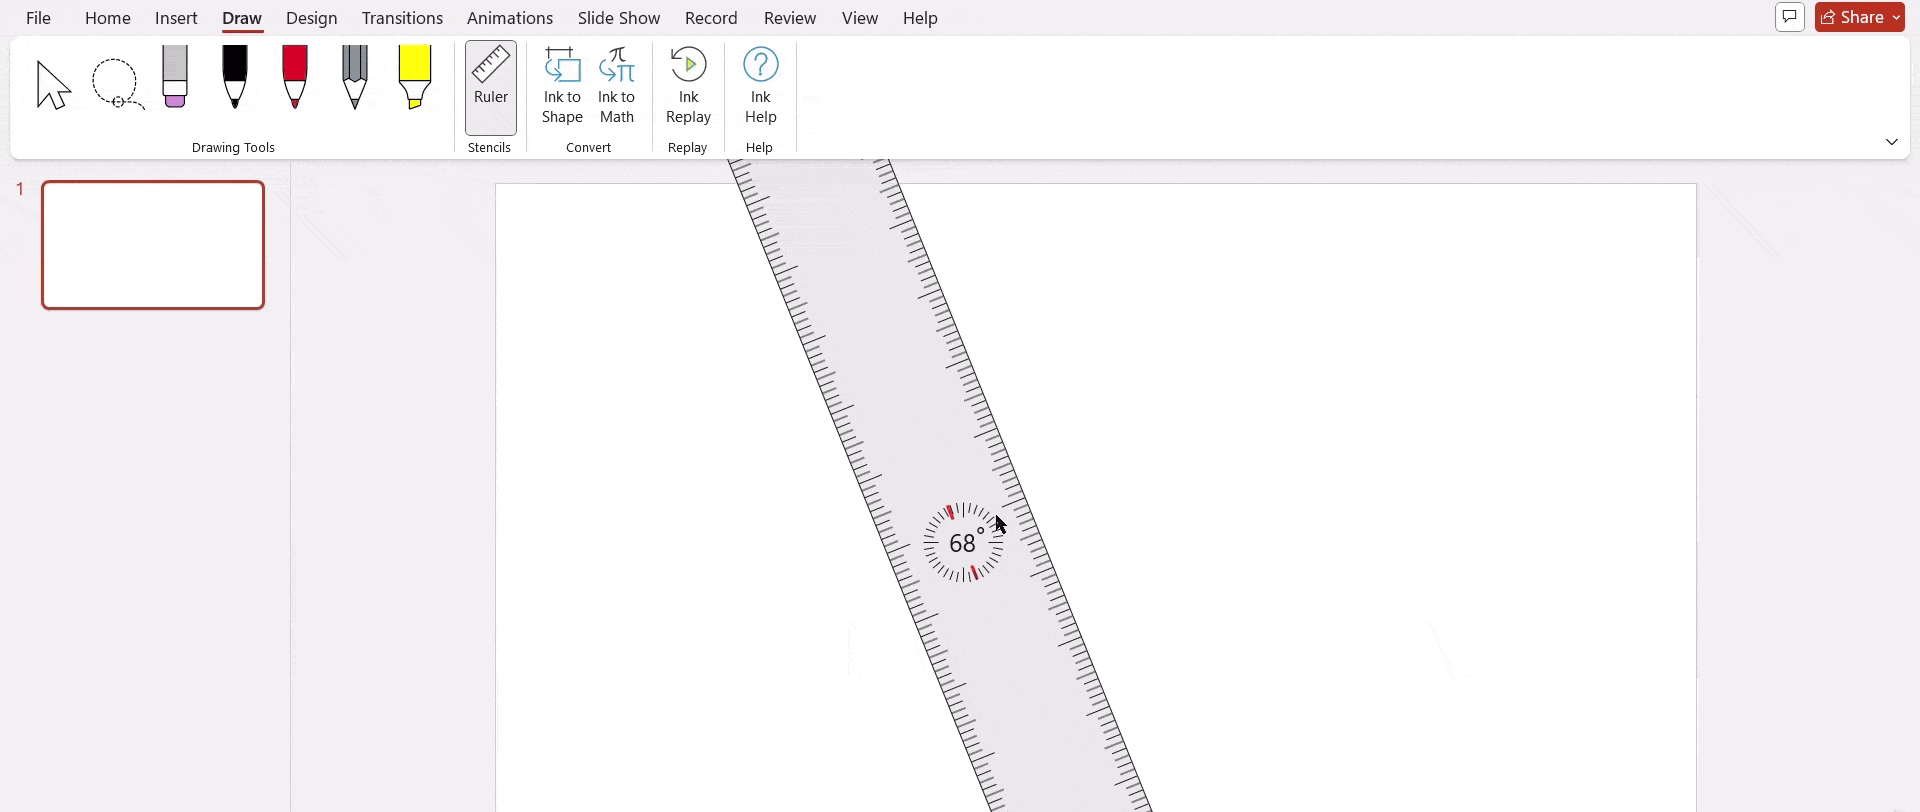
Method 3: How to Rotate Ruler in PowerPoint with Mouse (Desktop without Touch)
- Open the Draw Tab: Click the Draw tab and then the Ruler button.
- Select the Ruler: Click on the ruler to select it.
- Hover Over the Ruler: Move your mouse to the edge of the ruler. The cursor changes to a rotation arrow.
- Rotate: Click and hold the mouse button, then drag in an arc to rotate the ruler to the angle you want.
- Move: Click and drag the ruler to reposition it on the slide.
Common Issues When Rotating the Ruler in PowerPoint
Even with these methods, you might face some challenges. Here are common problems and quick fixes:
- Ruler option not visible: Enable the Draw tab from Ribbon settings in PowerPoint.
- Can’t rotate: This feature might be disabled in older PowerPoint versions. Update to the latest version or switch to Office 365.
- Not working with mouse: Rotation works best on touch-enabled devices. If you’re on desktop, try keyboard shortcuts for smoother control.
Rotating the Ruler in PowerPoint is a simple yet powerful feature that makes aligning objects at precise angles much easier. Whether you’re designing complex diagrams or creating visually engaging slides, this tool ensures accuracy and professionalism. If the rotation isn’t working, check your version or enable the Draw tab to unlock the feature.
Create Presentations Easily in Google Slides and PowerPoint
14M+Installs

Frequently Asked Questions Related to Rotating Ruler in PowerPoint
Can I rotate the ruler in all PowerPoint versions?
No. The rotating ruler feature is primarily available in PowerPoint 2016 and later versions, as well as Microsoft 365, within the Draw tab.
How do I enable the Draw tab if it’s missing?
Navigate to File → Options → Customize Ribbon, then tick the checkbox for Draw under the list of main tabs.
Is it possible to set the ruler at an exact angle?
Yes. You can use Alt + Arrow keys for precise rotation or adjust it manually using touch gestures on supported devices.
Why don’t I see the rotation handle on the ruler?
This usually happens if you’re using the standard rulers in View mode. Only the rotatable ruler in the Draw tab supports angle adjustments.
Is the rotating ruler feature useful without a touchscreen?
Absolutely. Even without touch capability, you can rotate the ruler using keyboard shortcuts for accurate alignment.
Can I rotate the grid lines in PowerPoint?
No. Grid lines remain fixed in horizontal and vertical positions and cannot be rotated.
How can I display the ruler in PowerPoint?
Go to the View tab and check the box next to Ruler. Alternatively, use the shortcut Alt + Shift + F9 to toggle rulers, gridlines, and guides.
Does PowerPoint for Mac support ruler rotation?
Yes. If you have Office 2019 or Microsoft 365, you can rotate the ruler using two-finger gestures on the trackpad or through keyboard shortcuts.
Will rotating the ruler change objects already on my slide?
No. Rotation only affects how new objects are aligned; existing elements remain unchanged.
Can I lock the ruler at a chosen angle?
PowerPoint doesn’t offer a “lock angle” feature, but the ruler will stay in position until you manually move or reset it.
Is there a shortcut to quickly toggle the ruler on or off?
There isn’t a dedicated shortcut, but you can enable or disable the ruler quickly from the Draw tab.
Key Takeaways
- The PowerPoint ruler helps align and position objects accurately.
- Rotating the ruler is ideal for diagonal text, angled timelines, and flowcharts.
- Rotate using touch gestures, mouse, or keyboard shortcuts for precise control.
- Enable the Draw tab via File → Options → Customize Ribbon if missing.
- Rotation affects new object alignment only; existing elements remain unchanged.
- The feature works best in PowerPoint 2016 and later, including Office 365 and Mac versions.
- Grid lines cannot be rotated; only the ruler can.