Mind maps help you show ideas clearly and organize information in a simple way. They are useful for brainstorming, planning, and explaining complex topics. In this blog, we’ll show easy steps to create a mind map in PowerPoint.
What is a Mind Map?
A mind map is a simple diagram that helps you organize ideas. It starts with one main idea in the center, and related ideas branch out from it. It uses keywords, colors, and images to show how ideas are connected, making it easier to remember, think creatively, and solve problems.
How to Create a Mind Map in Microsoft PowerPoint?
Creating a mind map in PowerPoint is easy, even if you’re not a design expert. With its built-in tools like shapes, lines, and SmartArt, you can visually organise your ideas in just a few steps. Here’s how to get started.
Method 1: Using SlidesAI Pre-designed Template
Using SlidesAI pre-designed templates lets you create polished slides quickly without starting from scratch. Simply choose a ready-made layout and customize the content to fit your topic.
Step 1: Open SlidesAI
Visit SlidesAI and click on Free Templates. From there, choose More Templates to explore the full template library.

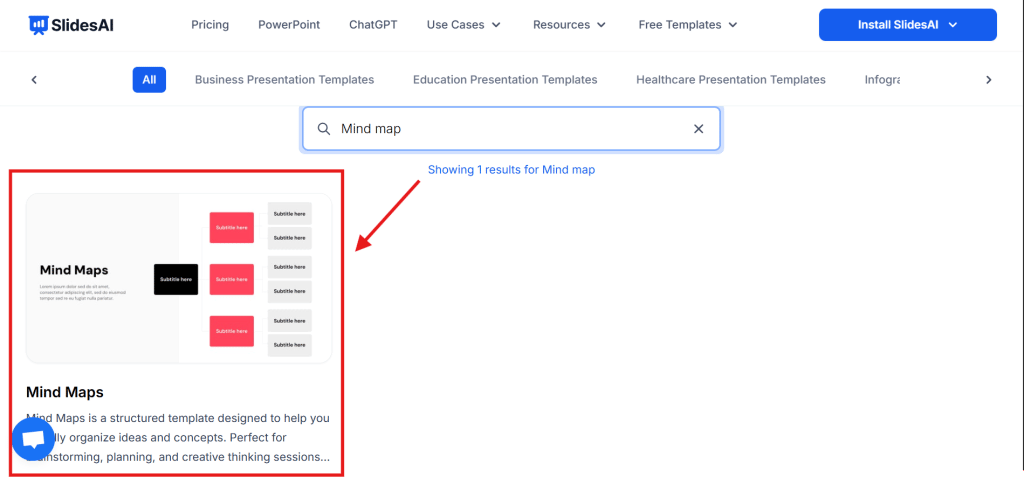
Step 2: Find the Mind Map Template
In the template library, search for the Mind Map template. Once you find it, click to open and preview the design.
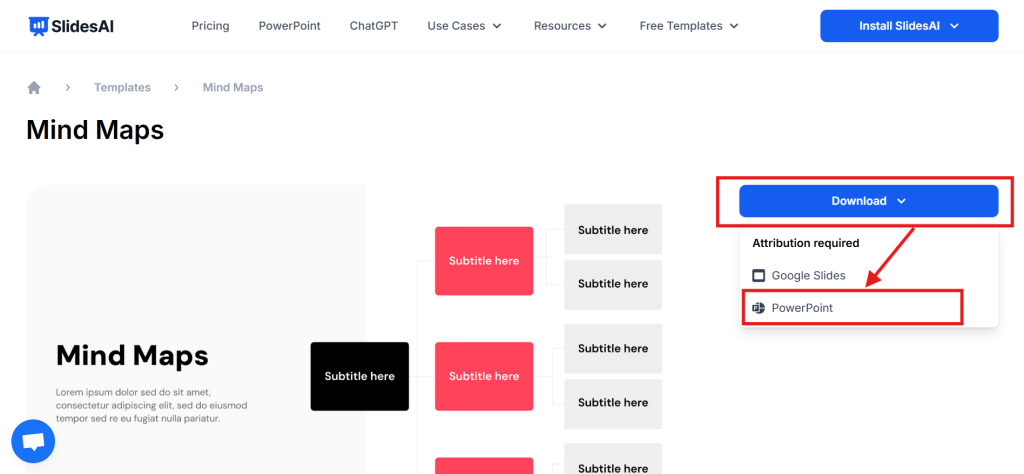
Step 3: Download the Template
On the right side of the template page, click the Download dropdown. Choose whether you want to download the template for Google Slides or PowerPoint.
Step 4: Make the Required Edits
Open the downloaded template and update the text, colors, or layout to match your content. Once edited, your mind map slide is ready to use.

Build Stunning Slides in Seconds with AI
- No design skills required
- 3 presentations/month free
- Don't need to learn a new software

Method 2: Using Basic Shapes
If you want full control over the look and layout of your mind map, using basic shapes is a great option. PowerPoint offers all the tools you need; just a bit of creativity and a few clicks will get you going. Follow these simple steps:
Step 1: Open PowerPoint and insert a new slide
Start by opening a new presentation and adding a blank slide. A blank layout gives you the most space to build your mind map.
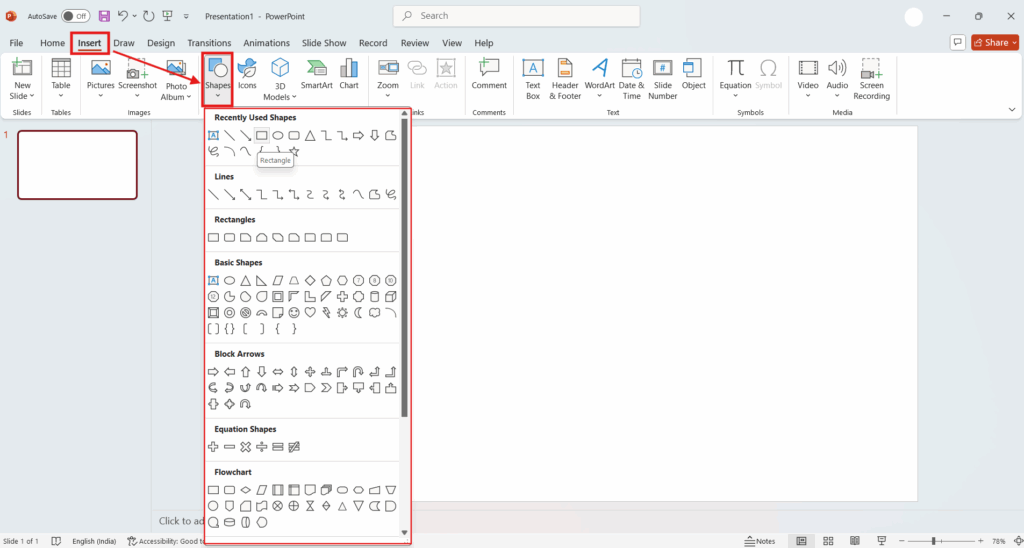
Step 2: Go to Insert > Shapes
Click the Insert tab on the top menu, then choose Shapes. You’ll see options like circles, rectangles, lines, arrows, and more.
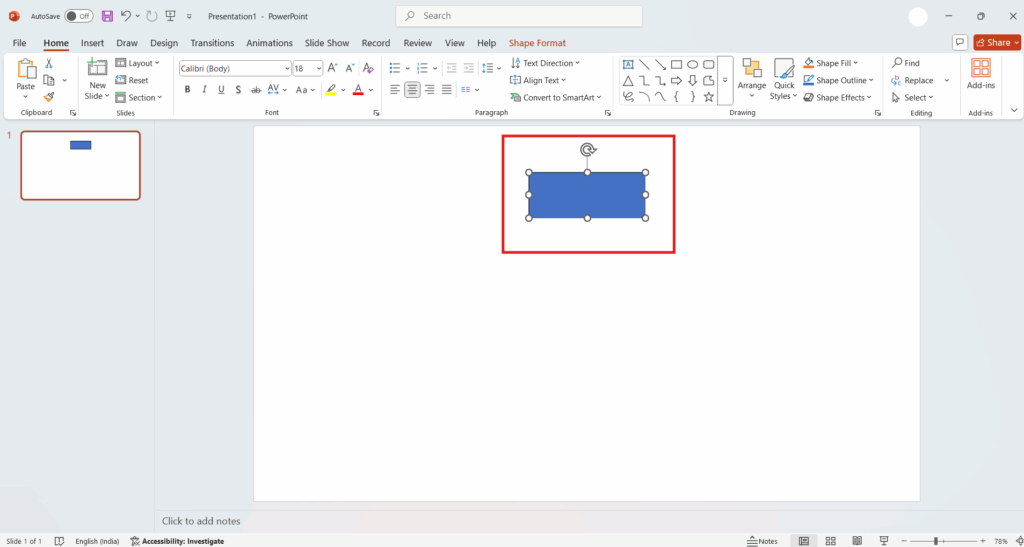
Step 3: Create your central idea
Pick a shape (like an oval or rectangle) for your main topic. Click and drag it to the centre of the slide.
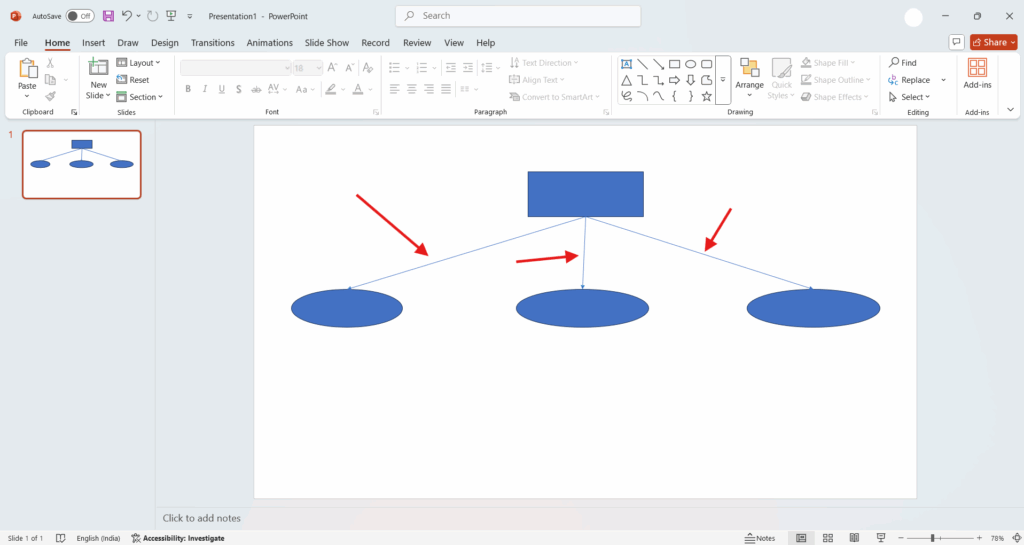
Step 4: Add related ideas
Go back to Insert > Shapes and choose more shapes for your key points. Place them around the central shape like branches on a tree.

Step 5: Connect the shapes
Use arrows or lines from the Shapes menu to link the central idea with the surrounding ones. PowerPoint will show anchor points to help you snap the lines in place neatly.
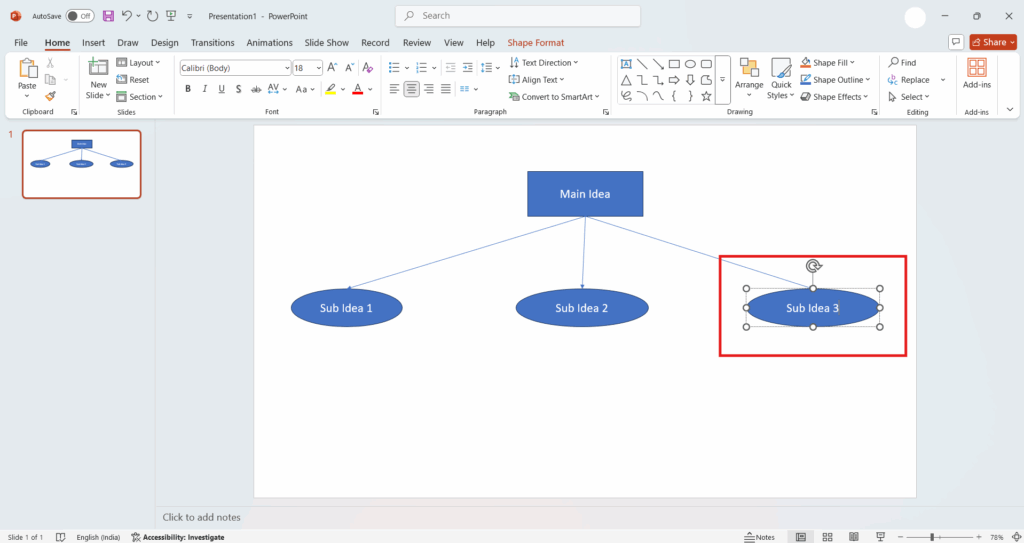
Step 6: Add text or images
Click on each shape to type your text. You can also insert images using Insert > Pictures if visuals help explain your ideas better.
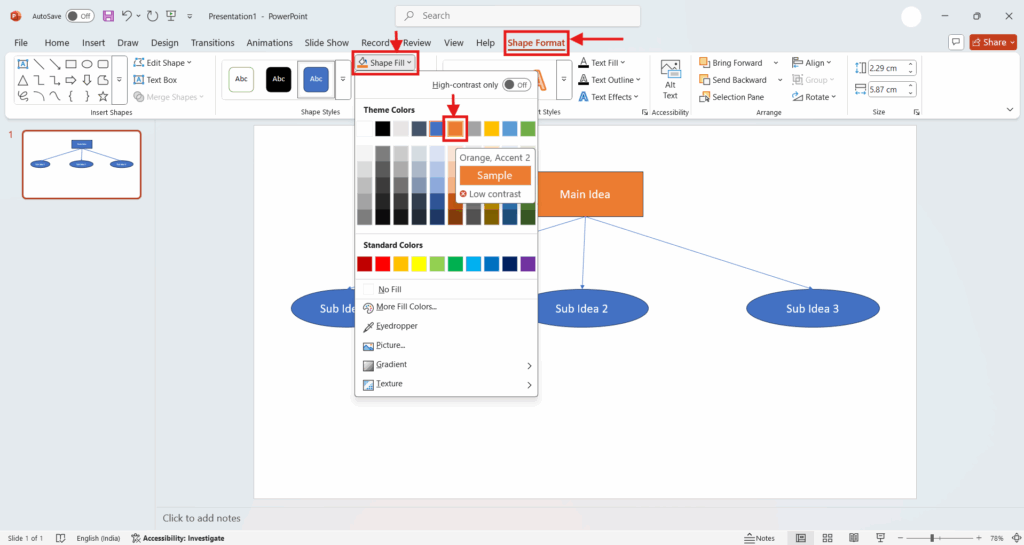
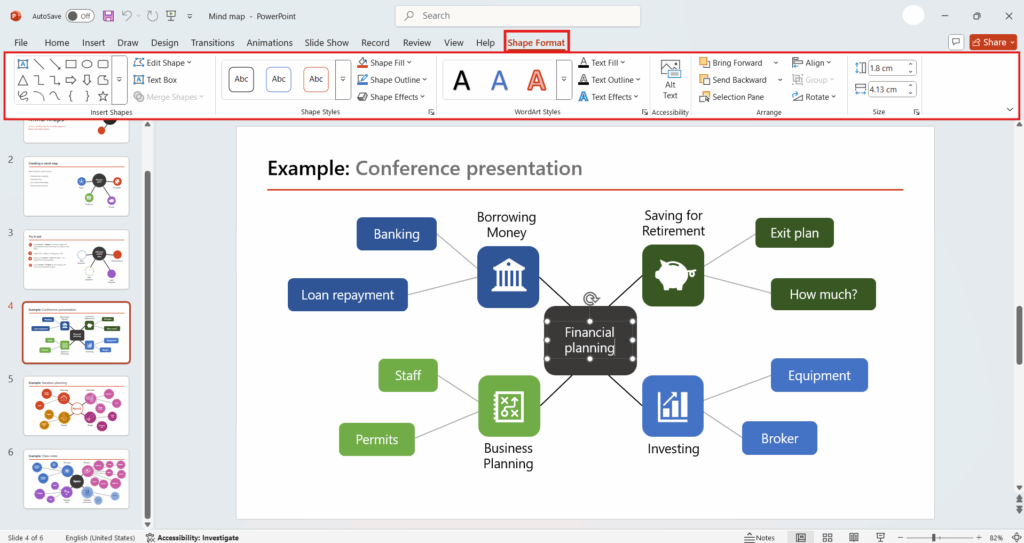
Step 7: Style your mind map
Click any shape and use the Shape Format tab to change its colour, border, or style to make your map more visually appealing.
Step 8: Copy elements if needed
Want to reuse a shape or line? Just select it, press Ctrl + C to copy, and Ctrl + V to paste.
Method 3: Using SmartArt Graphics
If you’re short on time or prefer a ready-made layout, PowerPoint’s SmartArt is a great way to build a mind map quickly. It gives you pre-designed diagrams you can customise without starting from scratch. Here’s how to do it:
Step 1: Open PowerPoint and insert a new slide
Start by opening PowerPoint and choosing a blank slide. This gives you plenty of space to work with.
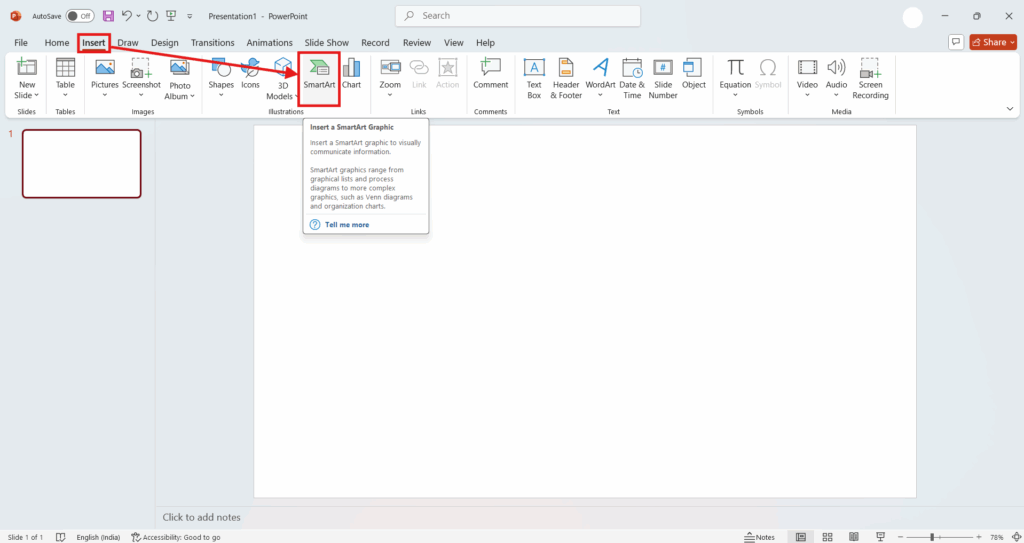
Step 2: Go to Insert > SmartArt
Click on the Insert tab, then select SmartArt. A window will pop up with different diagram options.
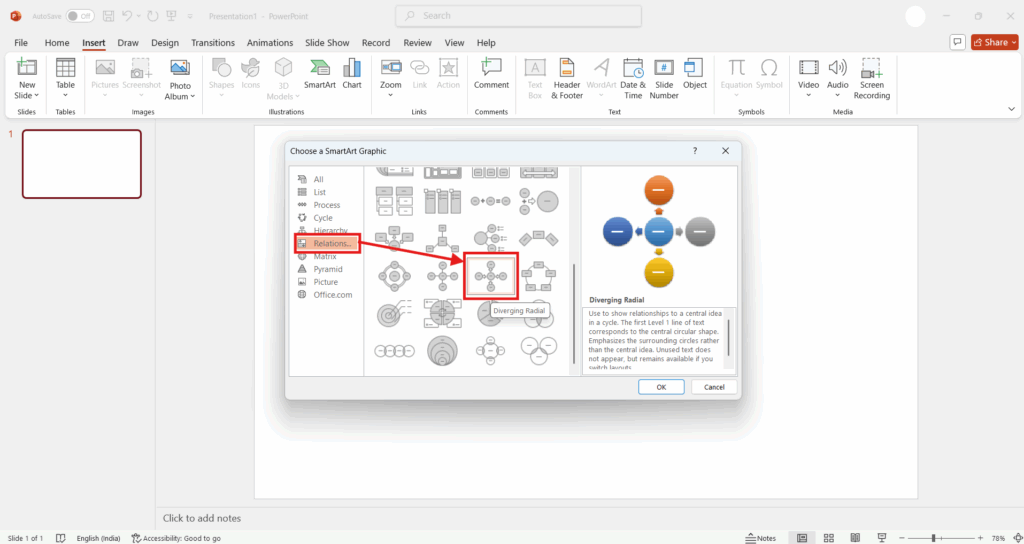
Step 3: Choose a diagram type
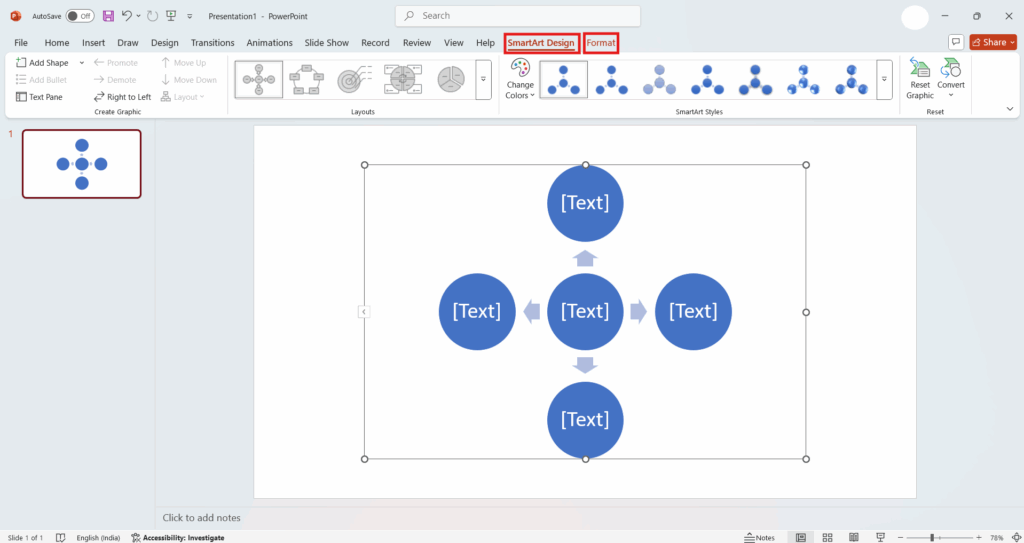
On the left-hand side, click on Relationship. Then scroll through the options and pick Diverging Radial, it’s perfect for creating a mind map structure.
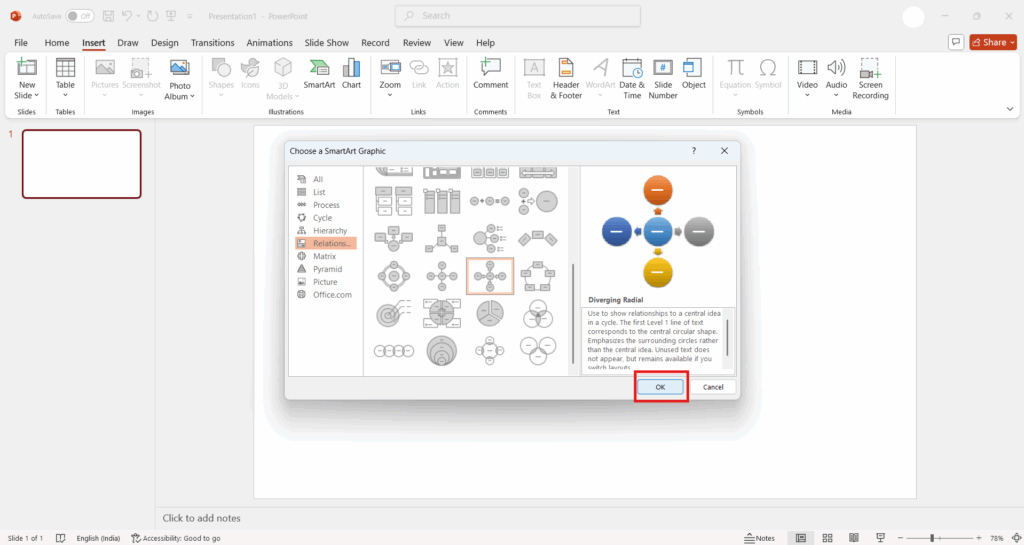
Step 4: Insert the SmartArt graphic
Click OK to add the diagram to your slide. It will appear in the centre of your workspace.
Step 5: Customise your mind map
Use the SmartArt Design and Format tabs to tweak the colours, styles, and layout. You can make it 3D, change the shape sizes, or match the design to your presentation theme.
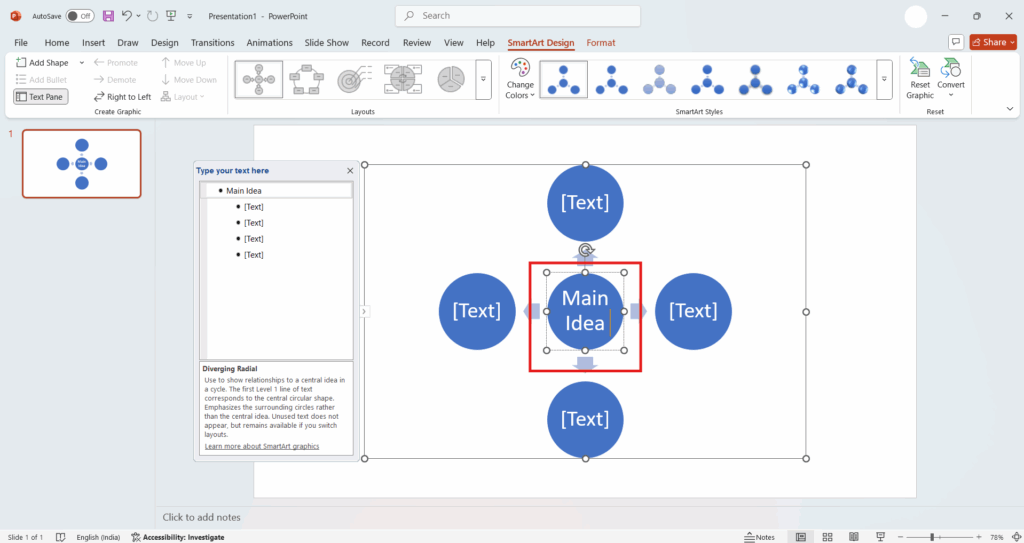
Step 6: Add your content
Double-click on each shape to type in your main idea and supporting points. You can also use the text pane on the side for quicker input.
Step 7: Format your text
Select the text and use the Home tab to change the font, size, or colour — just like you would with regular text in PowerPoint.
Method 4: Using a PowerPoint Template
Looking for a quicker way to create a mind map without designing it from scratch? PowerPoint offers built-in templates that can help you get started in just a few clicks. Here’s how you can use one:
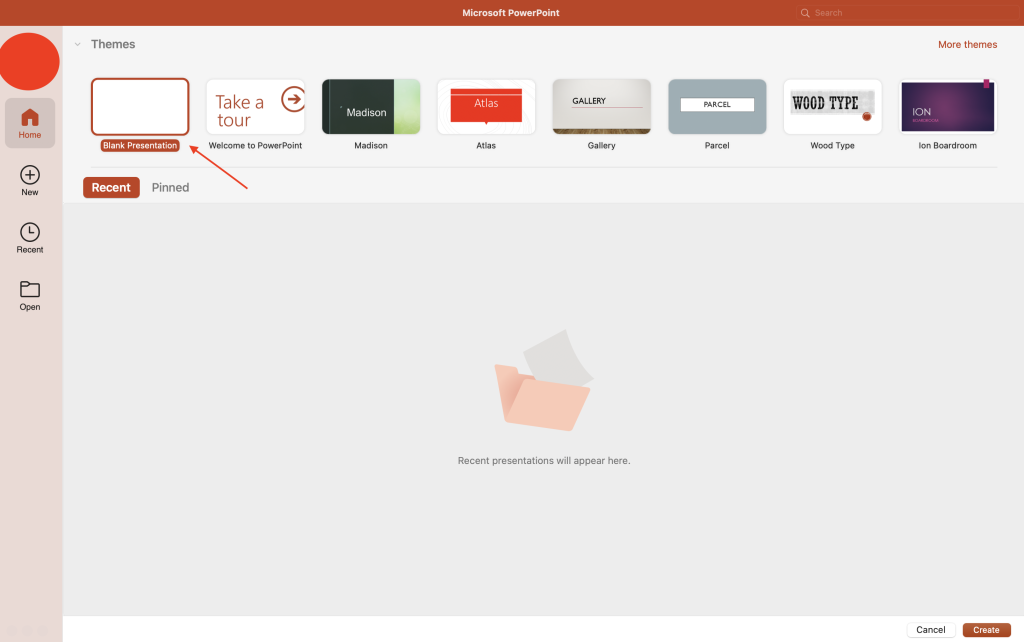
Step 1: Open PowerPoint
Start by launching PowerPoint. You can either create a new blank presentation or open an existing one where you want to add the mind map.
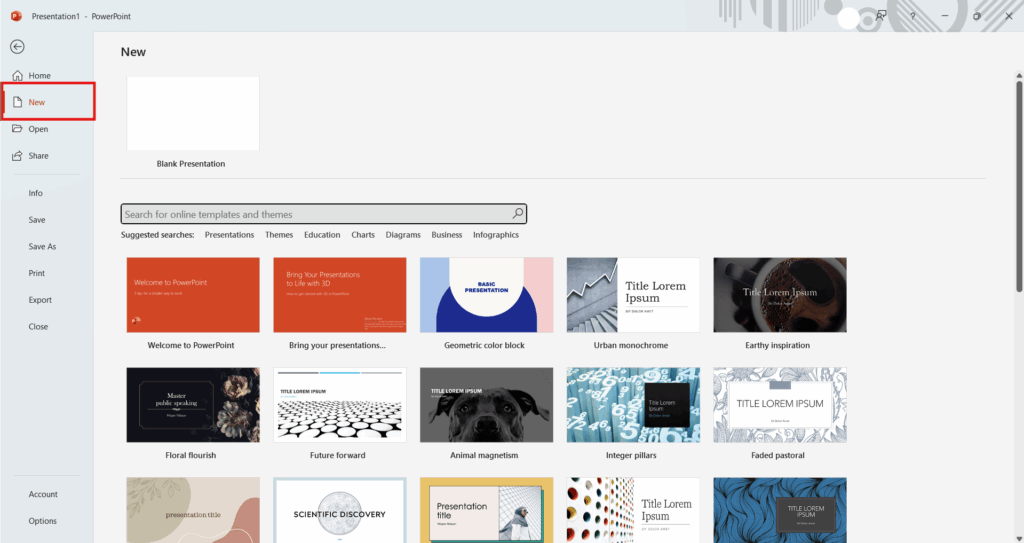
Step 2: Go to File > New
Click on the File tab in the top menu, then select New to browse available templates.
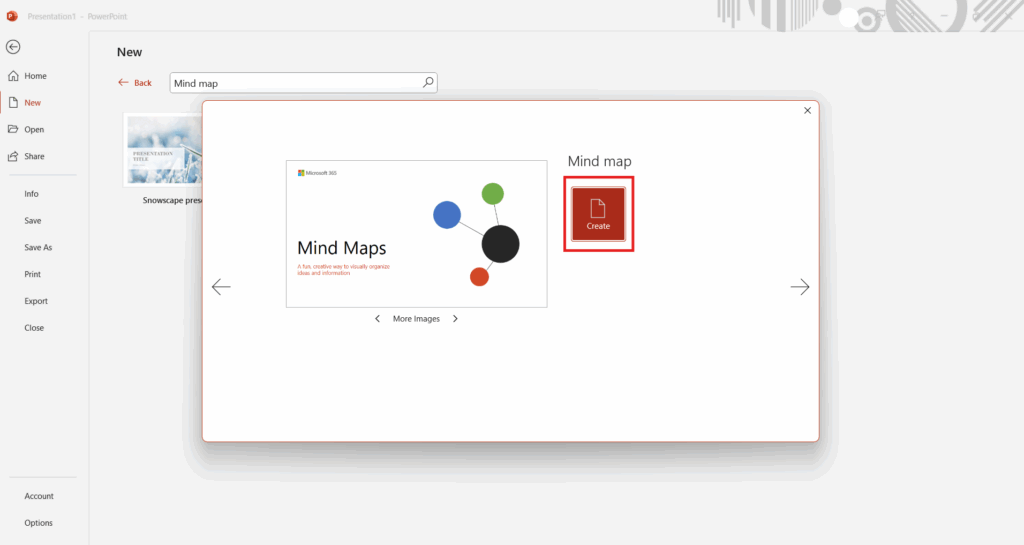
Step 3: Search for a mind map template
In the search bar, type “mind map” and hit Enter. You’ll see a variety of template options designed specifically for mind mapping.
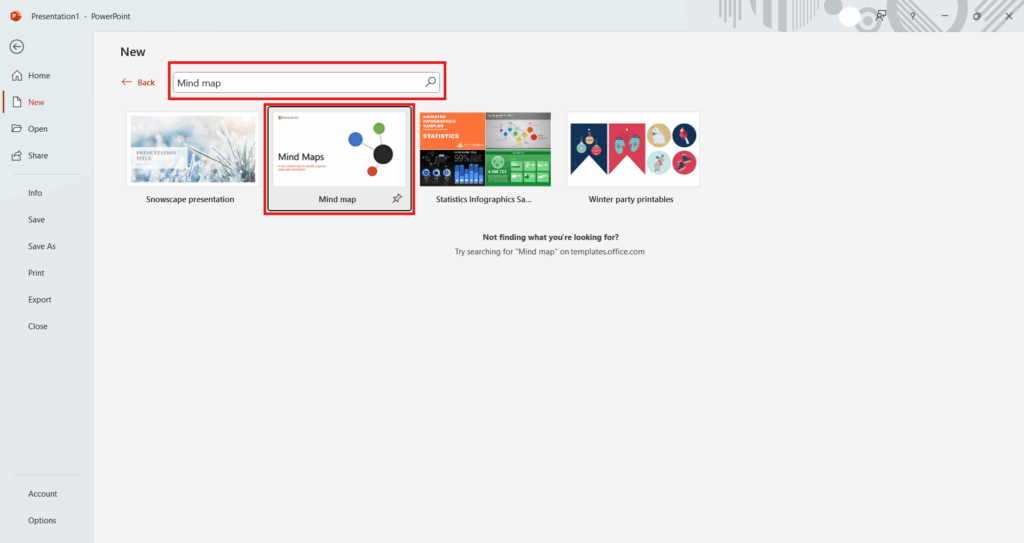
Step 4: Choose and insert the template
Click on a template you like to see a preview. When you’re ready, hit Create to insert it into your presentation.
Step 5: Customise the mind map
Now you can make it your own. Change the colours, text, and layout using the Home, Insert, or Format tabs.
Step 6: Add or remove elements
Need more sections? Use the Insert tab to add new shapes or text boxes. Want to remove something? Just click and press Delete.
Step 7: Edit the text
Click on any shape or text box and start typing to add your ideas. Use the Home tab to change font style, size, or colour.
Step 8: Save your work
Once you’re happy with your mind map, save it by going to File > Save or Save As, and choose where to store it.
Also Read: How to Create a Flow Chart in Powerpoint?
Where Mind Maps Can Be Used?
Mind maps are useful tools that help organise thoughts, connect ideas, and make information easier to understand. Whether you’re working on a complex project or just trying to study for a test, mind maps can help simplify the process. Here are some common areas where mind maps can be used:
- Planning Projects – Break down tasks, set priorities, and create clear overviews for smooth project execution.
- Team Meetings – Collect ideas from group discussions and arrange them clearly for everyone to understand.
- Problem Solving – View problems from different angles and explore possible solutions visually.
- Studying and Learning – Simplify lessons and topics to improve focus and memory.
- Organising Presentations – Plan your presentation structure in a way that flows logically and clearly.
- Writing and Content Creation – Outline articles, stories, or reports to get a clear direction before you start writing.
- Personal Goals – Map out life goals, daily tasks, or big decisions to stay on track.
Mind maps make it easier to manage information, solve problems, and turn ideas into action.
Once your ideas are mapped out, turning them into a polished deck is the next step. SlidesAI’s AI PowerPoint maker lets you go from outline to finished presentation in seconds, no design work needed.
Common Mistakes to Avoid While Creating a Mind Map
While mind maps are a powerful way to organise ideas, a few common mistakes can make them confusing or ineffective. Here are some key things to watch out for:
- Overloading with text
Avoid stuffing too much information into one shape; keep it short and to the point. - Using inconsistent styles
Try to stick to a consistent colour scheme, font style, and shape format to maintain clarity and flow. - Lack of visual hierarchy
Make sure your central idea stands out and that supporting ideas are clearly arranged around it. - Not using connectors properly
Poorly placed lines or arrows can make your map messy. Use clean, clear connections to show relationships. - Ignoring spacing
Crowded elements can be hard to read. Leave enough white space to keep the mind map clean and readable. - Skipping revisions
Always review your mind map to check for clarity, spelling errors, or missing points before presenting.
Create Presentations Easily in Google Slides and PowerPoint
- No design skills required
- 3 presentations/month free
- Don't need to learn a new software

Conclusion
Creating a mind map in PowerPoint is a great way to visually organise ideas, simplify complex topics, and boost productivity. Whether you use basic shapes, SmartArt, or ready-made templates, PowerPoint offers flexible tools to bring your thoughts to life. Just remember to keep it clear, consistent, and well-structured, and you’ll have an effective mind map ready in no time.
Frequently Asked Questions About Creating Mind Map in PowerPoint
1. Is there a shortcut to quickly create a mind map in PowerPoint?
Not exactly a one-click shortcut, but the SmartArt feature is the fastest way to get started. Just pick a layout like “Radial List” or “Hierarchy” and you can quickly build and customise your mind map from there.
2. Can I create a mind map without SmartArt in PowerPoint?
Yes! You can use basic shapes like circles, rectangles, and lines to manually create a mind map. It takes a bit more time, but you get full control over the design. PowerPoint templates are also a great option if you want something ready-made.
3. What are the benefits of using mind maps in presentations?
Mind maps make your content easier to understand by breaking complex topics into visual chunks. They’re great for brainstorming, organising ideas, and helping your audience stay engaged and remember key points.
4. How can I make my mind map interactive in PowerPoint?
You can add hyperlinks to different nodes that link to other slides or even external websites. Plus, using animations lets you reveal parts of your mind map step-by-step to keep your audience focused.
5. Are there any mind map templates available in PowerPoint?
Yes! PowerPoint includes several built-in templates you can use. And if you’re looking for more polished or creative designs, there are plenty of third-party websites that offer downloadable mind map templates too.