
Adding a header in PowerPoint is a smart, easy way to give your slides a professional look and keep key details front and center, like your presentation title, company name, or a brief tagline. In just a few clicks, you can add headers that appear on all slides or just the ones you choose. This guide walks you through two simple methods for how to add a header in PowerPoint, using the Insert > Header & Footer tool or the Slide Master, so you can pick what works best and make your slides look polished in no time.
Why Add a Header in PowerPoint?
A header is more than just text at the top of your slide. It helps you:
- Keep slides consistent and polished.
- Highlight important information like your presentation title, company, or date.
- Make details memorable for your audience.
- Add a professional, branded touch to your slides.
Adding a header in PowerPoint isn’t just about design; it’s about making your presentation clear and easy to follow.
Methods to Add a Header in PowerPoint
There are three main on how to add a header in PowerPoint:
- Use the Slide Master: Best for adding a consistent header to all slides.
- Use the Header & Footer option: Ideal for quick details like date or slide number.
- Manually add a header: Great if you only need it on a few specific slides.
Method 1: Add a Header Using Slide Master
If you want the same header across every slide, the Slide Master is the easiest way. Here’s how to do it:
Step 1: Open Slide Master View
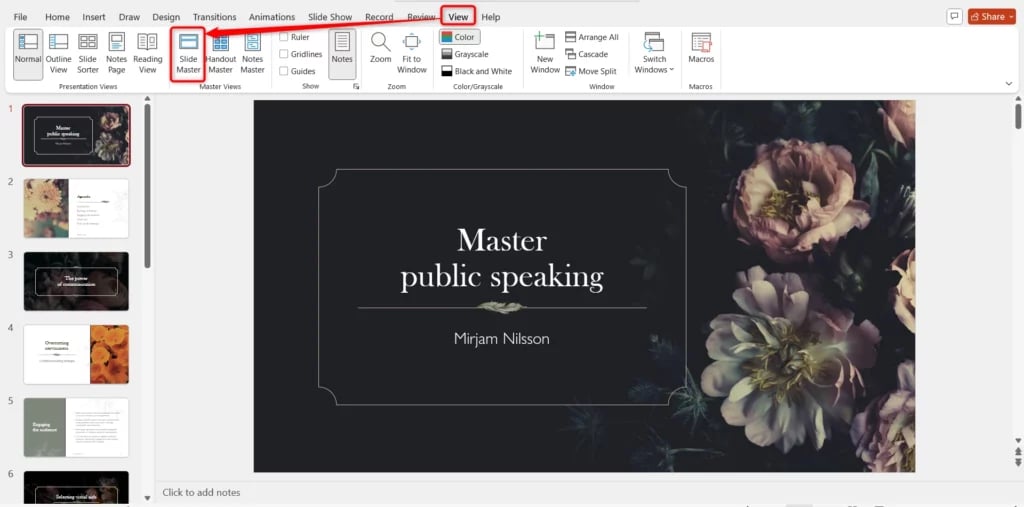
- Click the View tab on the top menu.
- In the “Master Views” group, select Slide Master.
Step 2: Select the Main Slide Master

- On the left pane, scroll to the very top.
- Click the largest slide thumbnail; this is the master slide that controls the overall design.
Step 3: Add Your Header Content
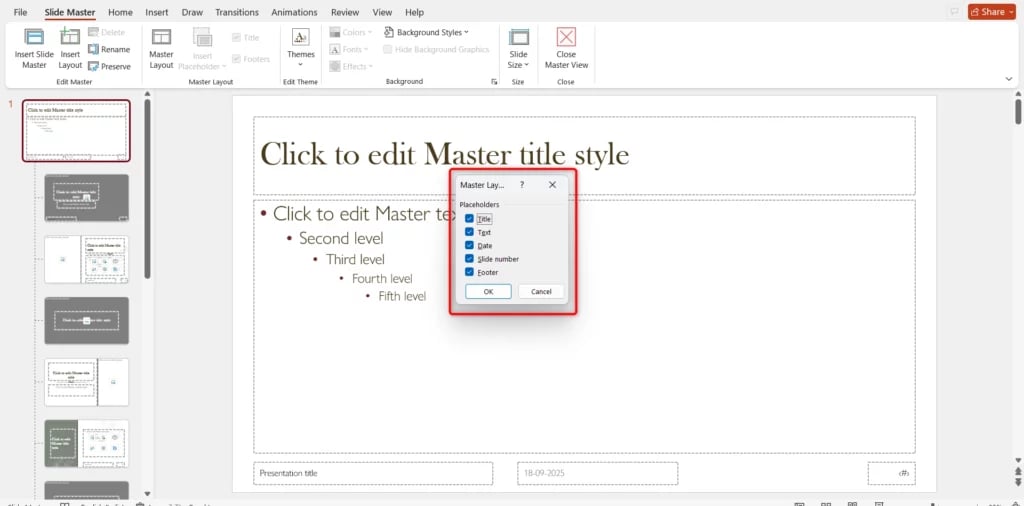
- Use the built-in placeholders for Date, Footer, or Slide Number.
- For a custom header (like a title or tagline), go to the Insert tab and select Text Box.
Step 4: Format and Position the Header

- Drag your text box to the top of the slide.
- Use PowerPoint’s formatting tools to adjust font, size, color, and alignment.
Step 5: Close the Slide Master View
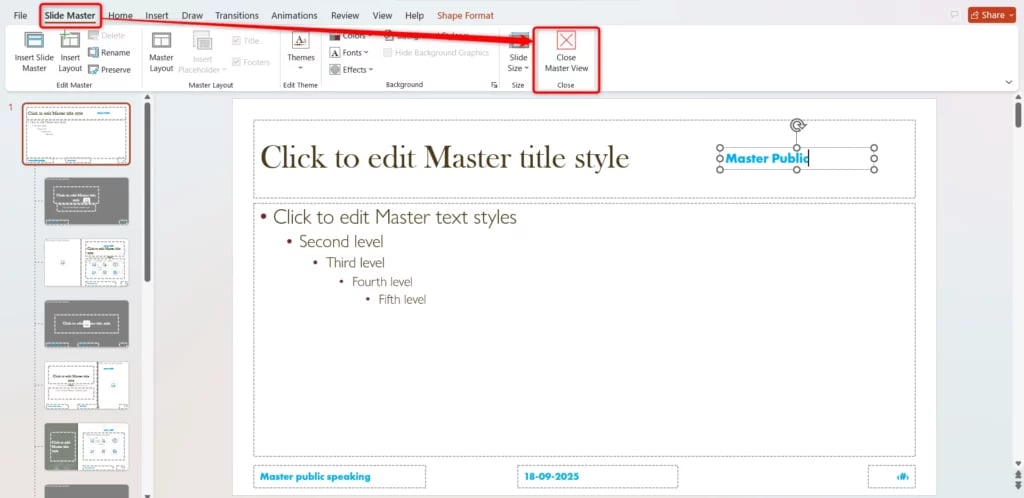
- When you’re happy with your header, click Close Master View on the Slide Master tab.
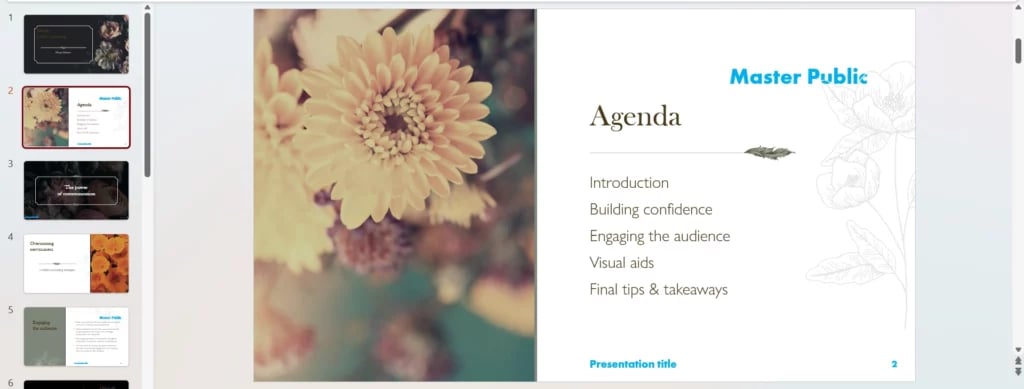
- Your header will now show up across all slides that use this layout.
Method 2: Add a Header Using the Header & Footer Option
PowerPoint has a built-in Header & Footer feature that makes it easy to add key details like dates, slide numbers, and custom text. Here’s how to use it:
Step 1: Go to the Insert Tab
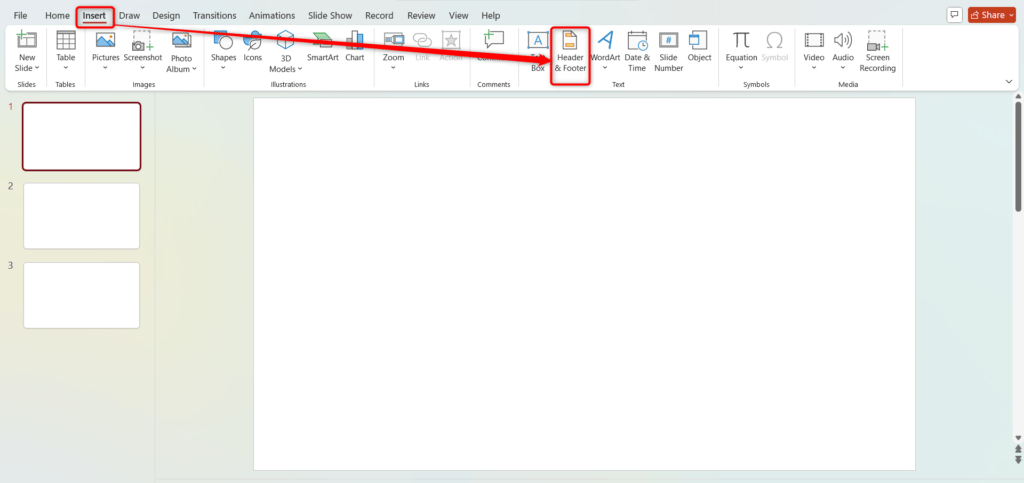
- Click on the Insert tab in the top menu.
Step 2: Open the Header & Footer Dialog
- In the Text group, select Header & Footer.
Step 3: Choose What to Add
- Tick the boxes for:
- Date and time
- Slide number
- Footer (enter the text you want, like your presentation title or company name).
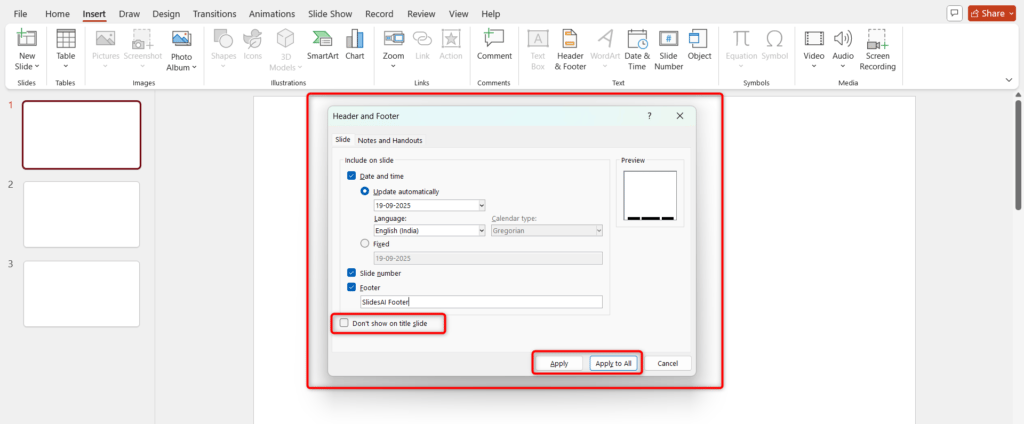
Step 4: Decide Where to Apply It
- Click Apply to All to add it across every slide.
- Or select Apply to add it to just the current slide.
Pro Tip: Want to keep your title slide clean? Check the Don’t show on title slide box before applying.
Method 3: Manually Add a Header to Individual Slides
If you only need a header on a few slides, the quickest way is to add a text box manually. Here’s how:
Step 1: Go to the Slide You Want
- Navigate to the slide where you want the header.
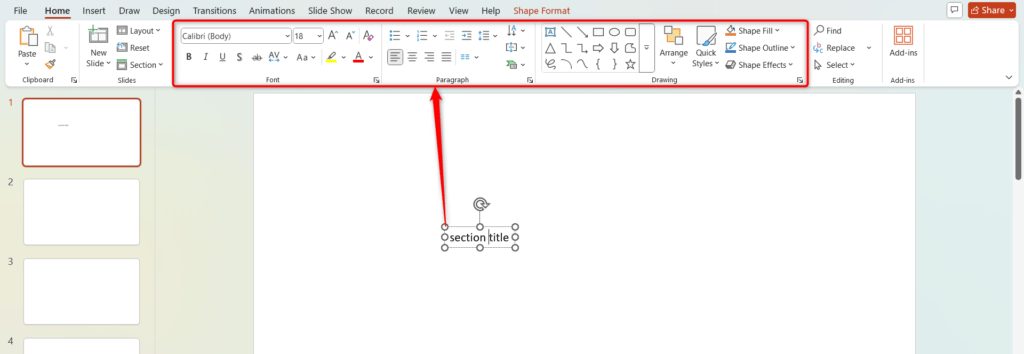
Step 2: Insert a Text Box
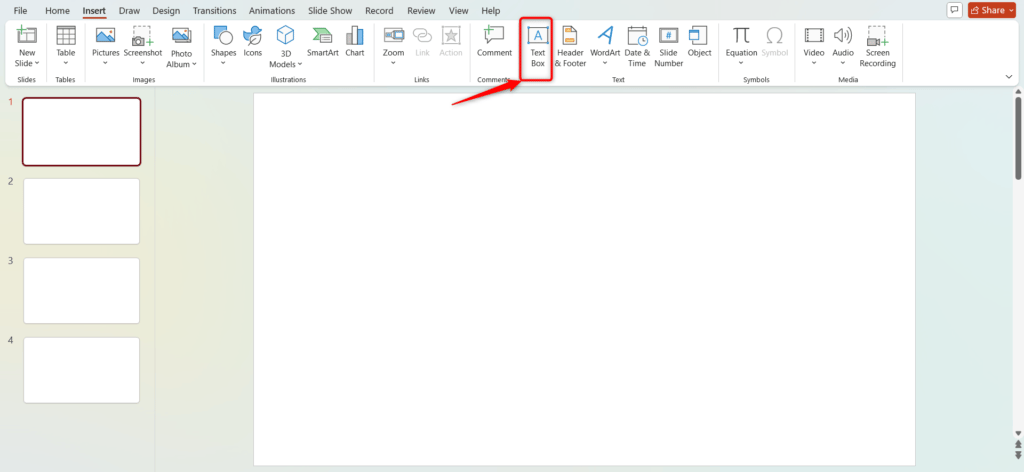
- Click the Insert tab.
- Select Text Box from the options.
Step 3: Add Your Header Text
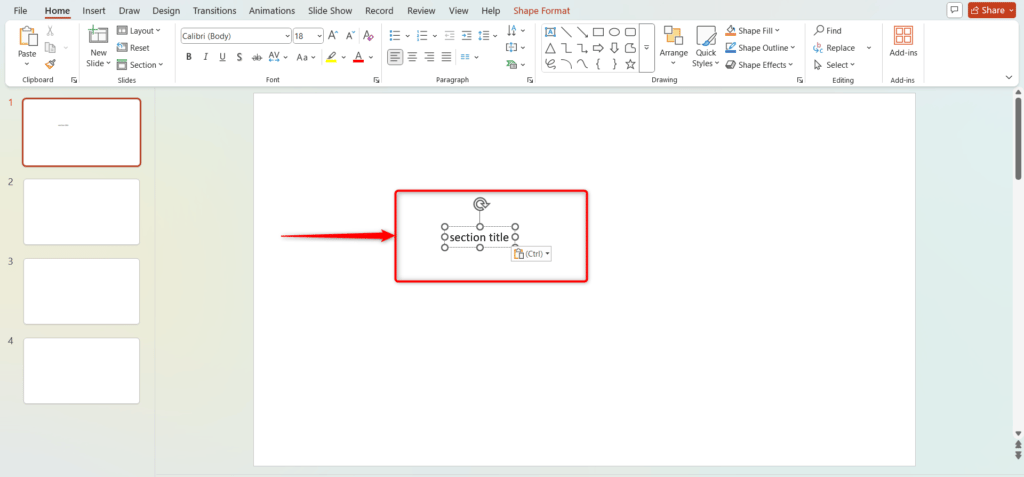
- Click and drag on the slide to create the text box.
- Type the header content (e.g., section title, short note).
Step 4: Position and Format
- Move the text box to the top of the slide.
- Use the formatting tools in the Home tab to adjust font, size, and color.
This method is great for unique headers on select slides, but it won’t update automatically across the whole deck.
Best Practices for Adding a Header in PowerPoint
Want your header to look clean and professional? Keep these tips in mind:
- Keep it short and simple: A header should be quick to read, not a full sentence.
- Stick to your brand colors: This keeps your presentation consistent and polished.
- Avoid overlap with slide content: Place it where it won’t cover important text or visuals.
- Choose a readable font size: Make sure your audience can see it clearly.
- Use Slide Master for large decks: It saves time and ensures every slide looks uniform.
To insert a header in PowerPoint is a simple way to make your presentation look organized, professional, and on-brand. Whether you choose the Slide Master for consistency, the Header & Footer tool for quick details, or a manual text box for custom slides, the right method depends on your needs. Keep it simple, use your brand style, and make sure it’s easy to read.
If you want to skip the manual formatting entirely, the AI PowerPoint generator from SlidesAI automates layouts, adds branded elements, and structures your presentation in just a few clicks.
Save Time with SlidesAI
Creating consistent, branded headers across slides can take time. SlidesAI automates layouts, adds branded elements, and structures your presentation in just a few clicks, no manual formatting needed.
If you want to skip the manual formatting entirely, the AI PowerPoint generator from SlidesAI automates layouts, adds branded elements, and structures your presentation in just a few clicks.
Create Presentations Easily in Google Slides and PowerPoint
14M+Installs

Frequently Asked Questions Related to Adding A Header in PowerPoint
Can I insert a header in PowerPoint like I do in Word?
Not exactly. PowerPoint doesn’t have a built-in header feature like Word, but you can create one by using the Slide Master, the Header & Footer tool, or by simply adding a text box.
How can I make my header appear on all slides automatically?
The easiest way is to use the Slide Master. Anything you add there will show up on every slide that uses that layout.
Is it possible to have different headers for different sections?
Yes, it’s definitely possible. You can create multiple master slide layouts, each with its own header, and apply them to specific sections of your presentation.
How do I add my company logo as a header?
You can insert your logo on the Slide Master so it appears consistently on all slides without needing to copy and paste it.
Why is my header not showing on all slides?
This usually happens when the header is added manually on individual slides. To make it appear everywhere, you need to add it in the Slide Master view.
How do I remove a header in PowerPoint?
It depends on how you added it:
- For Notes/Handouts, go to Insert > Header & Footer and uncheck Header.
- For a Text Box, click on the box and press Delete.
- For the Slide Master, open the Slide Master view and delete the header box.
Can I add a header to handouts or notes pages?
Yes, you can. In the Header & Footer settings, click on the Notes and Handouts tab to add headers, footers, dates, and page numbers for printed materials.
Key Takeaways
- PowerPoint lacks a direct header feature, but you can insert a header in PowerPoint using Slide Master, Header & Footer, or a manual text box.
- Best practices: keep it short, use brand colors, maintain readability, and avoid overlap.
- Use Slide Master for consistency across multiple slides.