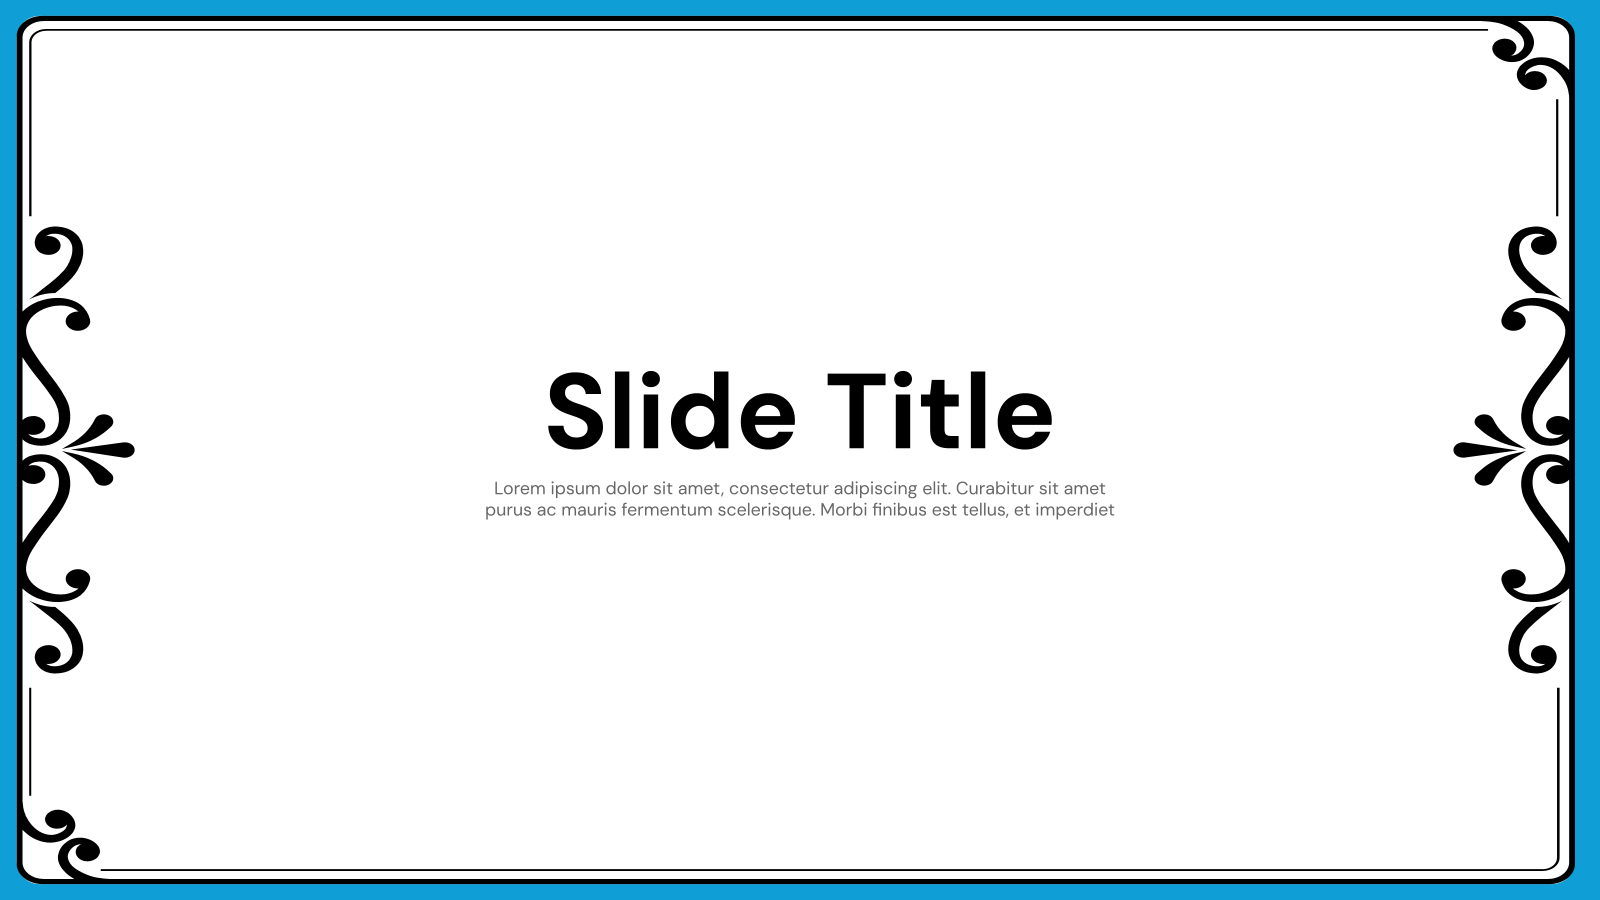


What is the Border Presentation Template?
SlidesAI’s Border Presentation Template is a pre-designed slide layout that uses decorative or structured borders around slides to enhance visual appeal and organization. These templates help highlight key content, guide the viewer’s attention, and create a clean, professional look for presentations in Google Slides and PowerPoint.
Applications of What is Boarder Presentation Template
- Business Presentations: Create structured and visually polished slides for meetings, reports, and corporate presentations.
- Educational Lectures: Help teachers and students present lessons, research, and projects in a clear and organized format.
- Marketing Presentations: Showcase campaign strategies, product highlights, or brand stories with visually appealing slides.
- Project Reports: Present project updates, timelines, and results in a professional and easy-to-follow layout.
- Creative Portfolios: Display design work, ideas, or concepts with decorative borders that enhance visual presentation.
What Makes SlidesAI’s Border Templates Special?
- Unleash Your Creativity: Customize borders with different shapes, images, colors, and styles to create unique and visually engaging slide designs.
- Simple and Stylish: Easy-to-use templates let you add clean borders quickly, even without design skills, while keeping all slides consistent.
- Modern Touches: These templates provide sleek border styles and design tips to help create presentations with a modern and well-structured layout.
- Works on Many Devices: The templates are compatible with Windows, Mac, and web versions of PowerPoint, making them accessible on different devices.
- Extra Features: Some templates include tools like PowerPoint Designer and Bing Image Search to enhance slides with additional design elements.
Build Stunning Slides in Seconds with AI
- No design skills required
- 3 presentations/month free
- Don't need to learn a new software

How to Use SlidesAI’s Border Templates?
- Microsoft PowerPoint: Click on Download > Click on “PowerPoint” > Click on the downloaded file to make a copy and start customising/editing the template
Read more – How to Add a Border Design in PowerPoint? - Google Slides: Click on Download > Click on “Google Slides” > Click on “Use Template” to make a copy and start customising/editing the template
Read more – How to Add Borders in Google Slides?
Create presentations in seconds. Enter text and SlidesAI creates customizable slides based on that text in seconds that go well with all our templates, too.
Create Presentations Easily in Google Slides and PowerPoint
14M+Installs

Frequently Asked Questions About Border PresentationTemplates
Can I add multiple borders to a single object?
Unfortunately, PowerPoint doesn’t directly support adding multiple borders to a single object.
Is there a faster way to remove a border?
Absolutely! Here’s a shortcut:
- Select the object with the border.
- Right-click on the object.
- Choose “Format Shape” from the menu.
- In the “Format Shape” pane, under the “Fill” section, select “No Fill.” This will remove the existing border.
How can I make the border move or change its appearance during my presentation?
You can animate the border in PowerPoint to create an attention-grabbing effect. Here’s how:
- Select the object with the border you want to animate.
- Go to the “Animations” tab.
- Choose the animation effect you want for the border. You can pick from various options like entrance, emphasis, or exit animations.
- Customize the animation settings like timing and duration to fine-tune the effect.