Have you ever noticed how a well-designed slide can grab your attention? One easy way to improve the look of your slides is by adding borders. Borders are simply lines or decorations that go around the edge of your slide content. They can make your slides look nicer, but they also have some practical uses.
Borders can help people focus on the important information, separate different sections of your slide, and make your presentation look more professional overall. Whether you choose a classic solid line or something more decorative, borders offer a simple way to enhance your slides and make your message stand out. Let’s explore how you can use these borders in your PowerPoint presentation.
Why Use Borders in PowerPoint Presentations?
Borders do more than just decorate your slides—they serve an important visual and functional purpose. When used correctly, borders help guide the viewer’s attention and make your content easier to understand.
Here are a few key benefits of using borders in PowerPoint presentations:
- Improves visual structure: Borders clearly define slide boundaries and help organize content, especially on information-heavy slides.
- Enhances readability: A subtle border can separate text or images from the background, making content easier to read.
- Creates a professional look: Consistent borders across slides give your presentation a polished, cohesive appearance.
- Supports branding: Using brand colors or custom border styles helps reinforce your brand identity throughout the presentation.
- Highlights important content: Borders can be used strategically to draw attention to key points, quotes, or visuals.
How to Add a Border in PowerPoint?
Let’s take a look at the steps that allow you to add a border in PowerPoint.
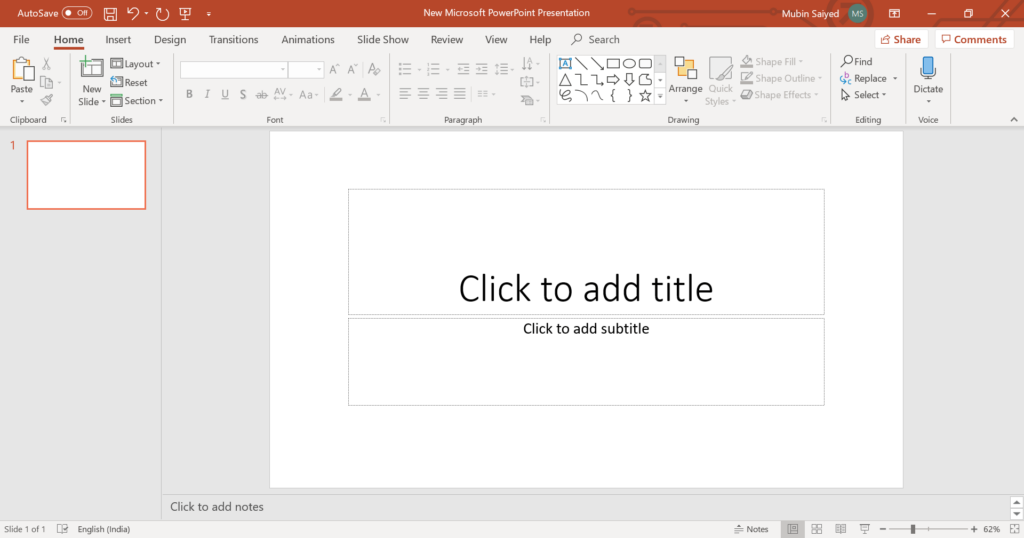
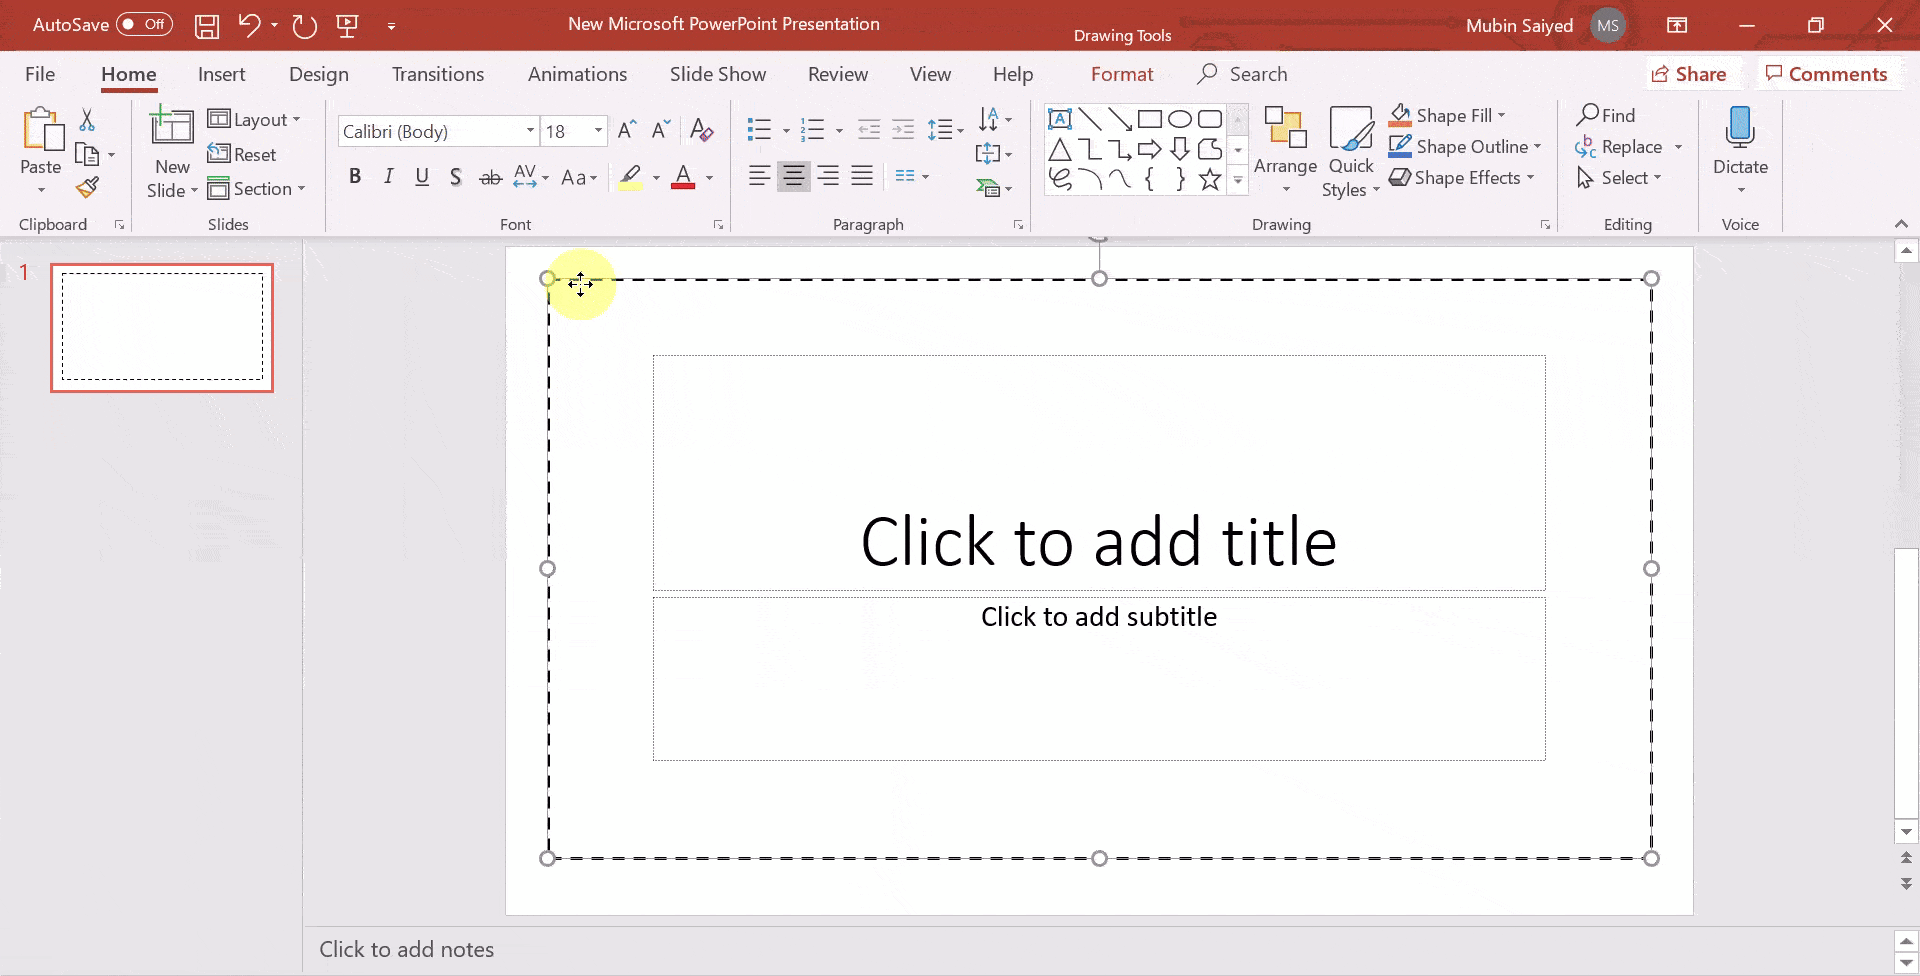
Step – 1. Open Your Slide: Start by opening PowerPoint and choosing the slide where you want the border.
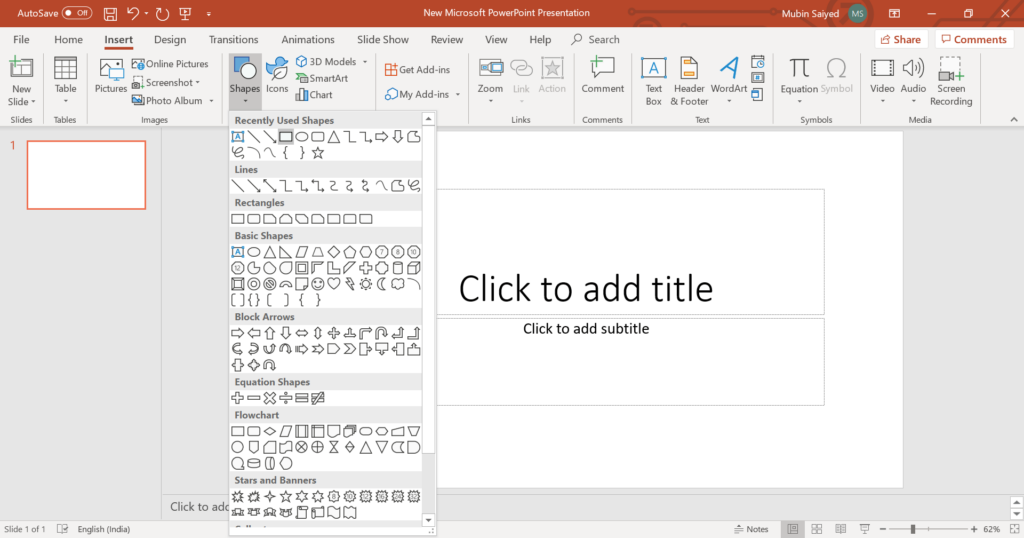
Step – 2. Choose Your Shape: Click the “Insert” tab and then the “Shapes” dropdown menu. Pick a shape for your border – rectangles are common, but lines, squares, or even callouts can work too!
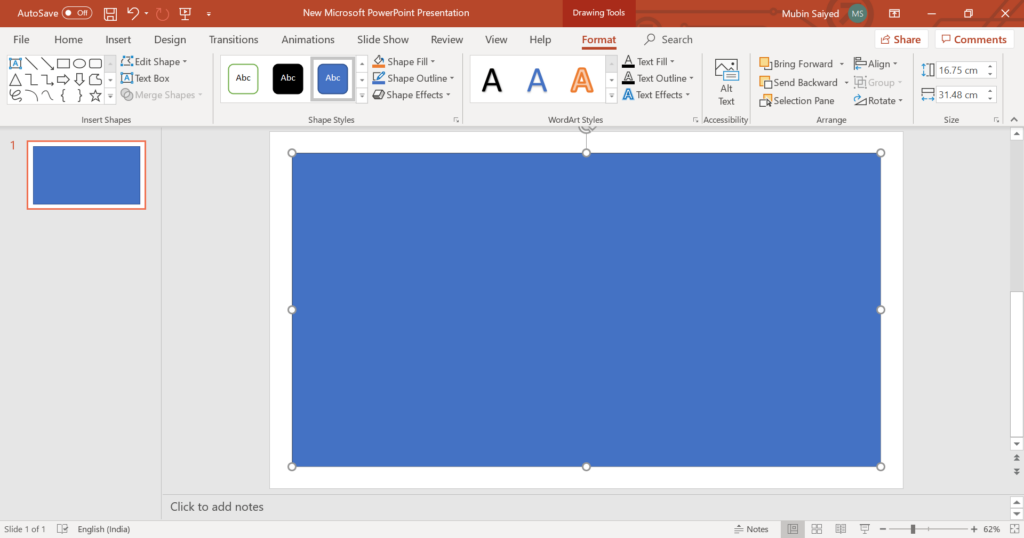
Step – 3. Draw and Resize: Click and drag on your slide to draw the shape you picked. Resize it using the corner handles until it’s the size you want.
Step – 4. Make it Transparent: Once the shape is drawn, click on it to show the “Format Shape” options. Under “Fill,” choose “No fill” so only the outline remains visible.
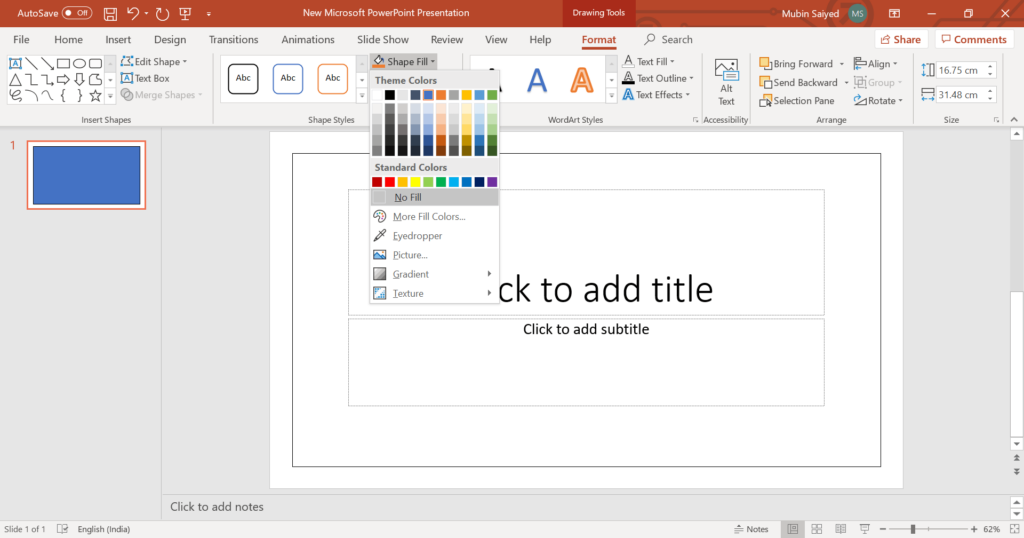
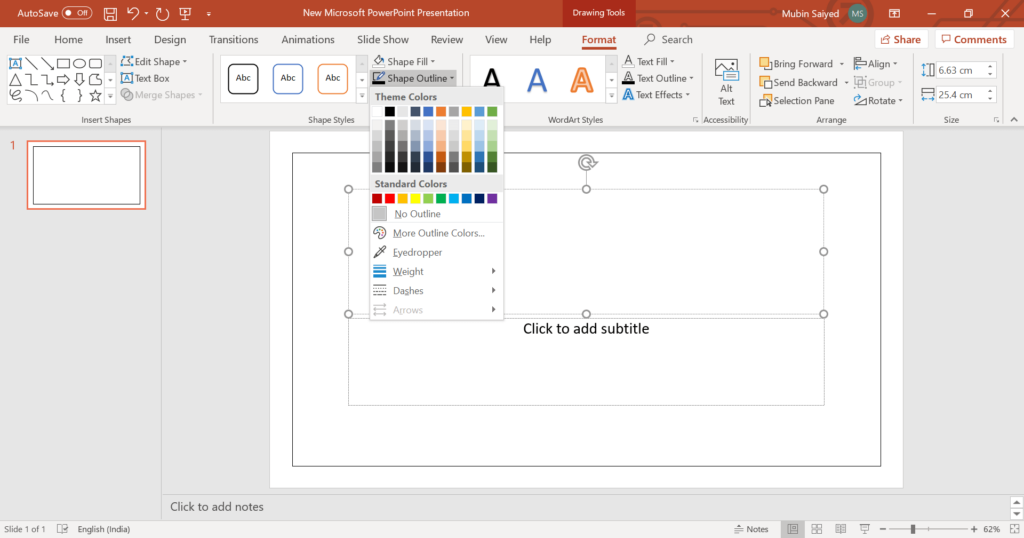
Step – 5. Customize the Border: Now for the fun part! Click “Shape Outline” in the “Format Shape” options. Here you can choose the color, thickness (weight), and even a dashed or dotted line style to match your presentation. We’ll discuss this in detail in the next section.
Step – 6. Apply to all Slides (optional): Want the border on every slide? Go to the “View” tab and find “Slide Master” (it might be in a different location depending on your version). The slide master controls design elements for all slides. Add the formatted shape to the master slide, and all your slides will have the border!
Create Presentations Easily in Google Slides and PowerPoint
14M+Installs

How to Customize Border Outline and Border Effects?
Now that you’ve created a border, let’s explore the exciting ways to customize it!
Step – 1. Customize the Outline
- Color: Click the “Shape Fill” dropdown menu in the “Shape Format” tab. Choose “No fill” to make the shape transparent, leaving just the border. Use the “Shape Outline” menu to pick a color that goes well with your presentation theme.
- Thickness: Feeling like the border is too thin or thick? Adjust the “Weight” option within “Shape Outline” to find the right thickness.
- Line Style: Want a dashed line instead of solid? Explore the “Line Style” options in “Shape Outline” for different line variations.
Step – 2. Beyond Basic Borders:
PowerPoint lets you add more than just plain lines! Here are some effects you can try:
- Shadow: Add a light shadow for a bit more depth.
- Reflection: Create a mirrored reflection for a unique, modern touch.
- Glow: Apply a gentle light for a touch of class and visual appeal.
- Soften Edges: Choose “Soft Edges” for a clean and seamless border.
- Bevel: Give your border a three-dimensional feel with a subtle bevel.
- Explore 3D Options: For a more impactful presentation, consider different 3D effects to make your border stand out.
Also Read: How to Add a Border Design in PowerPoint
Step – 3. Adding Your Own Graphics
When you are feeling creative, you can add your own images or icons within the border shape to create a unique design.
Step – 4. Positioning Your Border:
Once your border is customized, use drag-and-drop to place it exactly where you want it on the slide. Resize the corners to get a perfect fit.
Step – 5. Applying to All Slides:
Want your border on all your slides? Use the “Slide Master” feature. Edit the master slide to apply your border design to all slides at once for a consistent presentation style.
Build Stunning Slides in Seconds with AI
- No design skills required
- 3 presentations/month free
- Don't need to learn a new software

How to Add a Border to an Image in PowerPoint?
Want to make your images stand out in PowerPoint? Adding borders is a simple way to achieve this! Here’s how to do it:
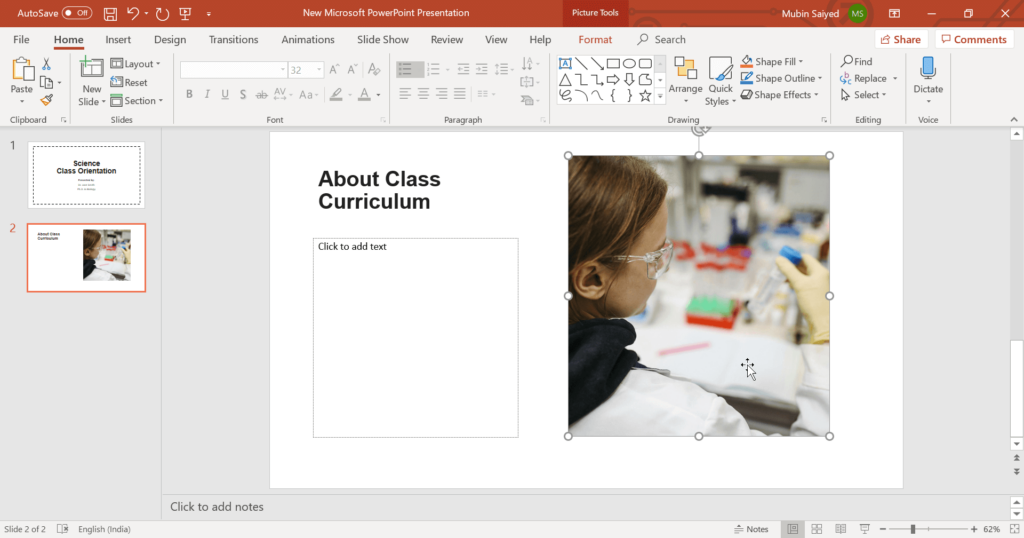
1. Select the Image: Click on the picture you want to give a border. This makes sure any changes you make apply only to that image.
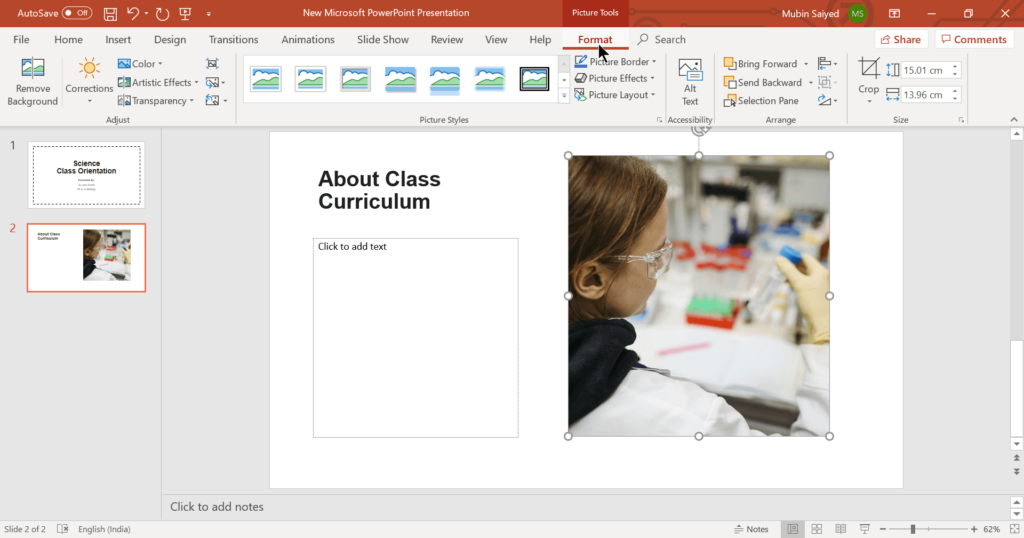
2. Picture Format Tab: Look for the “Picture Format” tab at the top of your screen. This tab appears once you’ve clicked on the image.
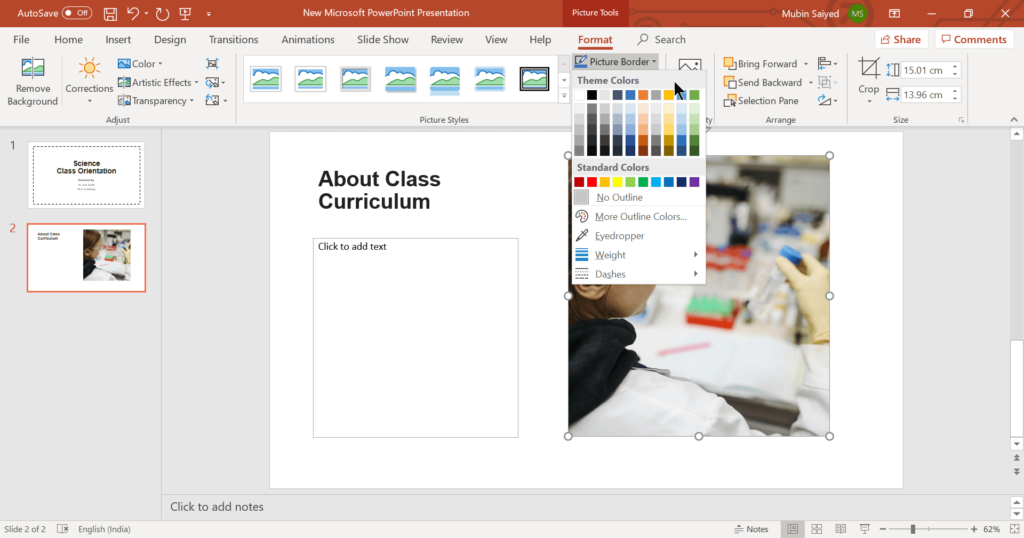
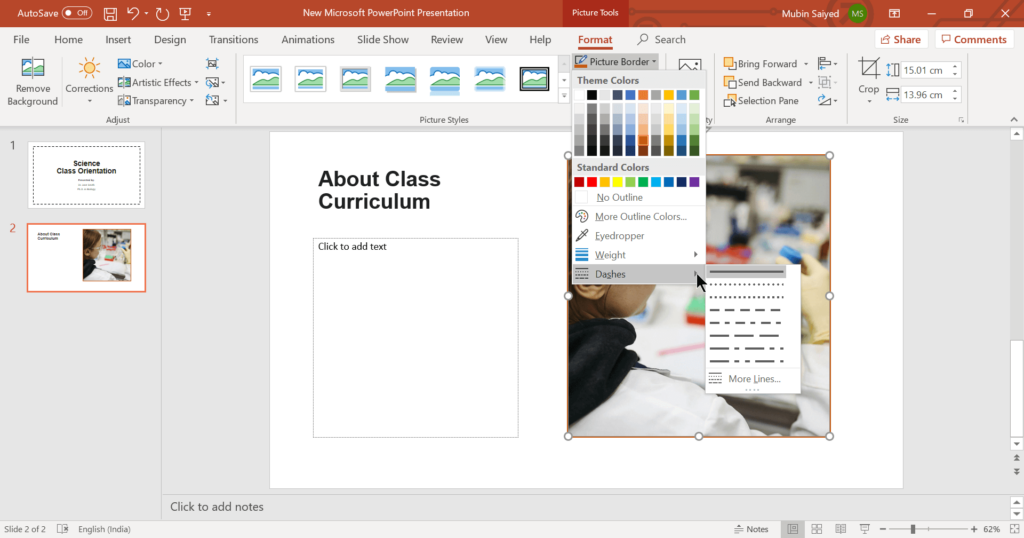
3. Picture Border: On the “Picture Format” tab, find the “Picture Border” option and click it. This will open a menu with different ways to change your border.
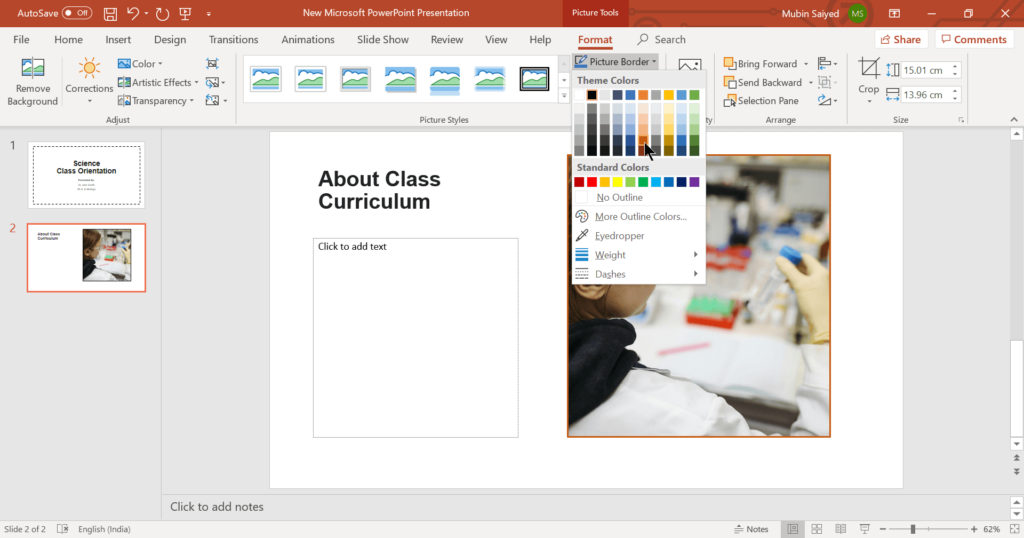
4. Choosing Colors: The menu will show you a color palette where you can pick the color you want for your border. Choose a color that goes well with your image and the overall design of your slide.
5. Border Style: You can have more than just a plain line! This menu also lets you choose the style of the line for your border. Common options include solid, dashed, and dotted lines.
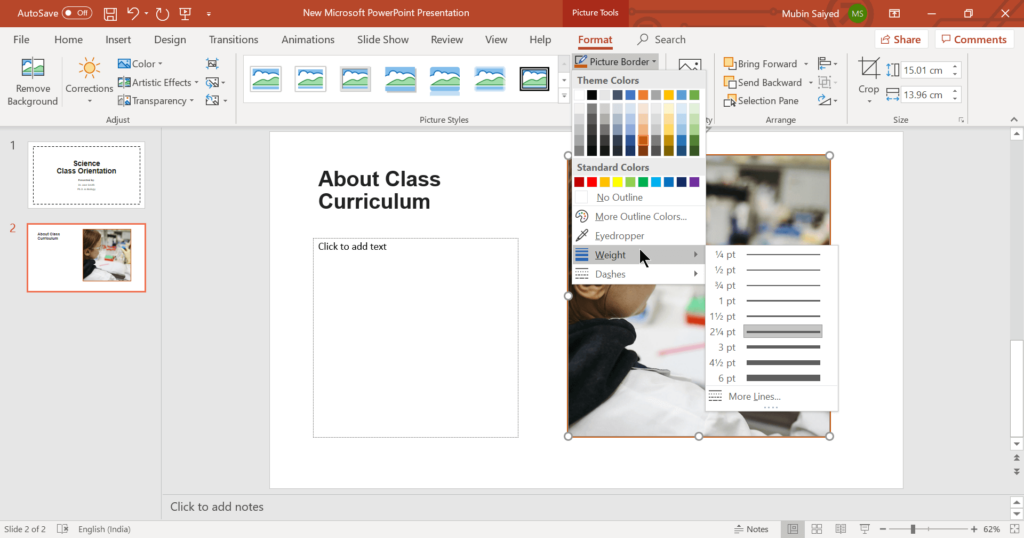
6. Adjusting Thickness: Want a thin or thick border? Use the “Weight” option to change how thick your chosen borderline will be.
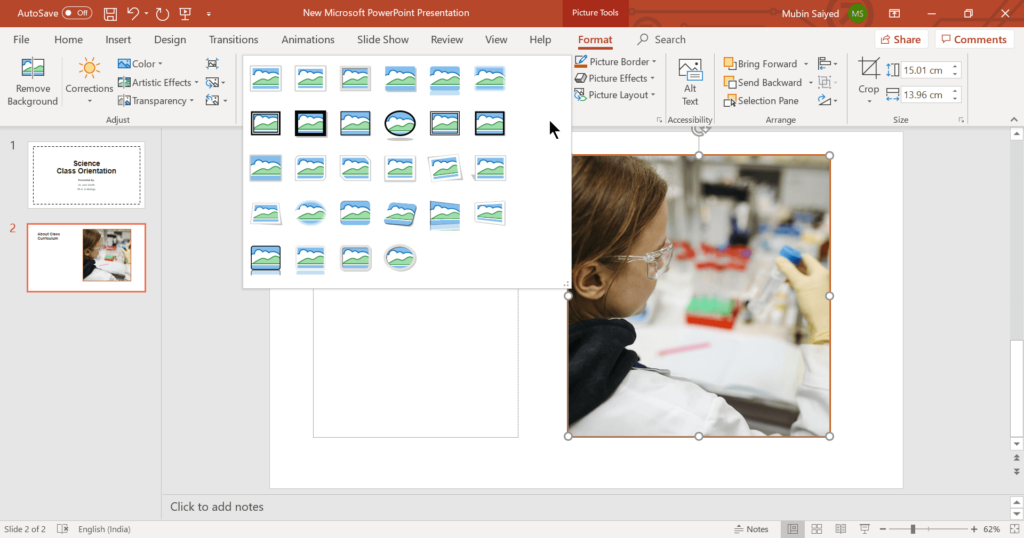
7. Pre-designed Borders: For a quicker option, check out the “Picture Styles” section in the menu. Here, you’ll find a collection of borders already designed that you can add to your image with just one click.
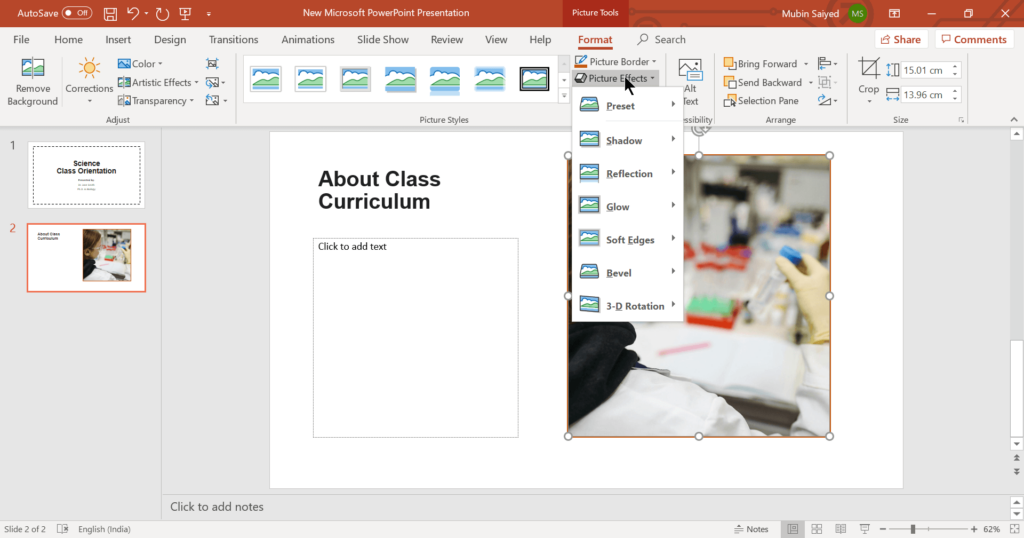
8. Adding a Little Extra (Optional): Feeling creative? The menu also has “Picture Effects” options. You can try adding a shadow or a soft glow to your border for a bit more visual interest.
9. Preview and Adjust: As you make changes to your border, be sure to take a look at how it looks. You can always change the color, style, thickness, or effects until your image looks just right.
You can also use our Border Presentation Templates.
Create Presentations Easily in Google Slides and PowerPoint
- No design skills required
- 3 presentations/month free
- Don't need to learn a new software
Wrapping Up
Adding borders to your PowerPoint slides is a great way to improve their visual style and make them look more professional. You can try out the different options PowerPoint offers, or create your own borders using shapes, pictures, and colors. But if you want to skip the manual effort altogether, SlidesAI helps you build beautifully designed slides in seconds, complete with borders, layouts, and other design elements, so you can focus on your message instead of the formatting.
Frequently Asked Questions About Adding a Border Design in PowerPoint
Can I apply a border to all my slides at once?
Absolutely! To achieve this, you’ll want to edit the Slide Master. This master slide controls the design elements that appear on all your presentation’s slides. By adding a border to the Slide Master, it automatically gets applied to every slide.
What colors should I choose for my presentation border?
The best colors for your border will depend on your presentation’s theme and background. Ideally, choose colors that complement the overall look and are visible against the background without being distracting.
How can I make the border stand out on a busy slide?
If your slide has a lot of elements, consider using a thicker border or applying visual effects like a Glow or Shadow. This can help the border cut through the clutter and maintain its visibility.
Can I have different borders on different slides?
Yes, while the Slide Master is great for applying a uniform border, you can also customize borders individually on each slide. This allows you to highlight specific content or themes within your presentation.
How do I adjust the thickness of a border in PowerPoint?
Once you’ve selected the border, look for the “Shape Outline” menu. Under this menu, you’ll find a “Weight” option that allows you to adjust the thickness of the border to your preference.