
Want to make your Google Slides presentation more dynamic and captivating? Learn how to add engaging slide transitions and use the auto-advance feature for a smooth, consistent flow.
This easy-to-follow tutorial will guide you through adding and deleting transitions, distinguishing between animations and transitions, and setting up automatic transitions in Google Slides. Jump to any section below for simple step-by-step instructions and animated GIFs!
What are Google Slides Transitions?
Transitions are the effects that take place when switching from one slide to another during your presentation. Slide transitions help to seamlessly connect different sections, making your overall message more effective.
They range from basic fades to fancier transitions with adjustable speeds. You can apply one transition effect to a slide. Choosing the right transitions keeps your audience focused as you move smoothly from one slide to another.
How to Add Transitions on Google Slides?
To add a transition to a slide, follow these 6 easy steps:
- Select the slide from the left pane or navigate to the slide.
- From the main menu, click ‘Slide’ > ‘Transition’ (or simply right click and select ‘Transition’).
- The ‘Motion’ pane will open on the right.
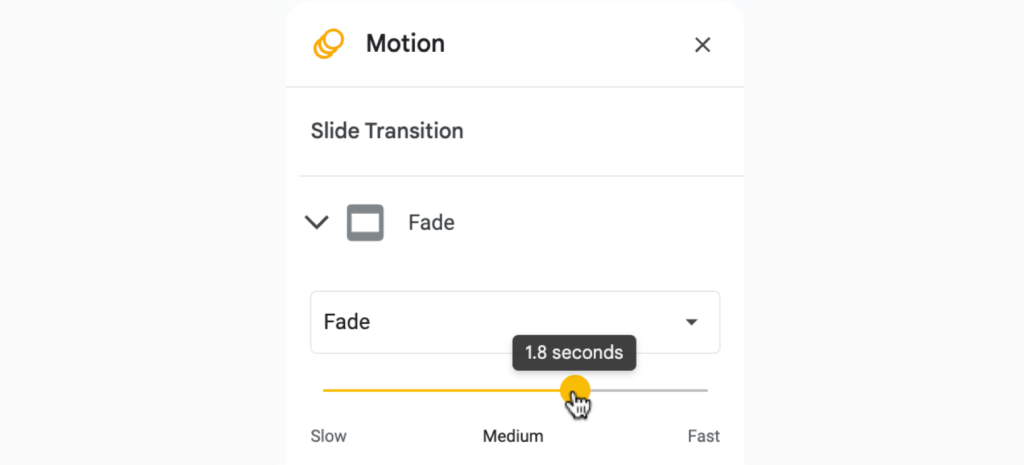
- Choose the slide transition of your choice.
- Adjust the speed of the animation if you wish.
- Click ‘Play’ to preview how it looks.
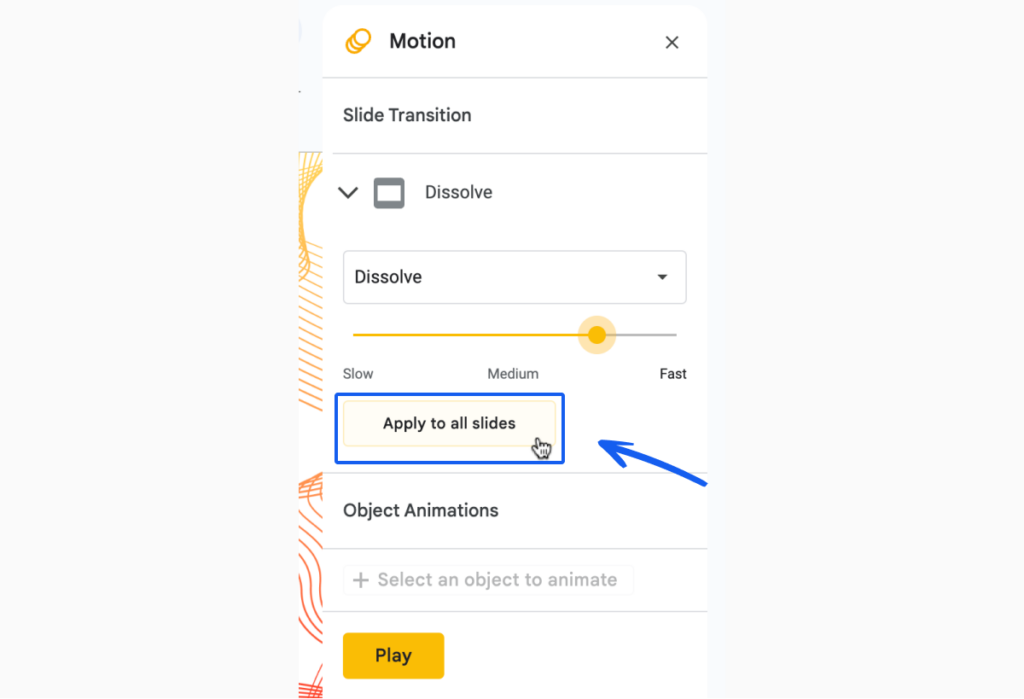
How to Add Transitions to All Slides?
If you want your entire presentation to have the same slide transition effect, click on ‘Apply to all slides’.
Types of Slide Transitions
Google Slides offers several basic slide transition options and types. You can control the speed of the transition by using the slider.
- Dissolve: Blends one slide into the next.
- Fade: Gradually fades from one slide to the next.
- Slide from right: The new slide enters from the right side of the screen, pushing the current slide out to the left.
- Slide from left: Opposite of slide from right, the new slide comes in from the left, moving the existing slide to the right. It’s as if the slides are sliding along a horizontal track.
- Flip: Makes the slide appear to flip over to reveal the next slide, like flipping a page in a book.
- Cube: Slides rotate like a cube or box as you move from one to the next.
- Gallery: Slides move as if they are photos in a gallery.
Google Slides may have fewer transition effects than PowerPoint, but it has enough for most needs. It’s often best to use just one transition type for your whole presentation, as more isn’t always better.
Difference between Transitions and Animations in Google Slides
Transitions are about how slides change, while animations are about how elements within a slide behave and move.
Both enhance a presentation’s visual appeal but serve different purposes.
- Transitions are effects applied to slides.
- Animations add visual interest and engagement to individual elements, like shapes, text boxes, or images.
- A slide can have only one transition effect but may contain many animated elements.
You can choose to use both transitions and animation effects to enhance your presentation or apply them separately.
Want to add animations to Google Slides™ effortlessly? Try QuickAnimate by SlidesAI and do it in seconds with keyboard shortcuts!
Best Practices for Adding Transitions in Google Slides
Transitions are tools to enhance your presentation’s impact, not to dominate it. Here are tips and best practices:
⭐️ Keep it simple: Choose one or two transition effects throughout the presentation to avoid a chaotic or disjointed feel.
⭐️ Match the tone: Simple fades or dissolves are subtle and may work best for formal or professional presentations. Keep the spinning effects for more creative presentations!
⭐️ Sync with your pace: Set the transition speed to match your presentation’s rhythm. A faster transition speed adds a sense of urgency and energy.
⭐️ Use for emphasis: Apply it to highlight key slides, or to signal a change in topic mid-way.
⭐️ Rehearse with transitions: Practice your presentation with the transitions to get comfortable with the flow and timing.
How to Auto-Play Slide Transitions in Google Slides
If you want your slides to advance or autoplay during your presentation automatically, these are the two methods:
1. During a Presentation
When presenting from your computer or laptop, you can set Google Slides to transition slides automatically in Slideshow mode.
- Enter slideshow mode by clicking on the ‘Slideshow’ button in the top right (keyboard shortcuts: ⌘+Enter (Mac), Ctrl+F5 (PC), Ctrl+Search+5 (ChromeOS)
- In slideshow mode, move your cursor to the bottom left corner, then click the three-dot menu icon.
- Hover over ‘Auto-play.’
- Select your desired interval between slides.
- Click on ‘Play’ when you are ready to start your presentation.

2. On a Published (completed) Presentation
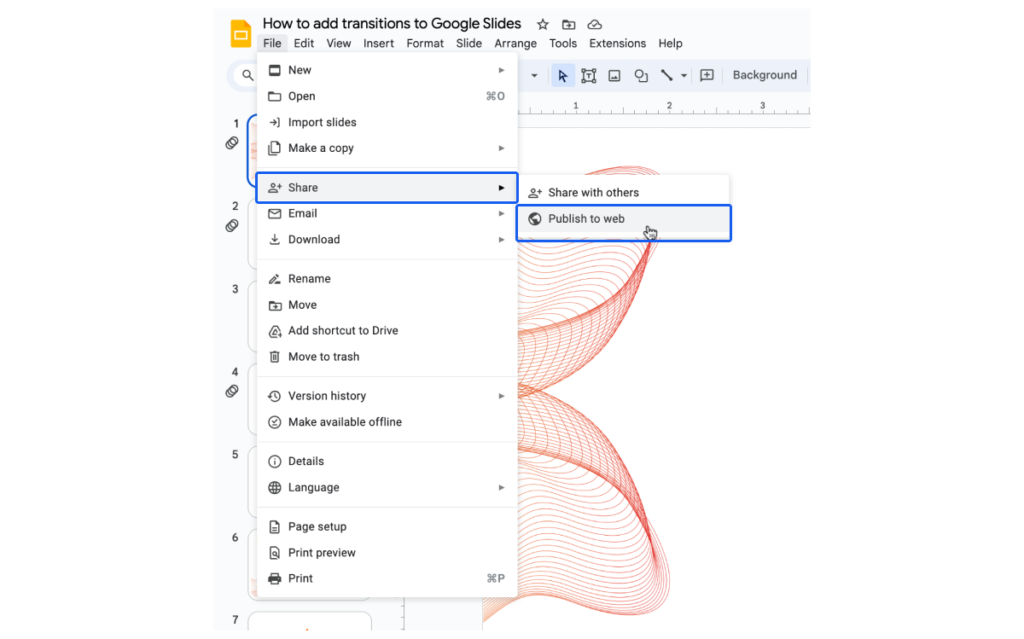
If you are submitting a presentation for school or work and won’t present it in person, publish it online to get a shareable link.
- Click on File > Publish to web.
- Select either Link (sharable presentation link) or Embed.
- Choose the duration you want to add between slides.
- Click on Publish and OK.
⚠️ After publishing: copy and reshare a new link if you need to adjust the auto-advance slide timing.
Deleting Transitions in Google Slides
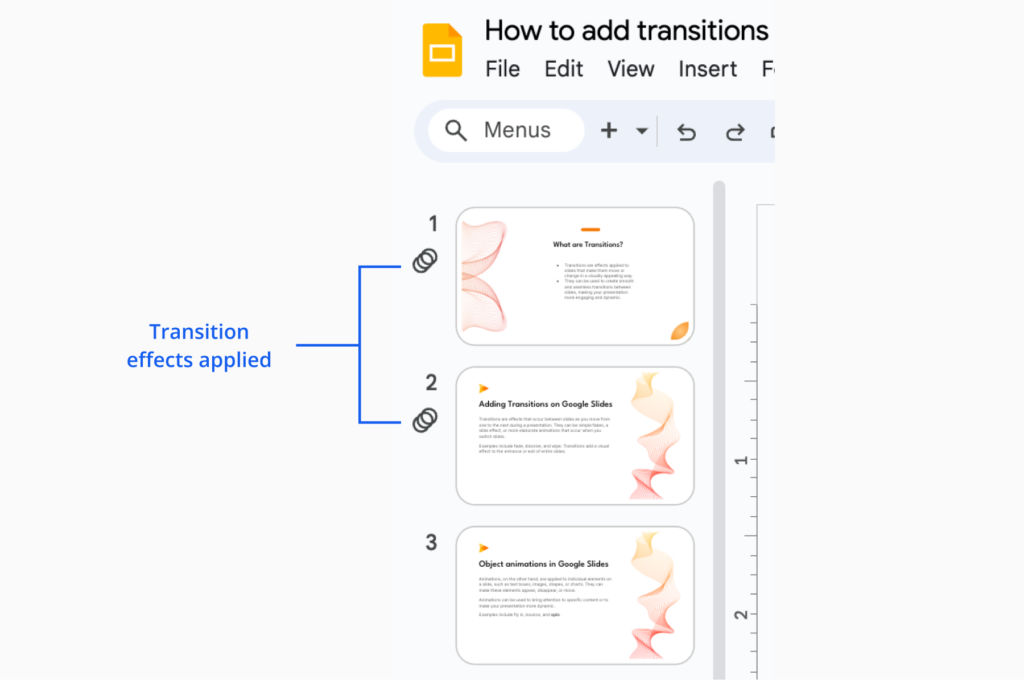
After you have added a transition to a slide, you will notice that a new icon now appears beside it.
Deleting Single Transitions in Google Slides
Removing transitions can be done from the same ‘Motion’ panel.
- Right-click on the selected slide, then select Transition. You could also click on ‘View’ on the main toolbar, then ‘Motion’.
- Click on the dropdown with the name of the transition.
- Select ‘None’. This deletes the transition effect on this slide.
Removing All Slide Transitions
To remove all transitions, follow the previous instruction to remove one transition effect, then click ‘Apply to all slides’. This will apply to the entire presentation.
Summary
🪄 Key Takeaway: Let transitions enhance your content, not overshadow it.
Essentially, transitions are all about adding visual effects and flair as slides enter or exit. The transition effects you choose can affect how your audience perceives your presentation, so remember to preview them to get a sense of how it feels!
Create Presentations Easily in Google Slides and PowerPoint
14M+Installs

Frequently Asked Questions About Transitions in Google Slides
Why Won’t My Slides Autoplay?
Your slides will only auto-advance in Slideshow mode. Published presentations autoplay if you set them to do so.
I Can’t Add or Change Transitions and Animations On My Device!
Currently, you can’t edit transitions and animations on iPhone, iPad, or Android devices. Use slides.google.com on a computer for these features.
Can I Set Different Auto-Transition Timings for Different Slides?
No, all slides in a presentation share the same auto-advance duration.
Why Can’t I Set the Slides to Autoplay while Editing Them?
Auto-play and looping are only available in Slideshow mode. You can’t activate these features in editing mode.
How do I Convert Google Slides to PowerPoint?
You can start preparing for your presentation on Google Slides, then use either of these two methods to convert it to a PowerPoint file.
How to Add Transitions on Google Slides Mobile?
The Google Slides mobile app doesn’t support adding or editing transitions. However, you can open slides.google.com in your mobile browser, switch to Desktop mode, and add transitions there. For the best experience, using a laptop or desktop is recommended.
How to Add Transitions on Google Slides Using iPad?
Google Slides on iPad doesn’t allow adding transitions in the app. You can open slides.google.com in Safari, enable Desktop mode, and add transitions. Keep in mind that full functionality works best on a desktop or laptop computer.